# Set up Database Activity Streams (DAS)
This lab will show you how to set up and leverage Aurora Database Activity Streams (DAS). Database activity streams provide a near real-time data stream of the database activity in your relational database. When you integrate database activity streams with third-party monitoring tools, you can monitor and audit database activity.
??? tip "Learn more about Database Activity Streams (DAS)"
Using Database Activity Streams you can monitor and audit database activity to provide safeguards for your database and help you meet compliance and regulatory requirements. Solutions built on top of Database Activity Streams can protect your database from internal and external threats. The collection, transmission, storage, and processing of database activity is managed outside your database, providing access control independent of your database users and administrators. Your database activity is asynchronously published to an encrypted Amazon Kinesis data stream provisioned on behalf of your Aurora DB cluster.
Database Activity Streams have the following limits and requirements:
1. Currently, DAS is supported only with Aurora MySQL version 2.08.0 or newer, which is compatible with MySQL version 5.7.
2. DAS requires use of AWS Key Management Service (AWS KMS) because the activity streams are always encrypted with a customer managed key (CMK).
This lab contains the following tasks:
1. Create an AWS KMS customer managed key (CMK)
2. Configure Database Activity Streams
3. Generate database load
4. Read activity from the stream
5. Disable Database Activity Streams
This lab requires the following prerequisites:
* [Get Started](/prereqs/environment/)
* [Connect to the Cloud9 Desktop](/prereqs/connect/)
* [Create a New DB Cluster](/provisioned/create/) (conditional, only if you plan to create a cluster manually)
* [Connect to the DB Cluster and Load Data](/provisioned/interact/)
## 1. Create an AWS KMS customer managed key (CMK)
DAS requires a master key to encrypt the data key, which in turn encrypts the database activity logged (see envelope encryption for more details). The default Amazon RDS master key can’t be used as the master key for DAS. Therefore, you need to create a new AWS KMS customer managed key (CMK) in order to configure the DAS.
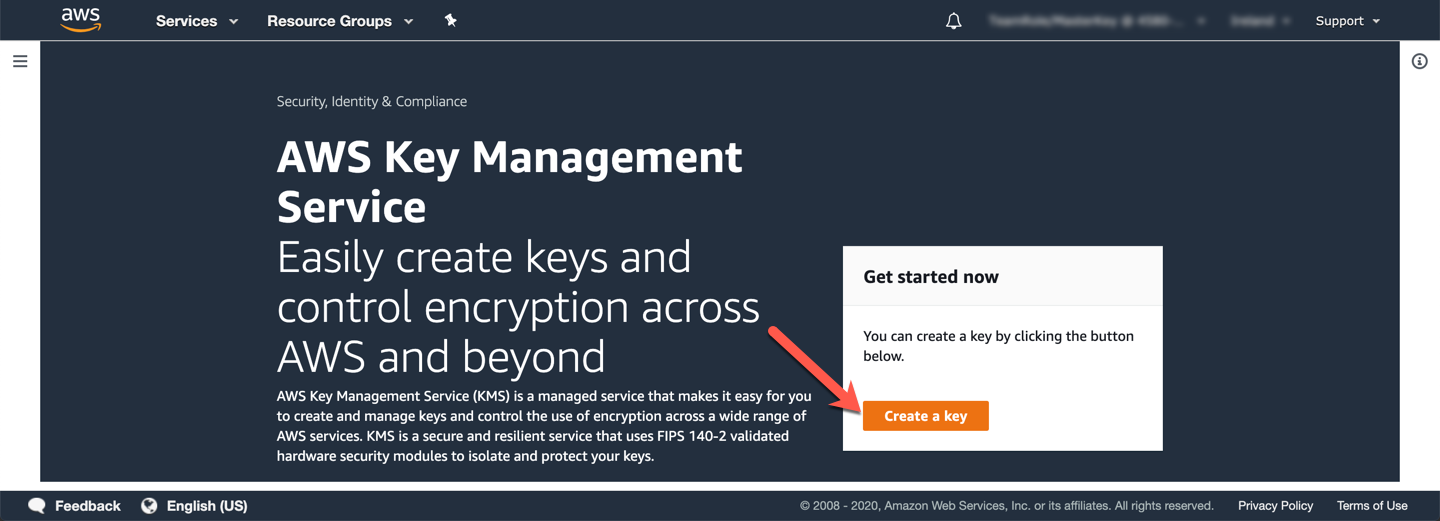
Open the AWS Key Management Service (KMS) console. Click **Create a key**.
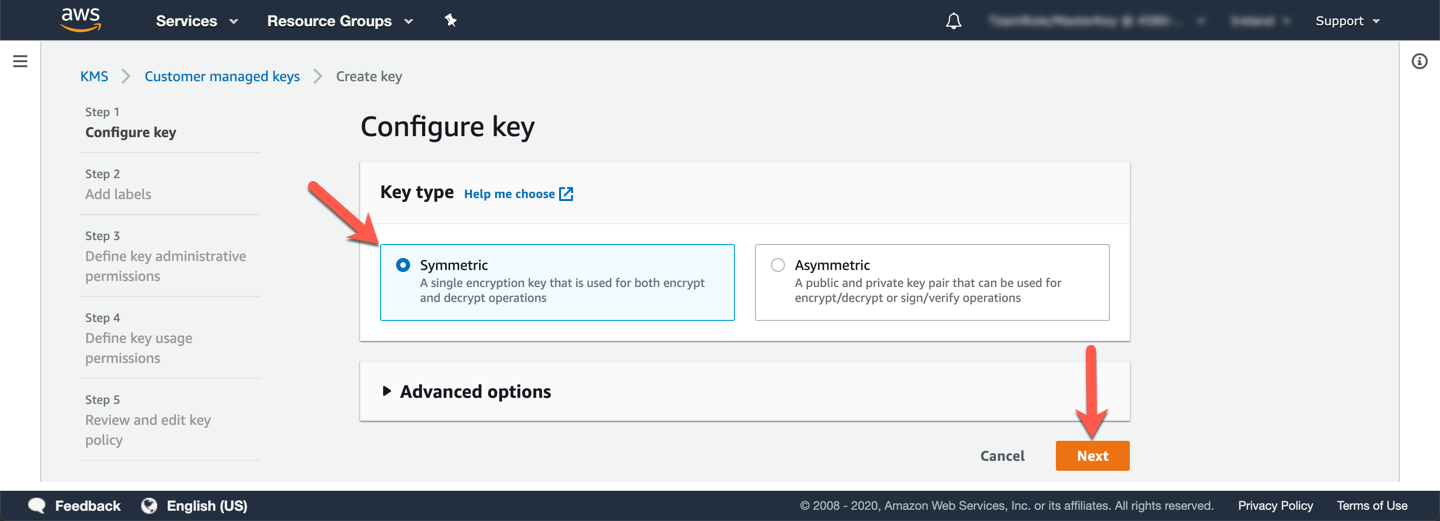
On the next screen under **Configure key** choose `Symmetric` for **Key type** and click **Next**.
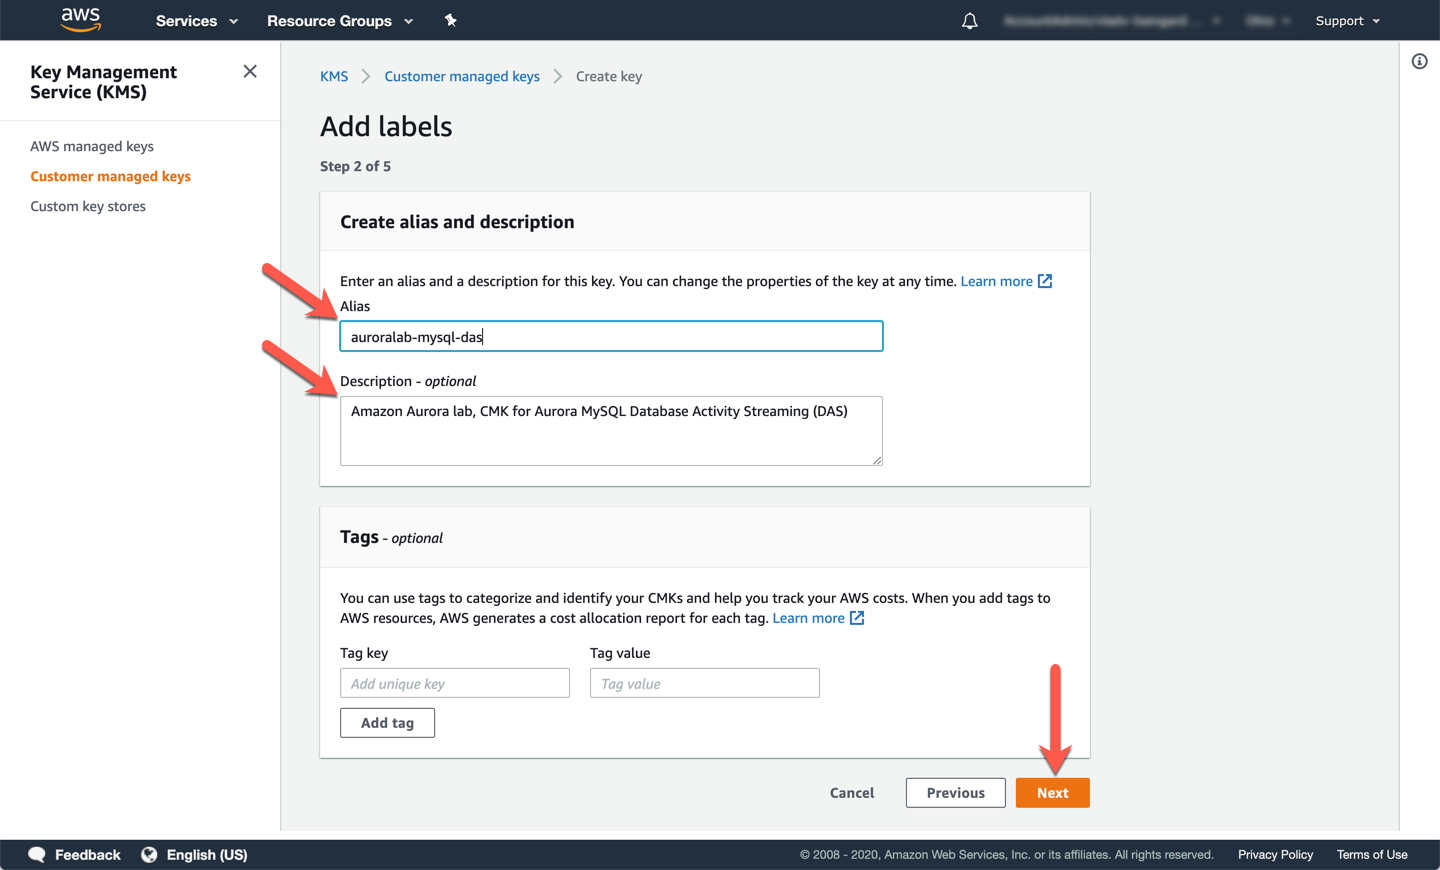
In the **Create alias and description** section:
* [ ] Set the **Alias** to `auroralab-mysql-das`.
* [ ] Provide a **Description** such as: `Amazon Aurora lab, CMK for Aurora MySQL Database Activity Streaming (DAS)`.
Then, click **Next**.
The following steps depend on the circumstances you are running this lab in. Choose the tab below that best matches your circumstances.
=== "I'm in a workshop using Event Engine"
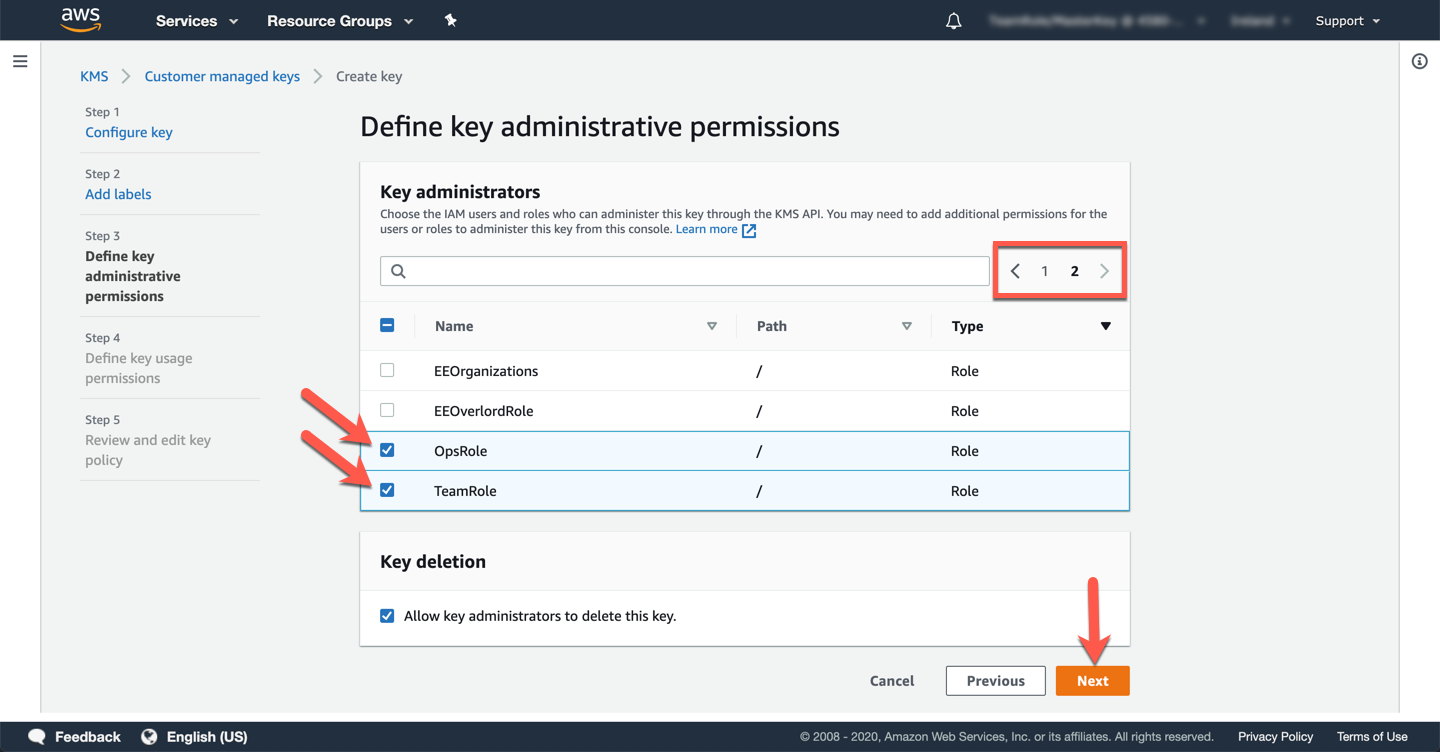
In the **Key administrators** section (you can search for the names to find them quicker):
* [ ] Select and check the box next to `TeamRole` and `OpsRole`.
Click **Next**.
In the **This account** section (you can search for the names to find them quicker):
* [ ] Select and check the box next to `TeamRole` and `OpsRole`.
* [ ] Select and check the box next to `auroralab-wkstation-[region]` (there may be more than one).
=== "I am using my own account"
In the **Key administrators** section:
* [ ] Choose the IAM role or user you are logged in with, or another administrative account you want to administer the key.
Click **Next**.
In the **This account** section:
* [ ] Choose the IAM role or user you are logged in with.
* [ ] Select and check the box next to `auroralab-wkstation-[region]` (there may be more than one).
Click **Next** to continue.
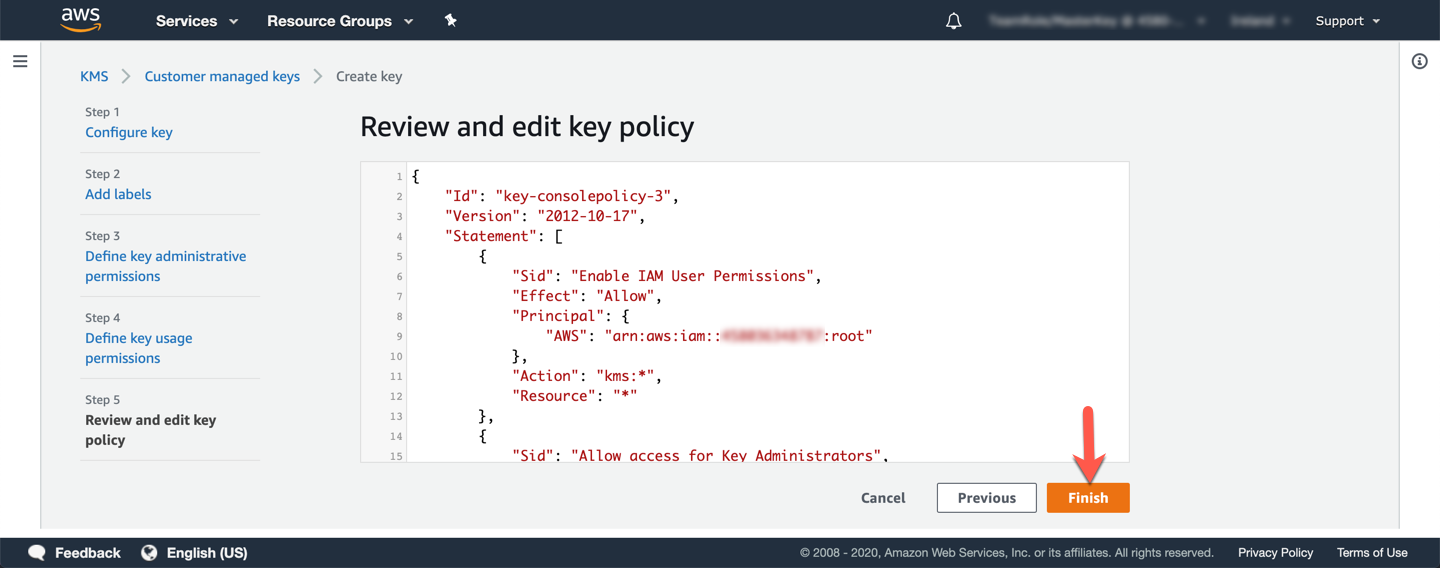
Review the policy for accuracy and click **Finish**.
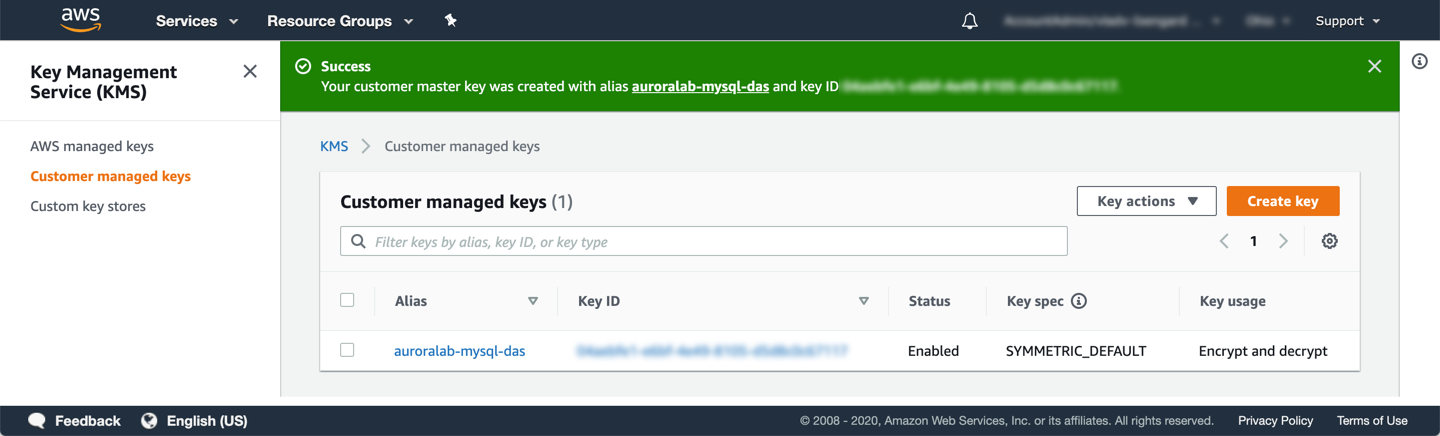
Verify the newly created KMS key on the KMS dashboard.
## 2. Configure Database Activity Streams
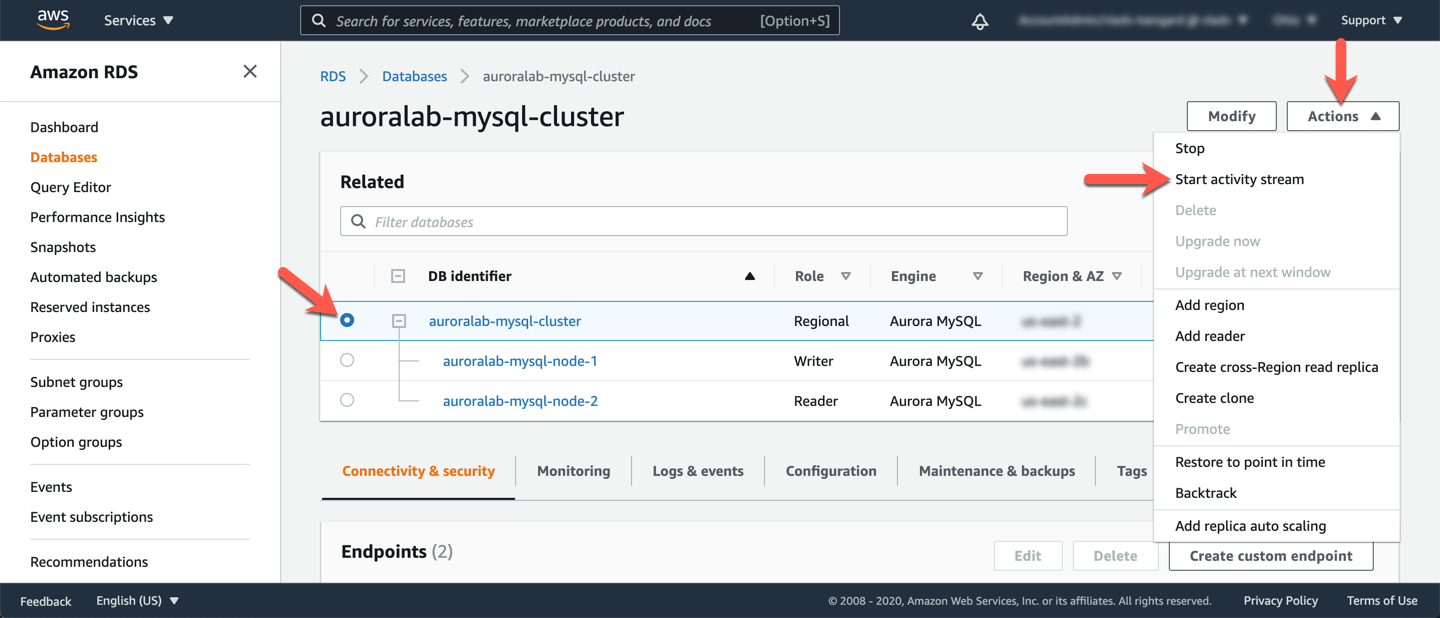
Open the Amazon RDS service console at the cluster details page. If you navigated to the RDS console by other means, click on the `auroralab-mysql-cluster` in the **Databases** section of the console.
From the **Actions** dropdown button, choose **Start activity stream**. The **Database Activity Stream** setup window appears:
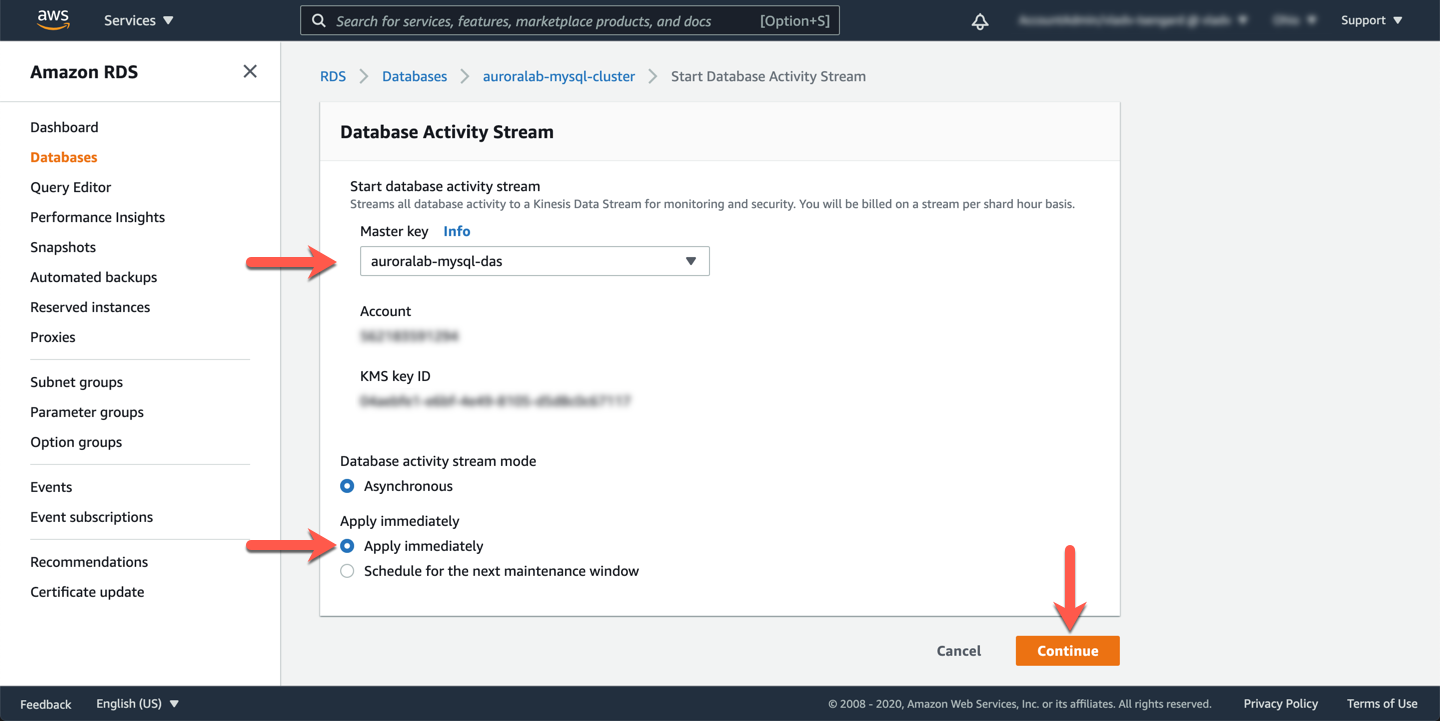
Set the **Master key**, to the alias of the symmetric key created in the prior step. Choose **Apply immediately**, then click **Continue**.
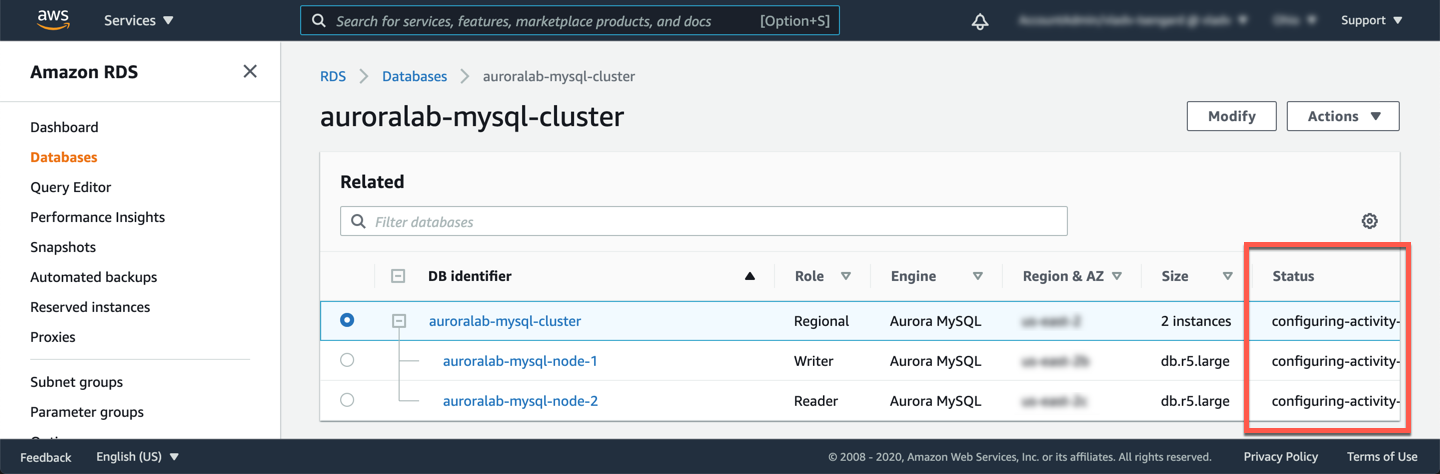
The **Status** column for the DB cluster will start showing **configuring-activity-stream**. Please wait until the cluster becomes **Available** again. You may need to refresh the browser page to get the latest status.
Verify that DAS is enabled by clicking on the cluster named `auroralab-mysql-cluster` and toggle to the **Configuration** tab.
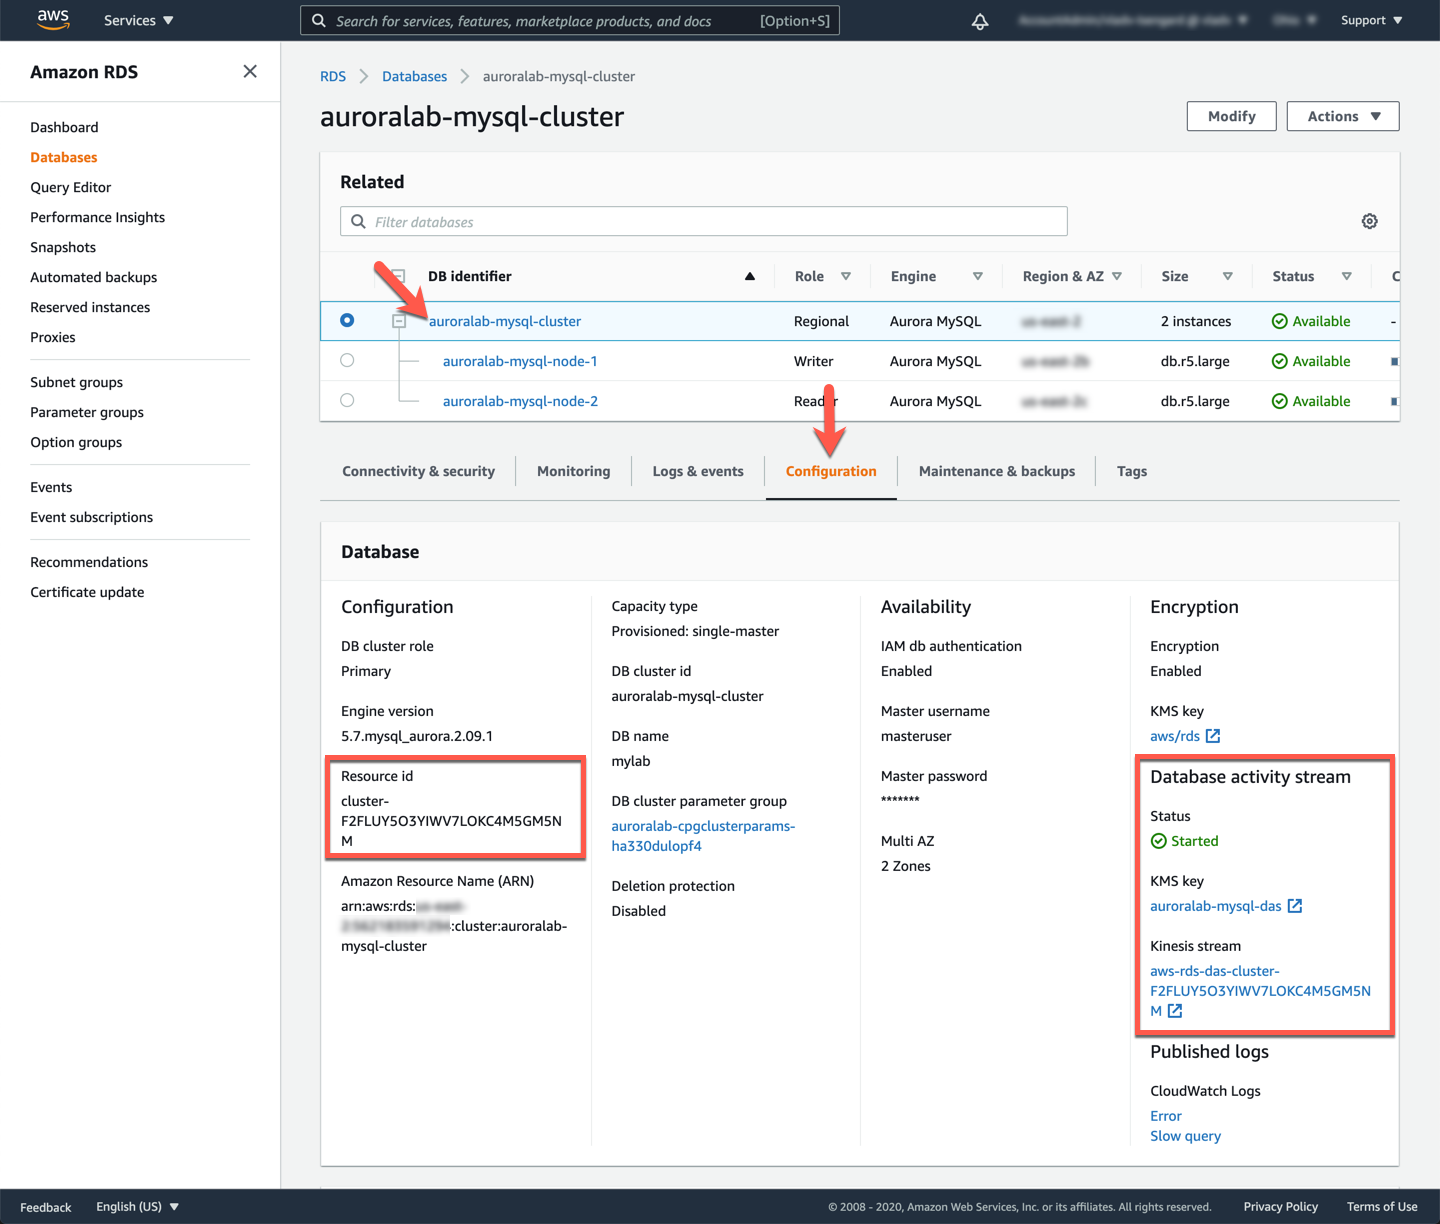
Note the **Resource id** and **Kinesis stream** values, you will need these value further in this lab.
## 3. Generate database load
You will use a read-only workload to generate load on the DB cluster. This [read load generator script](/scripts/reader_loadtest.py) produces a variety of read queries, using concurrent threads.
If you have not already opened a terminal window in the Cloud9 desktop in a previous lab, please [following these instructions](/prereqs/connect/) to do so now. Next, run the command below, replacing the ==[clusterEndpoint]== placeholder with the appropriate value from your CloudFormation stack outputs, or Event Engine Team Dashboard if you are participating in an organized workshop.
```
python3 reader_loadtest.py -e[clusterEndpoint] -u$DBUSER -p"$DBPASS" -dmylab -t2
```

You can quit the load generator script at any time by pressing `Ctrl+C`.
## 4. Read activity from the stream
You will use an [activity stream consumer script](/scripts/das_reader.py) to read the events from the activity stream and print them on the command line.
You will need to open an additional command line session to your Session Manager workstation, to see the activity events produced by the load generator you are running in the other session. See [Connect to the Session Manager](/prereqs/connect/), for steps how to create a new Session Manager command line session (if you don't already have one active from previous labs). Execute the command below in this new session, replacing the ==[resourceId]== and ==[streamName]== placeholders with the appropriate **Resource ID** and **Stream Name** values you retrieved above, after the activity stream was enabled.
```shell
python3 das_reader.py -i [resourceId] -s [streamName]
```
You can quit the monitoring script at any time by pressing `Ctrl+C`.
For a better look at an event, you can use a tool, such as jsonformatter.org, to format the JSON structure to be more readable.
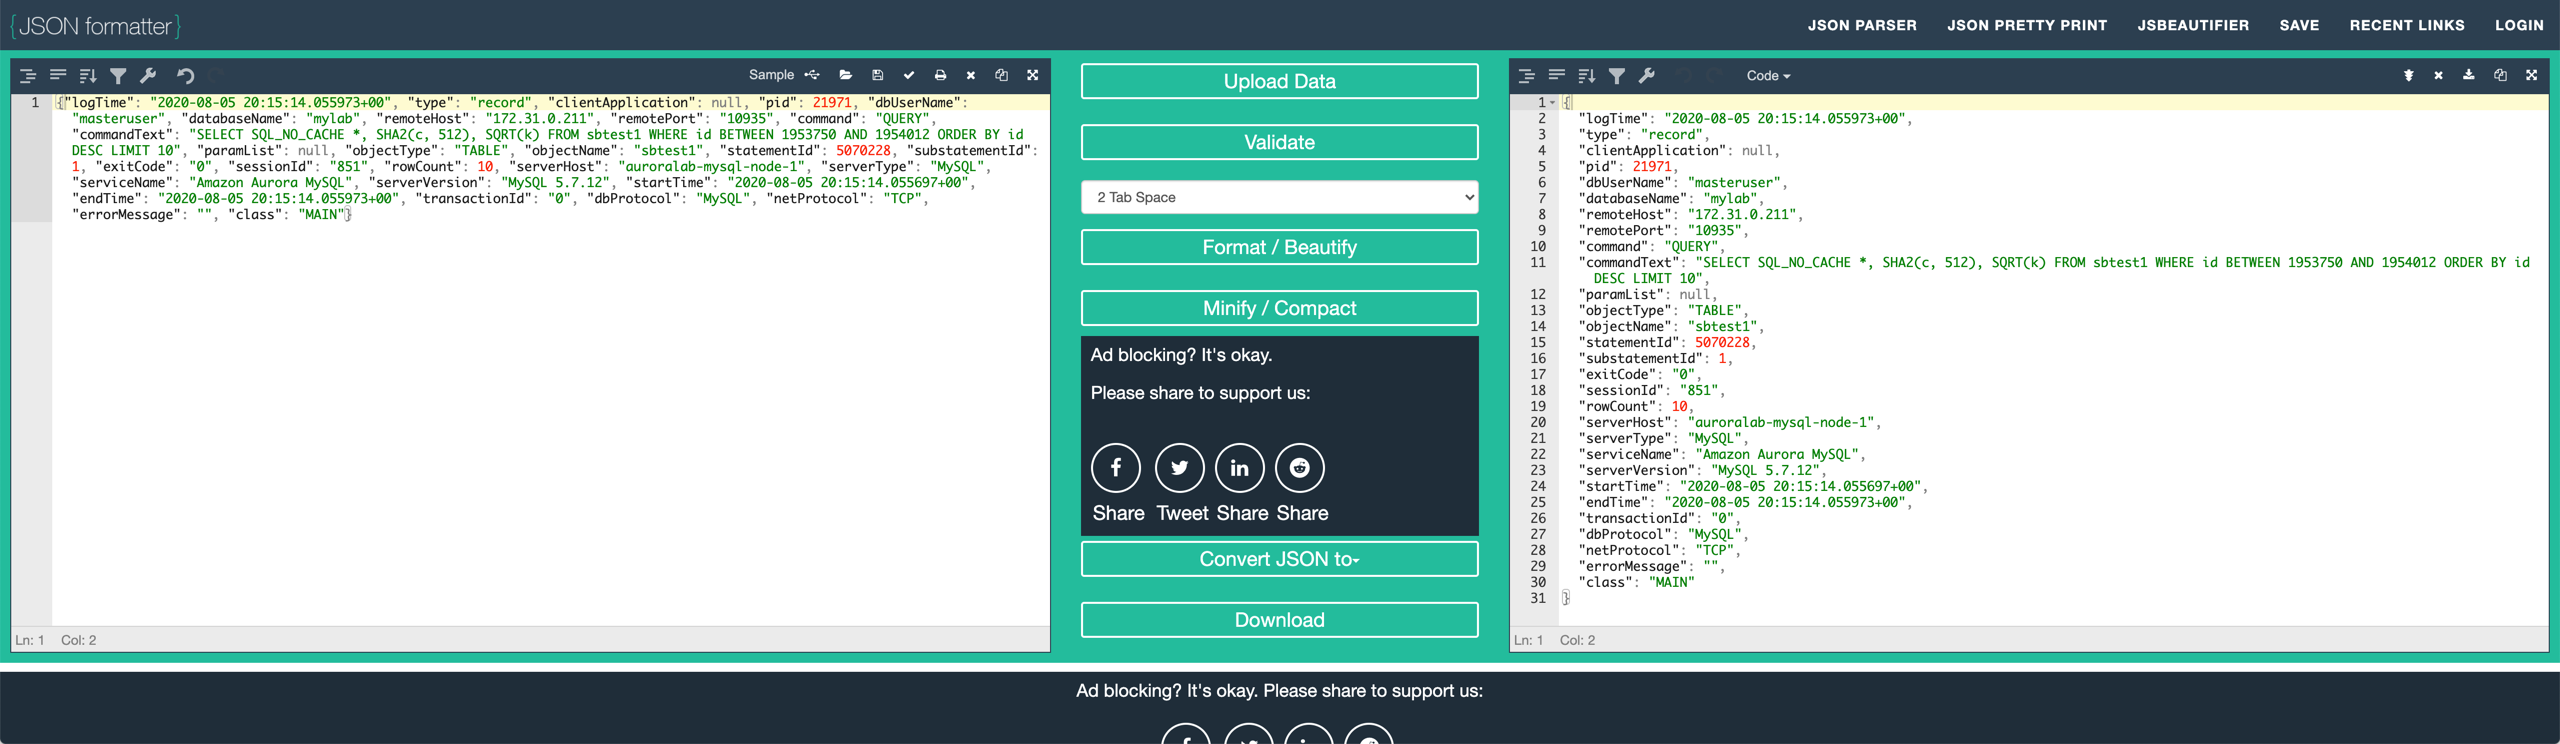
Your output should look similar to the following example:
```json
{
"logTime": "2020-08-05 20:15:14.055973+00",
"type": "record",
"clientApplication": null,
"pid": 21971,
"dbUserName": "administrator",
"databaseName": "mylab",
"remoteHost": "172.31.0.211",
"remotePort": "10935",
"command": "QUERY",
"commandText": "SELECT SQL_NO_CACHE *, SHA2(c, 512), SQRT(k) FROM sbtest1 WHERE id BETWEEN 1953750 AND 1954012 ORDER BY id DESC LIMIT 10",
"paramList": null,
"objectType": "TABLE",
"objectName": "sbtest1",
"statementId": 5070228,
"substatementId": 1,
"exitCode": "0",
"sessionId": "851",
"rowCount": 10,
"serverHost": "auroralab-mysql-node-1",
"serverType": "MySQL",
"serviceName": "Amazon Aurora MySQL",
"serverVersion": "MySQL 5.7.12",
"startTime": "2020-08-05 20:15:14.055697+00",
"endTime": "2020-08-05 20:15:14.055973+00",
"transactionId": "0",
"dbProtocol": "MySQL",
"netProtocol": "TCP",
"errorMessage": "",
"class": "MAIN"
}
```
## 5. Disable Database Activity Streams
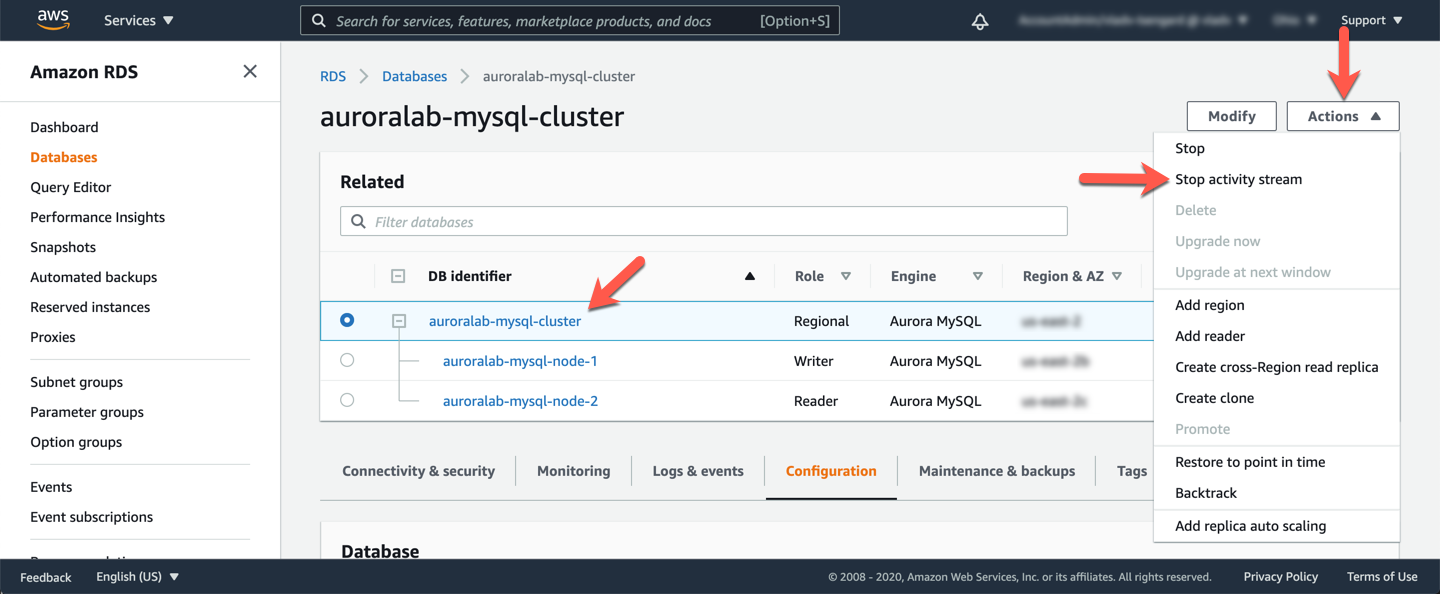
Open the Amazon RDS service console at the cluster details page, if not already open. If the cluster is not already selected, choose **Databases** and click on the DB identifier with the cluster named `auroralab-mysql-cluster`.
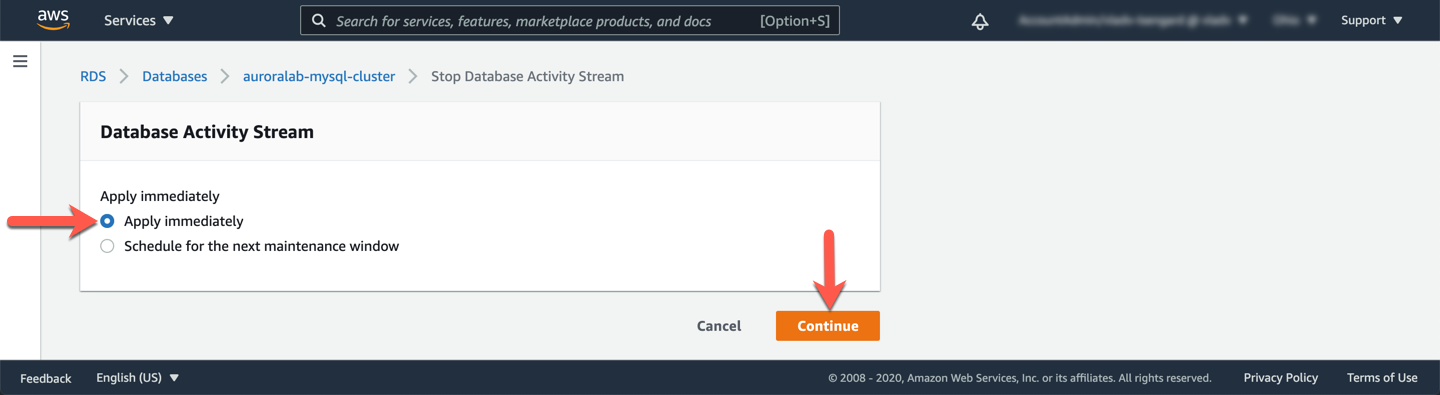
Click on the **Actions** dropdown, and select **Stop activity stream**.
On the setup screen choose **Apply immediately** and click **Continue**.
The status column on the RDS Database home page for the cluster will start showing `configuring-activity-stream`. The operation will be complete when the DB cluster and DB instances show a status of `Available`.