# Create an Aurora Serverless v2 DB Cluster
=== "The DB cluster has been pre-created for me"
If AWS CloudFormation has provisioned the DB cluster on your behalf, then skip this section and proceed to [Gather cluster details section directly](/serverlessv2/clusterdetails/)
=== "I want to create the serverless v2 cluster myself"
This lab will walk you through the steps of creating an Amazon Aurora Serverless v2 database cluster manually, and configuring the scaling parameters of the cluster.
This lab contains the following tasks:
1. Create a serverless v2 DB cluster
This lab requires the following lab modules to be completed first:
* [Get Started](/prereqs/environment/)
## 1. Create a serverless v2 DB cluster
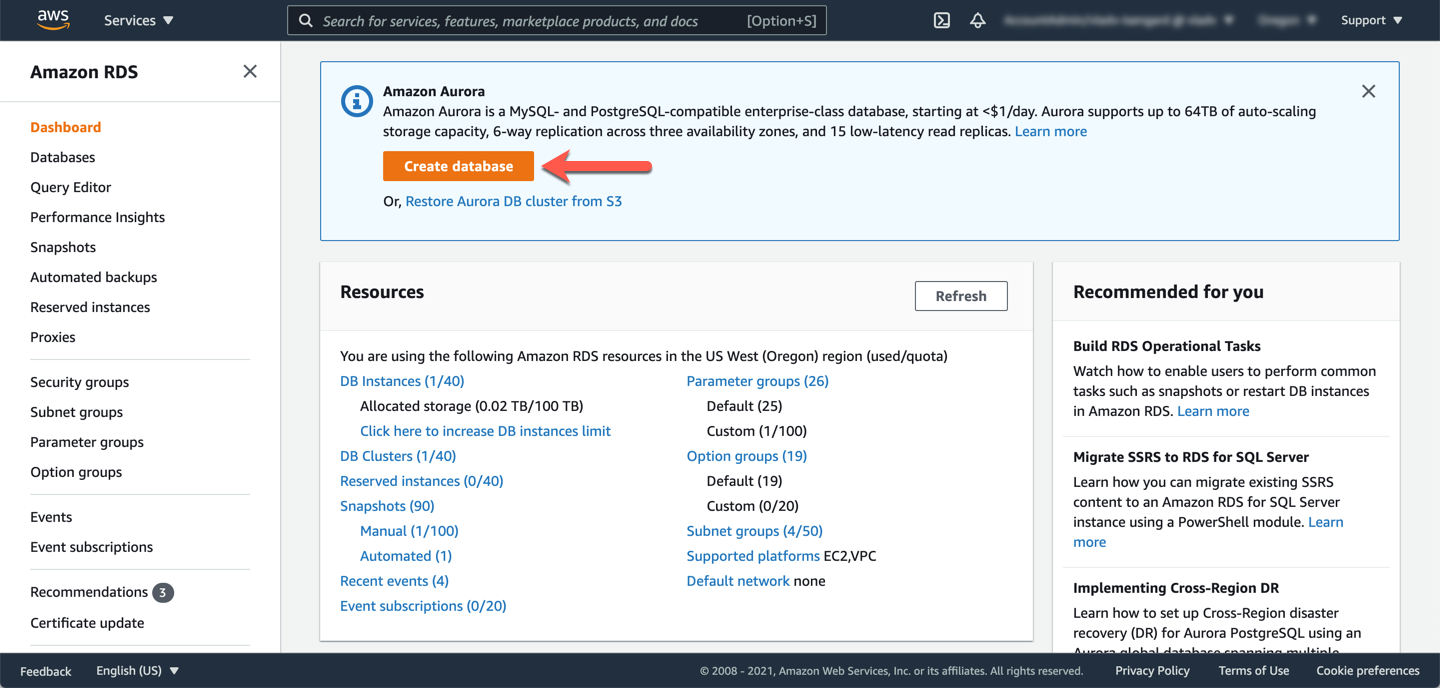
Open the Amazon RDS service console, if you don't already have it open.
Click **Create database** to start the configuration process
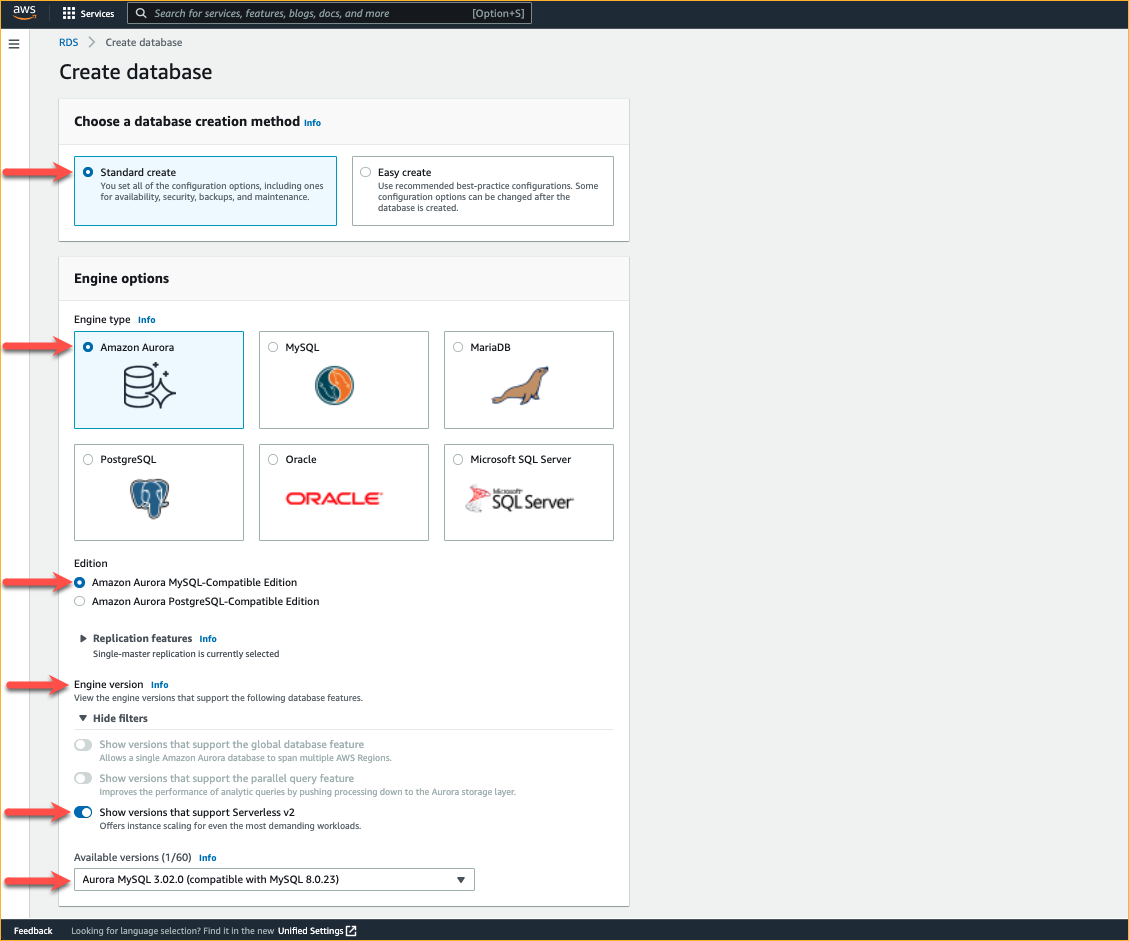
In the first configuration section of the **Create database** page, ensure the **Standard Create** database creation method is selected.
Next, in the **Engine options** section, choose the **Amazon Aurora** engine type, the **Amazon Aurora with MySQL compatibility** edition, expand filters for **Engine version** and enable **Show versions that support Serverless v2**, ensure the version **Aurora MySQL 3.02.0** is selected under **Available versions**.
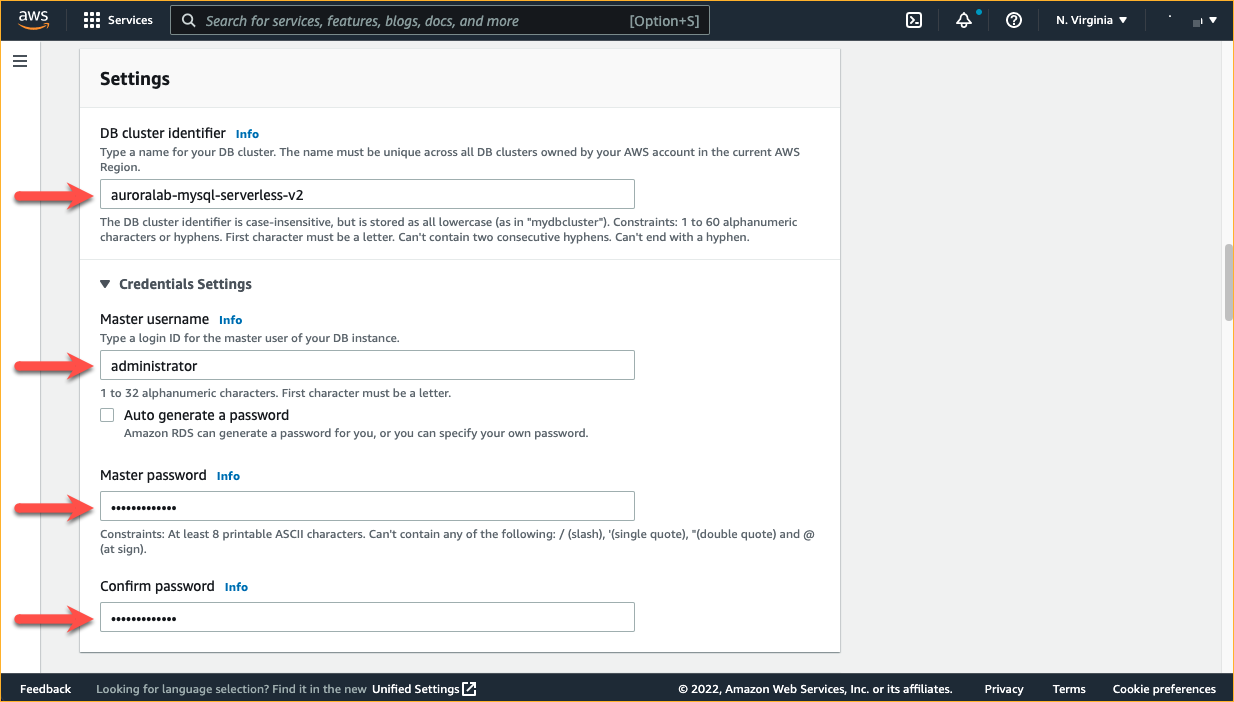
In the **Settings** section set the database cluster identifier to `auroralab-mysql-serverless-v2`. Configure the name and password of the master database user, with the most elevated permissions in the database. We recommend to use the user name `administrator` for consistency with subsequent labs and a password of your choosing. For simplicity ensure the check box **Auto generate a password** is **not checked**.
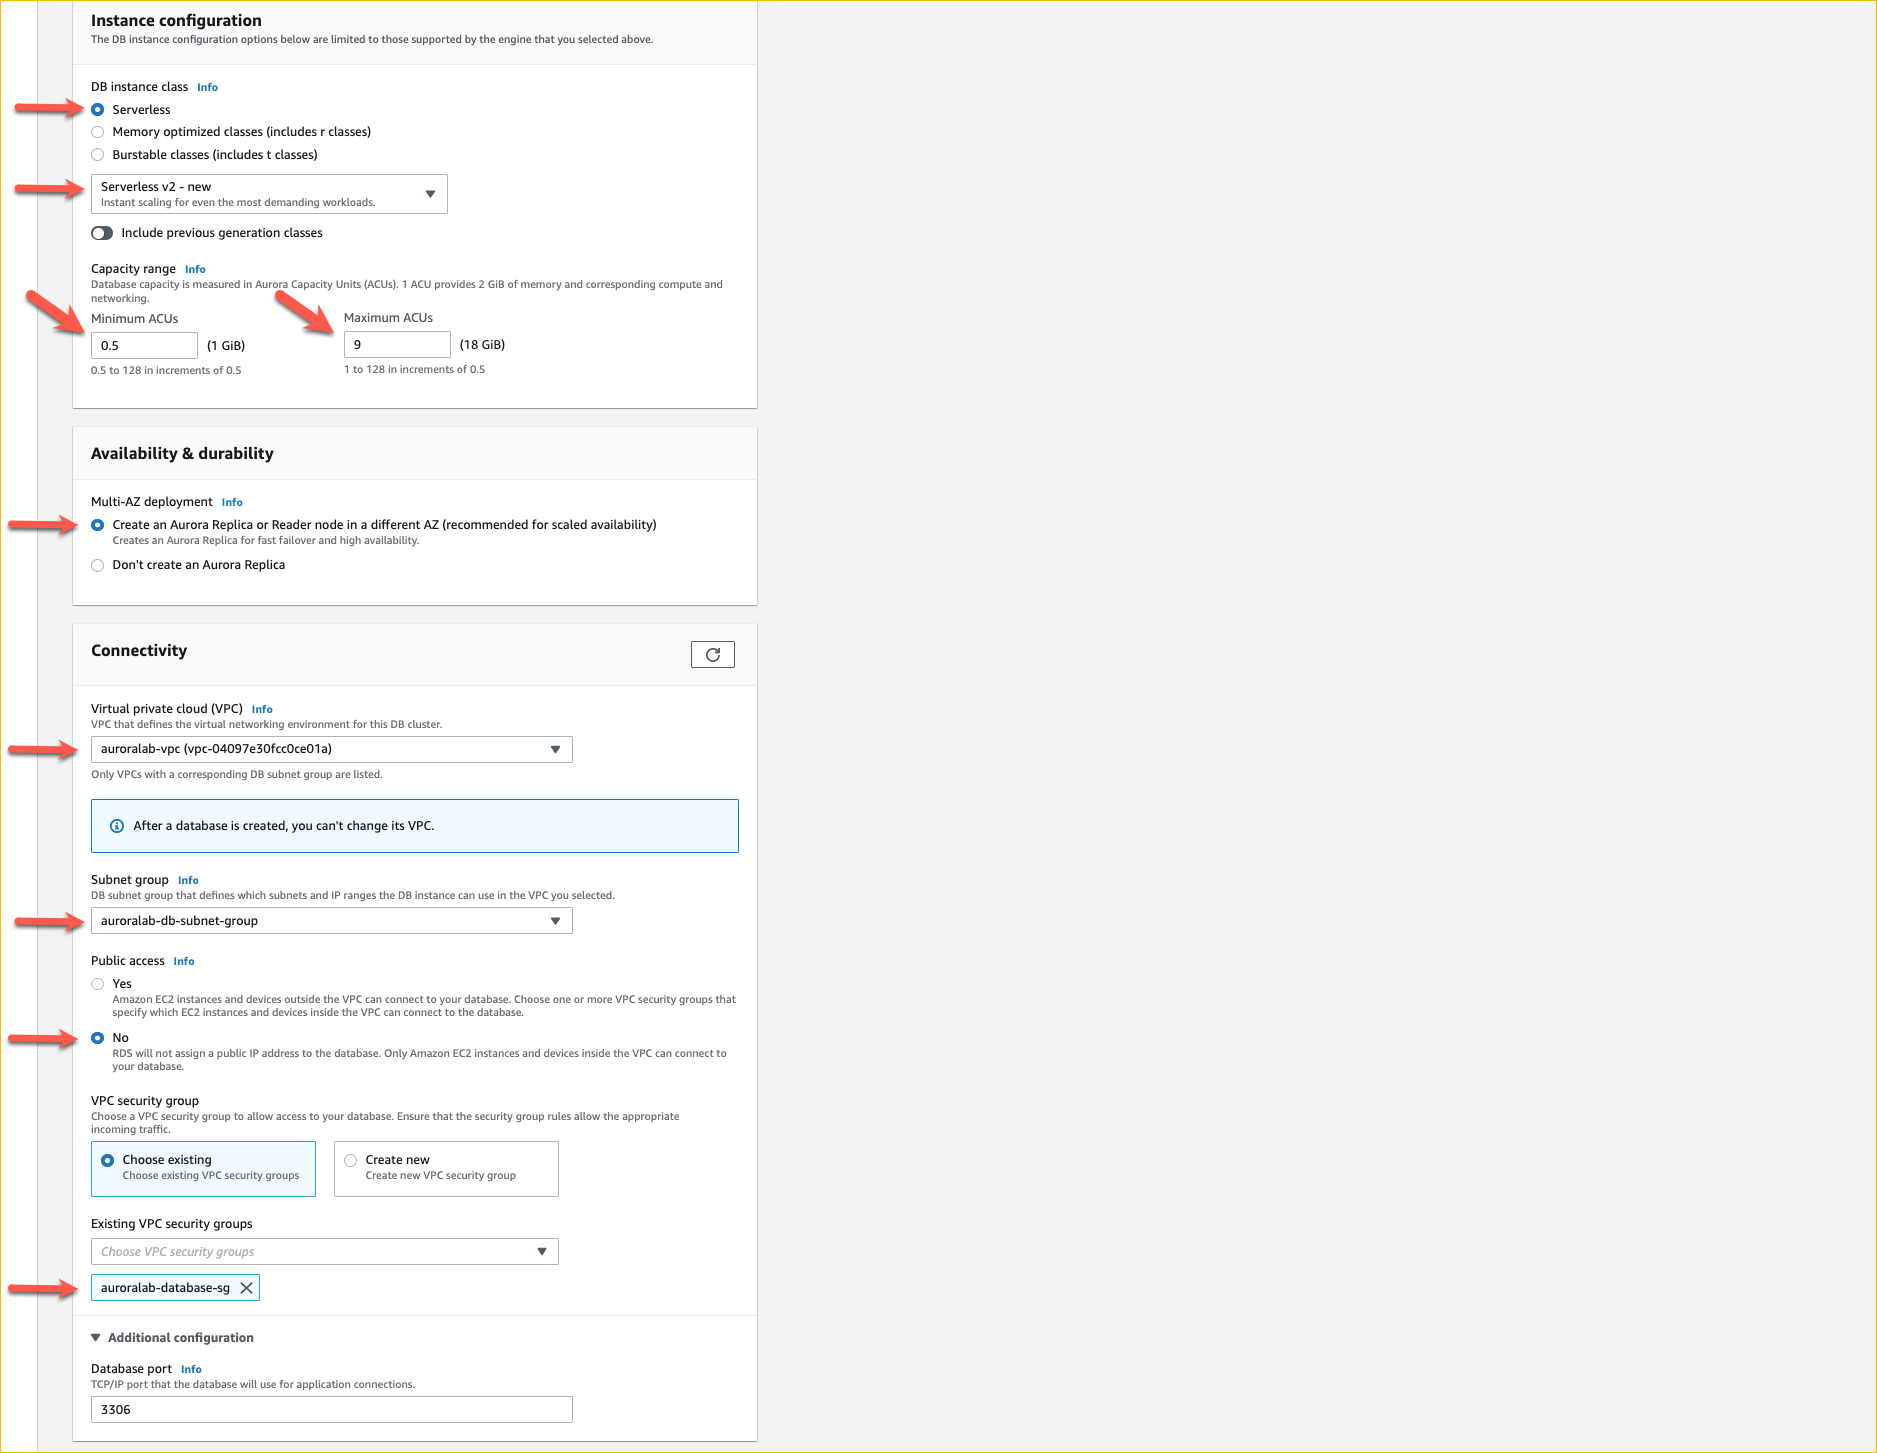
In the **Instance Configuration** section, select **Serverless** under **DB instance class** which would populate **Serverless v2 - new** as the instance class. Under **Capacity range** choose **Minimum ACUs** of `0.5 (1GB RAM)` and a **Maximum ACUs** of `9 (18 GB RAM)`. Next, in the **Availability & Durability** section, select **Create an Aurora Replica or Reader node in a different AZ** (recommended for scaled availability).
In the **Connectivity** section, expand the sub-section called **Additional configuration**. This section allows you to specify where the database cluster will be deployed within your defined network configuration. Your environment has been deployed with a VPC that includes all resources needed for an Aurora serverless v2 database cluster. This includes the VPC itself, subnets, DB subnet groups, security groups and several other networking constructs. All you need to do is select the appropriate existing connectivity controls in this section.
Pick the **Virtual Private Cloud (VPC)** named `auroralab-vpc`. The lab environment also configured a **VPC security group** that allows your lab workspace EC2 instance to connect to the database. Make sure the **Choose existing** security group option is selected and from the dropdown pick the security group named `auroralab-database-sg`. Please remove any other security groups, such as `default` from the selection.
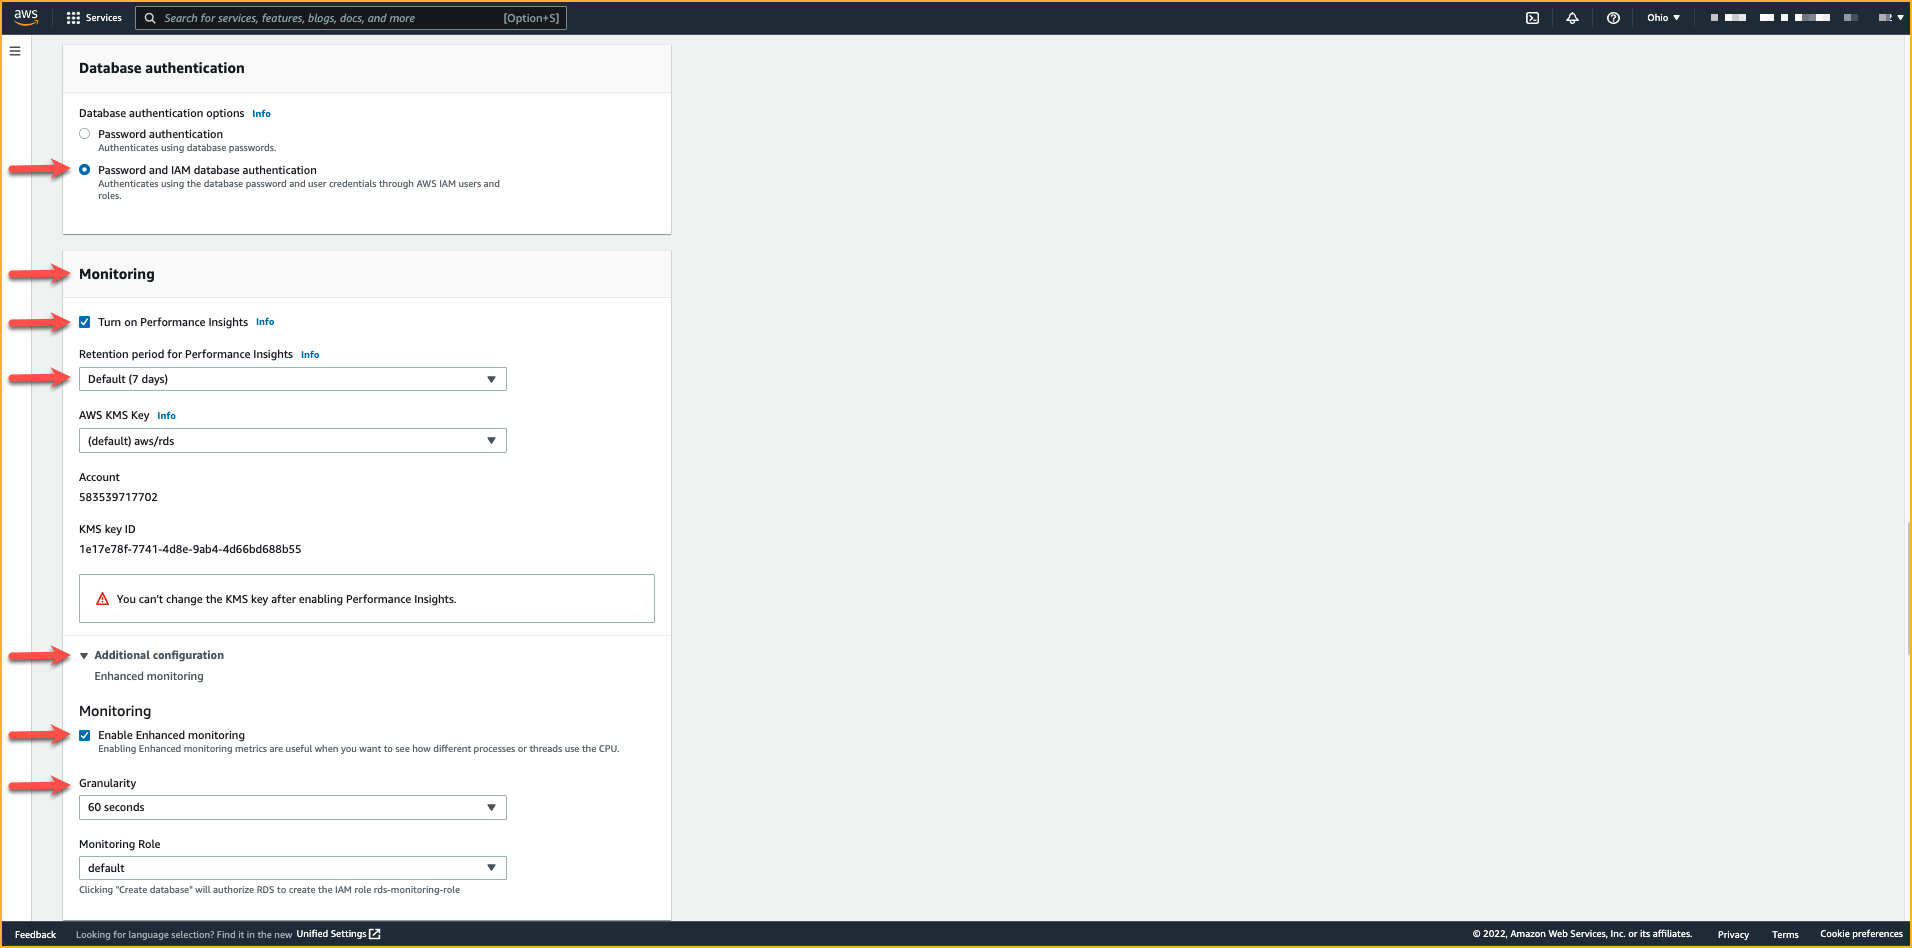
In the **Database authentication** section, choose **Password and IAM database authentication** as IAM authentication may be used in some of the subsequent labs. In the **Monitoring** section check to **Turn on Performance Insights** and expand the sub-section of **Additional configuration** to enable **Enhanced monitoring**.
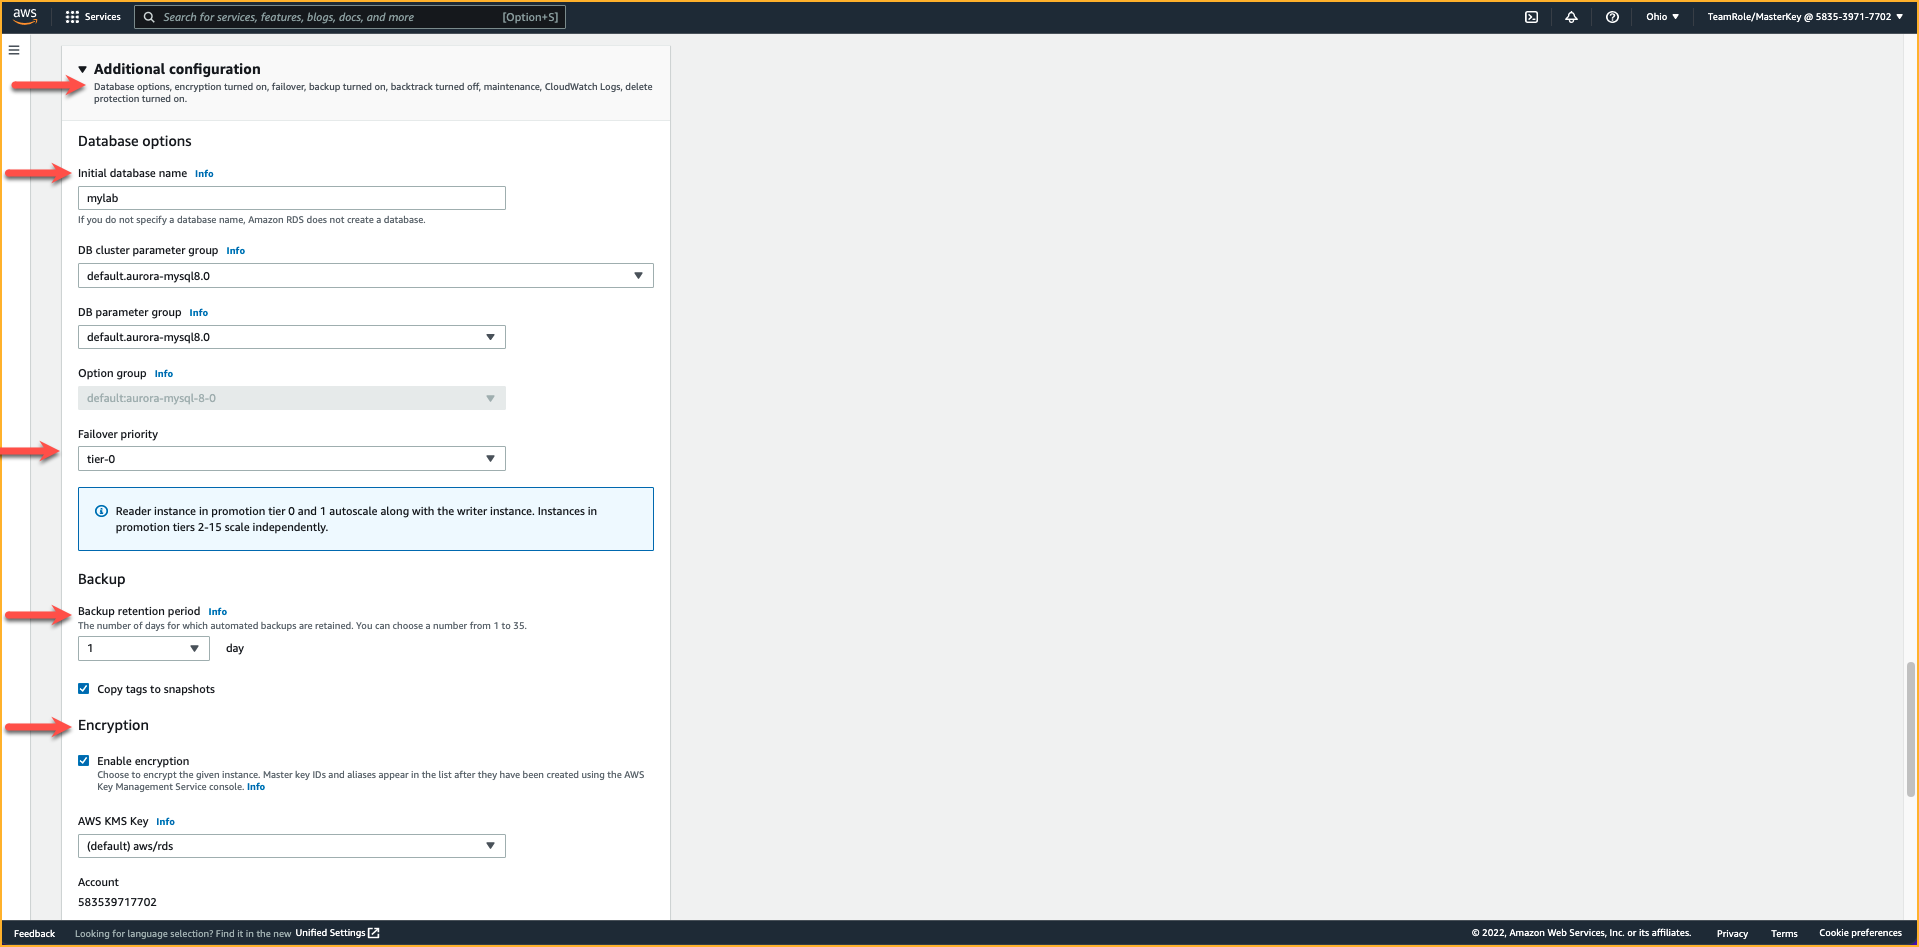
Next, expand the **Additional configuration** section. Type `mylab` in the **Initial database name** text box. Under **Failover priority** select **tier-0** from the dropdown. Choose a `1 day` **Backup retention period** and keep the **Enable Encryption** option selected.
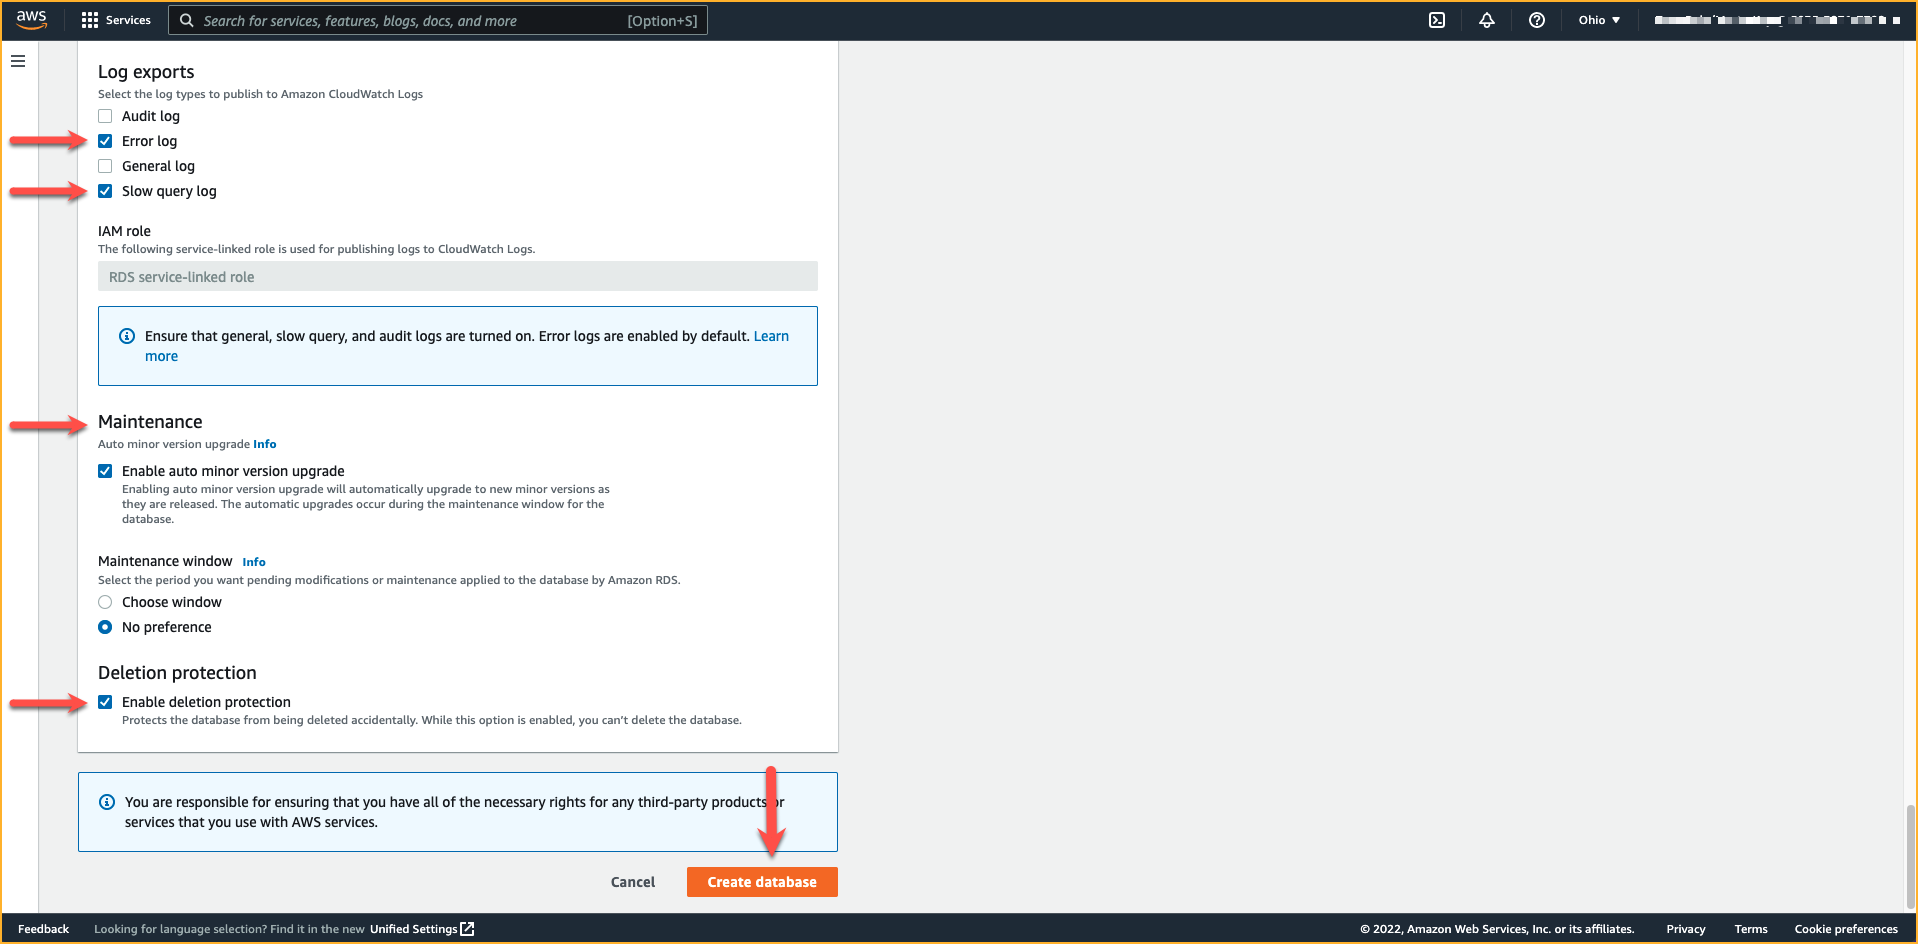
Also, in the **Additional configuration** section, for **Log Exports** check the `Error log` and `Slow query log` boxes. Keep the selections in **Maintenance** section as is. De-select the check box **Enable delete protection**. In a production use case, you will want to leave that option checked, but for testing purposes, un-checking this option will make it easier to clean up the resources once you have completed the labs.
??? tip "What do these selections mean?"
You will create a database cluster with the following characteristics:
* MySQL-compatible DB instances for Aurora Serverless v2 require Aurora MySQL 3.02.0 or higher. This Aurora MySQL version is compatible with MySQL 8.0
* Serverless DB cluster can scale between 0.5 and 9 capacity units
* Deployed in a VPC and using the network configuration of the lab environment
* Automatically getting backed up continuously, retaining backups for 1 day
* Using data at rest encryption
Click **Create database** to provision the DB cluster.