Click here if you want a refresher or a quick crash course on Docker, Fargate, and AWS in general. You'll do a few of the steps from CON214 to get you to the start of Lab 1.
### Crash Course/Refresher on Workshop 1 (CON214: Monolith to Microservice with Docker and AWS Fargate)
1\. Build the monolith docker image and test it
In order for us to use a Docker image, we have to create it first. We'll do it manually here but don't worry, the whole point is to automate all this away.
$ cd ~/environment/amazon-ecs-mythicalmysfits-workshop/workshop-2/app/monolith-service
$ docker build -t monolith-service .
Run the docker container and test the adoption agency platform running as a container to make sure it responds
Use the [docker run](https://docs.docker.com/engine/reference/run/) command to run your image; the -p flag is used to map the host listening port to the container listening port. Note that "Table-REPLACEME_STACKNAME" will need to be updated; replace the ***REPLACEME_STACKNAME*** portion with the name you entered when you created the CloudFormation stack.
$ docker run -p 8000:80 -e AWS_DEFAULT_REGION=REPLACEME_REGION -e DDB_TABLE_NAME=Table-REPLACEME_STACKNAME monolith-service
Following our naming conventions, my command would be:
$ docker run -p 8000:80 -e AWS_DEFAULT_REGION=eu-west-1 -e DDB_TABLE_NAME=Table-mythical-mysfits-devsecops monolith-service
 * Running on http://0.0.0.0:80/ (Press CTRL+C to quit)
Press **Ctrl + C to exit**
2\. Push to the monolith-service ECR Repository
In order to pull an image to use it, we have to put it somewhere. Similarly to how we use Git and centralized source control systems like GitHub, we'll use Amazon EC2 Container Registry (ECR) to store our images. Let's start by getting the ECR repository that we will be pushing to. Use the CLI to run `aws ecr describe-repositories` and note down both of the **repositoryUri** values for the ECR repositories that were created for you. The **repositoryName** should have the words mono or like in them. Don't worry that the name has a bunch of random characters in it. That's just CloudFormation making uniquely named resources for you.
$ aws ecr describe-repositories
{
    "repositories": [
        {
            "registryId": "123456789012",
            "repositoryName": "mythic-mono-ui2nkbotfxk2",
            "repositoryArn": "arn:aws:ecr:eu-west-1:123456789012:repository/mythic-mono-ui2nkbotfxk2",
            "createdAt": 1542995670.0,
            "repositoryUri": "123456789012.dkr.ecr.eu-west-1.amazonaws.com/mythic-mono-ui2nkbotfxk2"
        },
        {
            "registryId": "123456789012",
            "repositoryName": "mythic-like-qhe5ji30css2",
            "repositoryArn": "arn:aws:ecr:eu-west-1:123456789012:repository/mythic-like-qhe5ji30css2",
            "createdAt": 1542995670.0,
            "repositoryUri": "123456789012.dkr.ecr.eu-west-1.amazonaws.com/mythic-like-qhe5ji30css2"
        }
    ]
}
Now that we have the repository URIs, we can tag and push the images up to ECR for later use. Here we are pushing the monolith-service to the repository with the word `mono` in it we got from above.
$ $(aws ecr get-login --no-include-email --region REPLACEME_REGION)
$ docker tag monolith-service:latest REPLACEME_ECR_REPOSITORY_URI:latest
$ docker push REPLACEME_ECR_REPOSITORY_URI:latest

The push refers to repository [123456789012.dkr.ecr.eu-west-1.amazonaws.com/mythical-mysfits-devsecops/monolith-service]
a09105a1d2ce: Pushed
b0be10c9aaa2: Pushed
5a458948ccaa: Pushed
2fc1a26ddb10: Pushed
3178611d3d5f: Pushed
76c033092e10: Pushed
2146d867acf3: Pushed
ae1f631f14b7: Pushed
102645f1cf72: Pushed
latest: digest: sha256:5d985802219c5a92ea097d414858d962c125c1ff46cfc70edcdf7f05ac964f62 size: 2206
When you issue the push command, Docker pushes the layers up to ECR, and if you refresh the monolith-service ECR repository page, you'll see an image indicating the latest version.
2\. Build the like docker image and push to ECR.
We already have the repository URIs so let's build the like-service:
$ cd ~/environment/amazon-ecs-mythicalmysfits-workshop/workshop-2/app/like-service
$ docker build -t like-service .
*Note: Did you notice that the build time was significantly shorter when building the like-service? That's because most of the layers were already cached*
$ docker tag like-service:latest REPLACEME_ECR_REPOSITORY_URI:latest
$ docker push REPLACEME_ECR_REPOSITORY_URI:latest
3\. Look at the task definition for the monolith-service
Task definitions are an integral part of Fargate. It tells the Fargate service what to run, from how much memory to which actual Docker image to run.
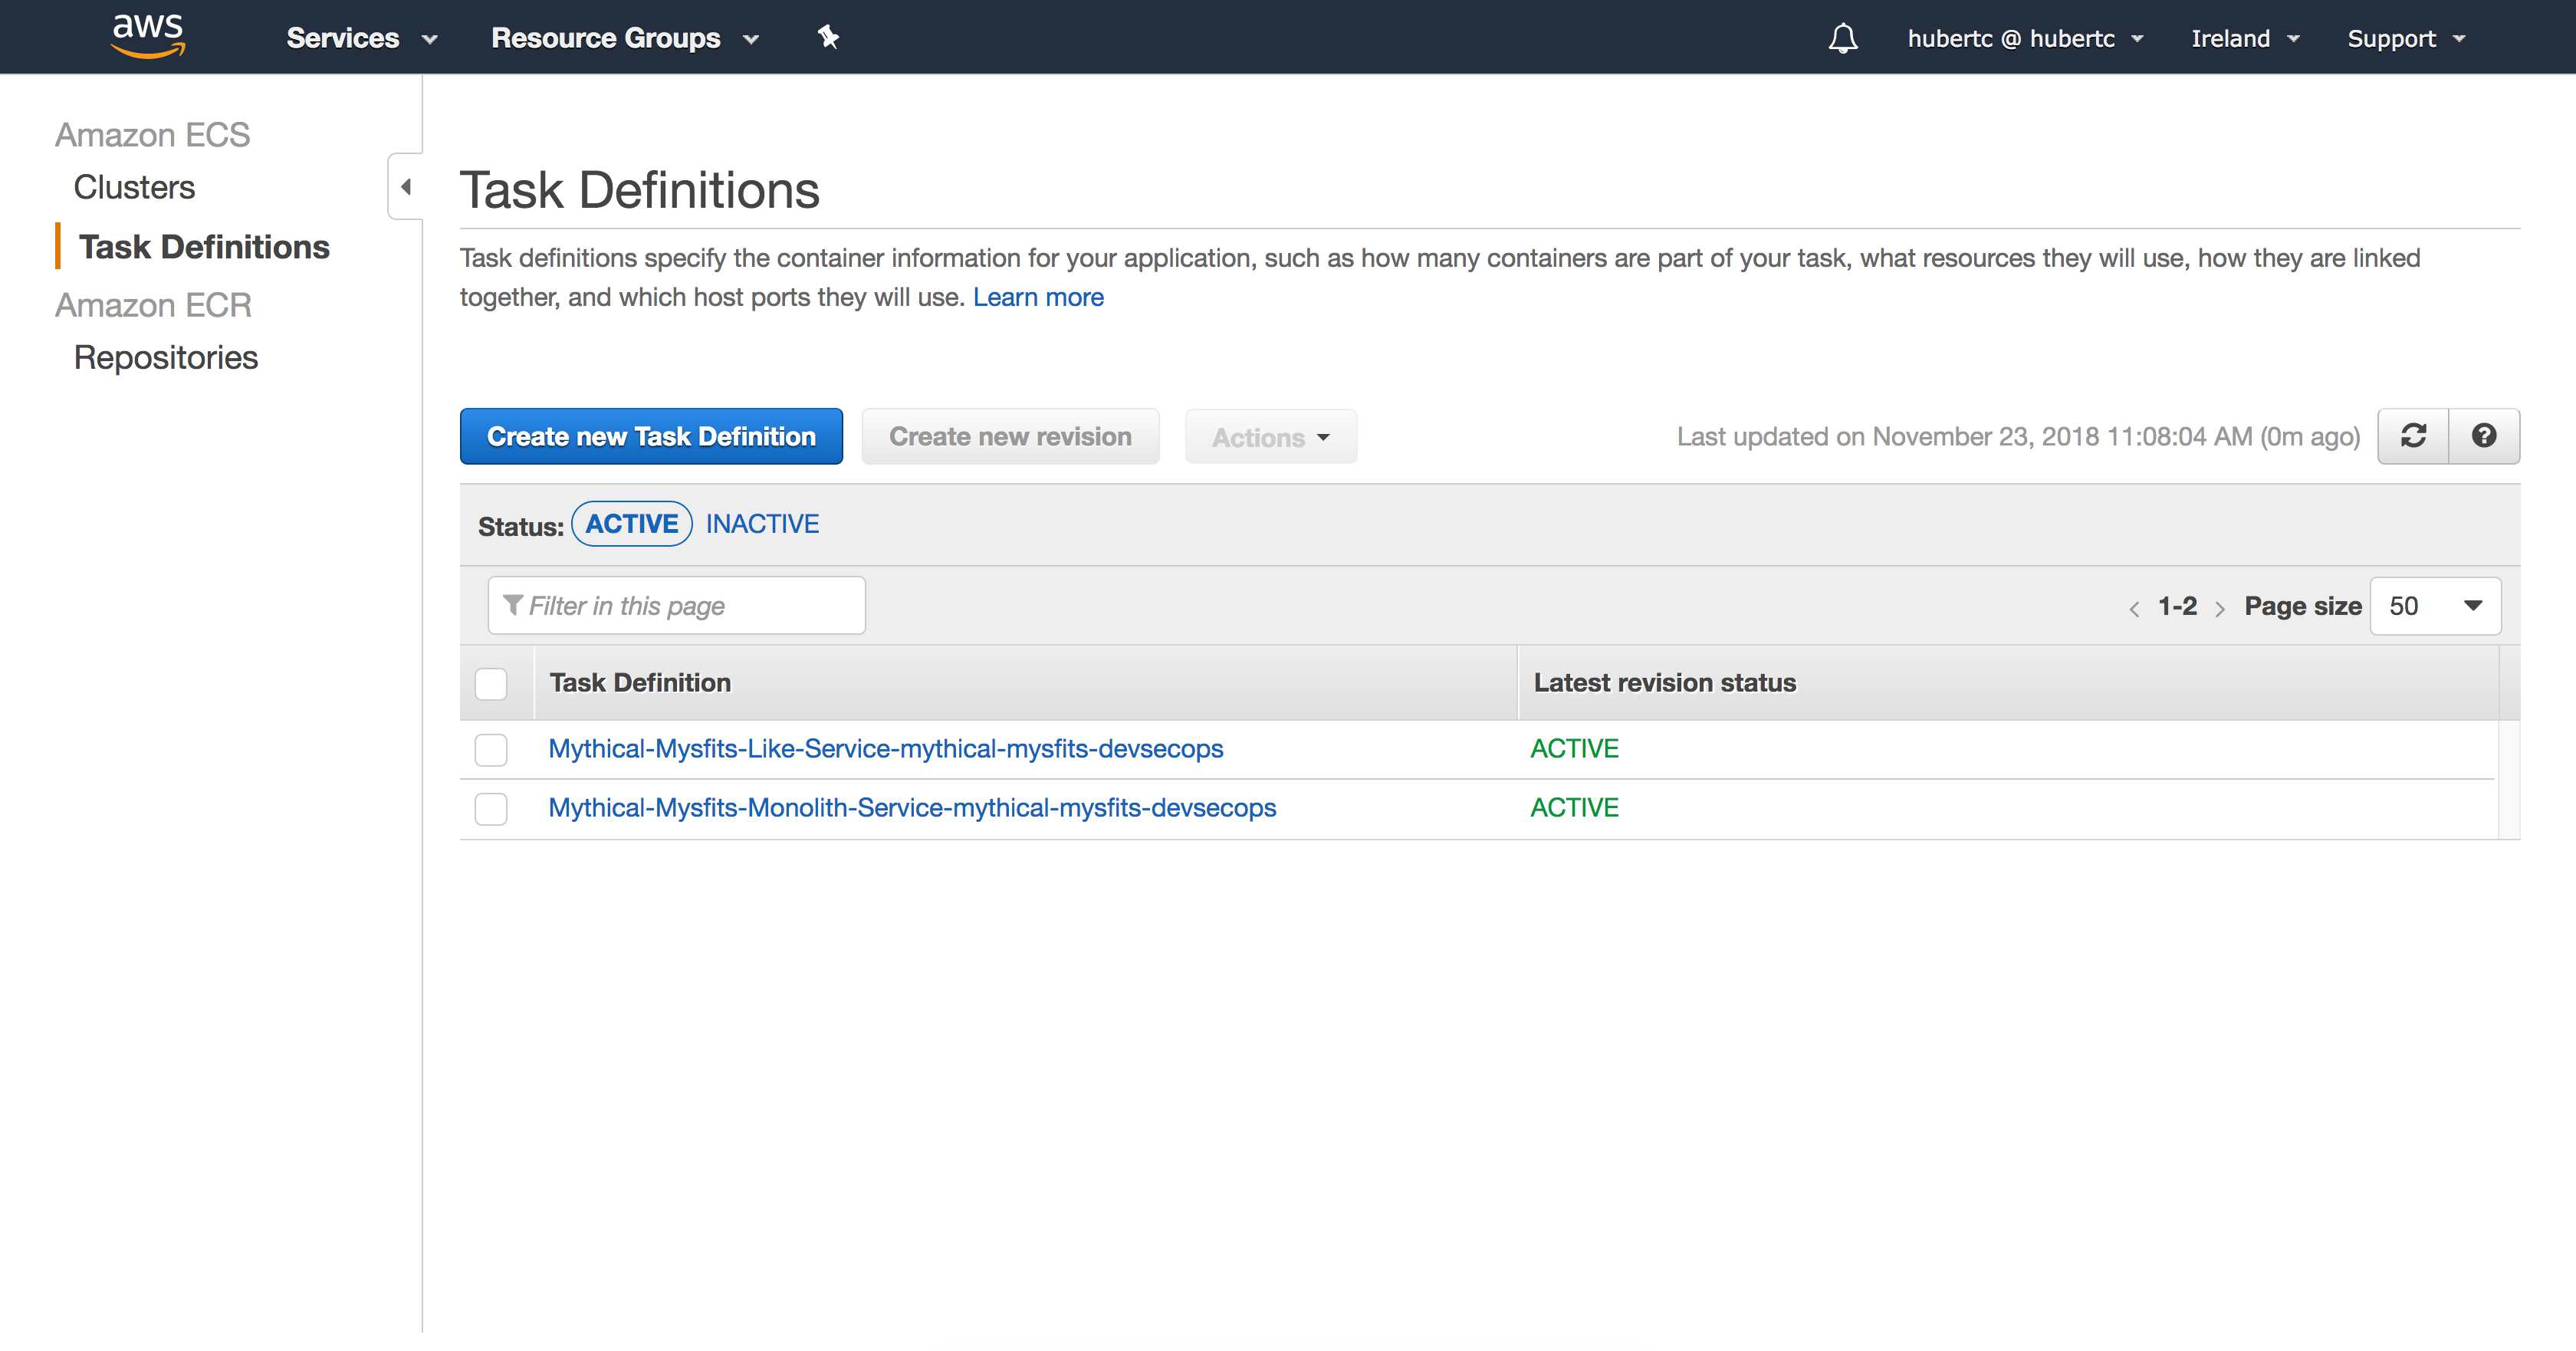
As part of the core infrastructure stack, we've already created task definitions for you, but let's take a look at them to understand what gets updated on a deployment. In the AWS Management Console, navigate to [Task Definitions](https://console.aws.amazon.com/ecs/home#/taskDefinitions) in the ECS dashboard. Check the checkbox next to the monolith-service task definition. It should be named something like Mythical-Mysfits-Monolith-mythical-mysfits-devsecops. Then click on **Create New Revision**
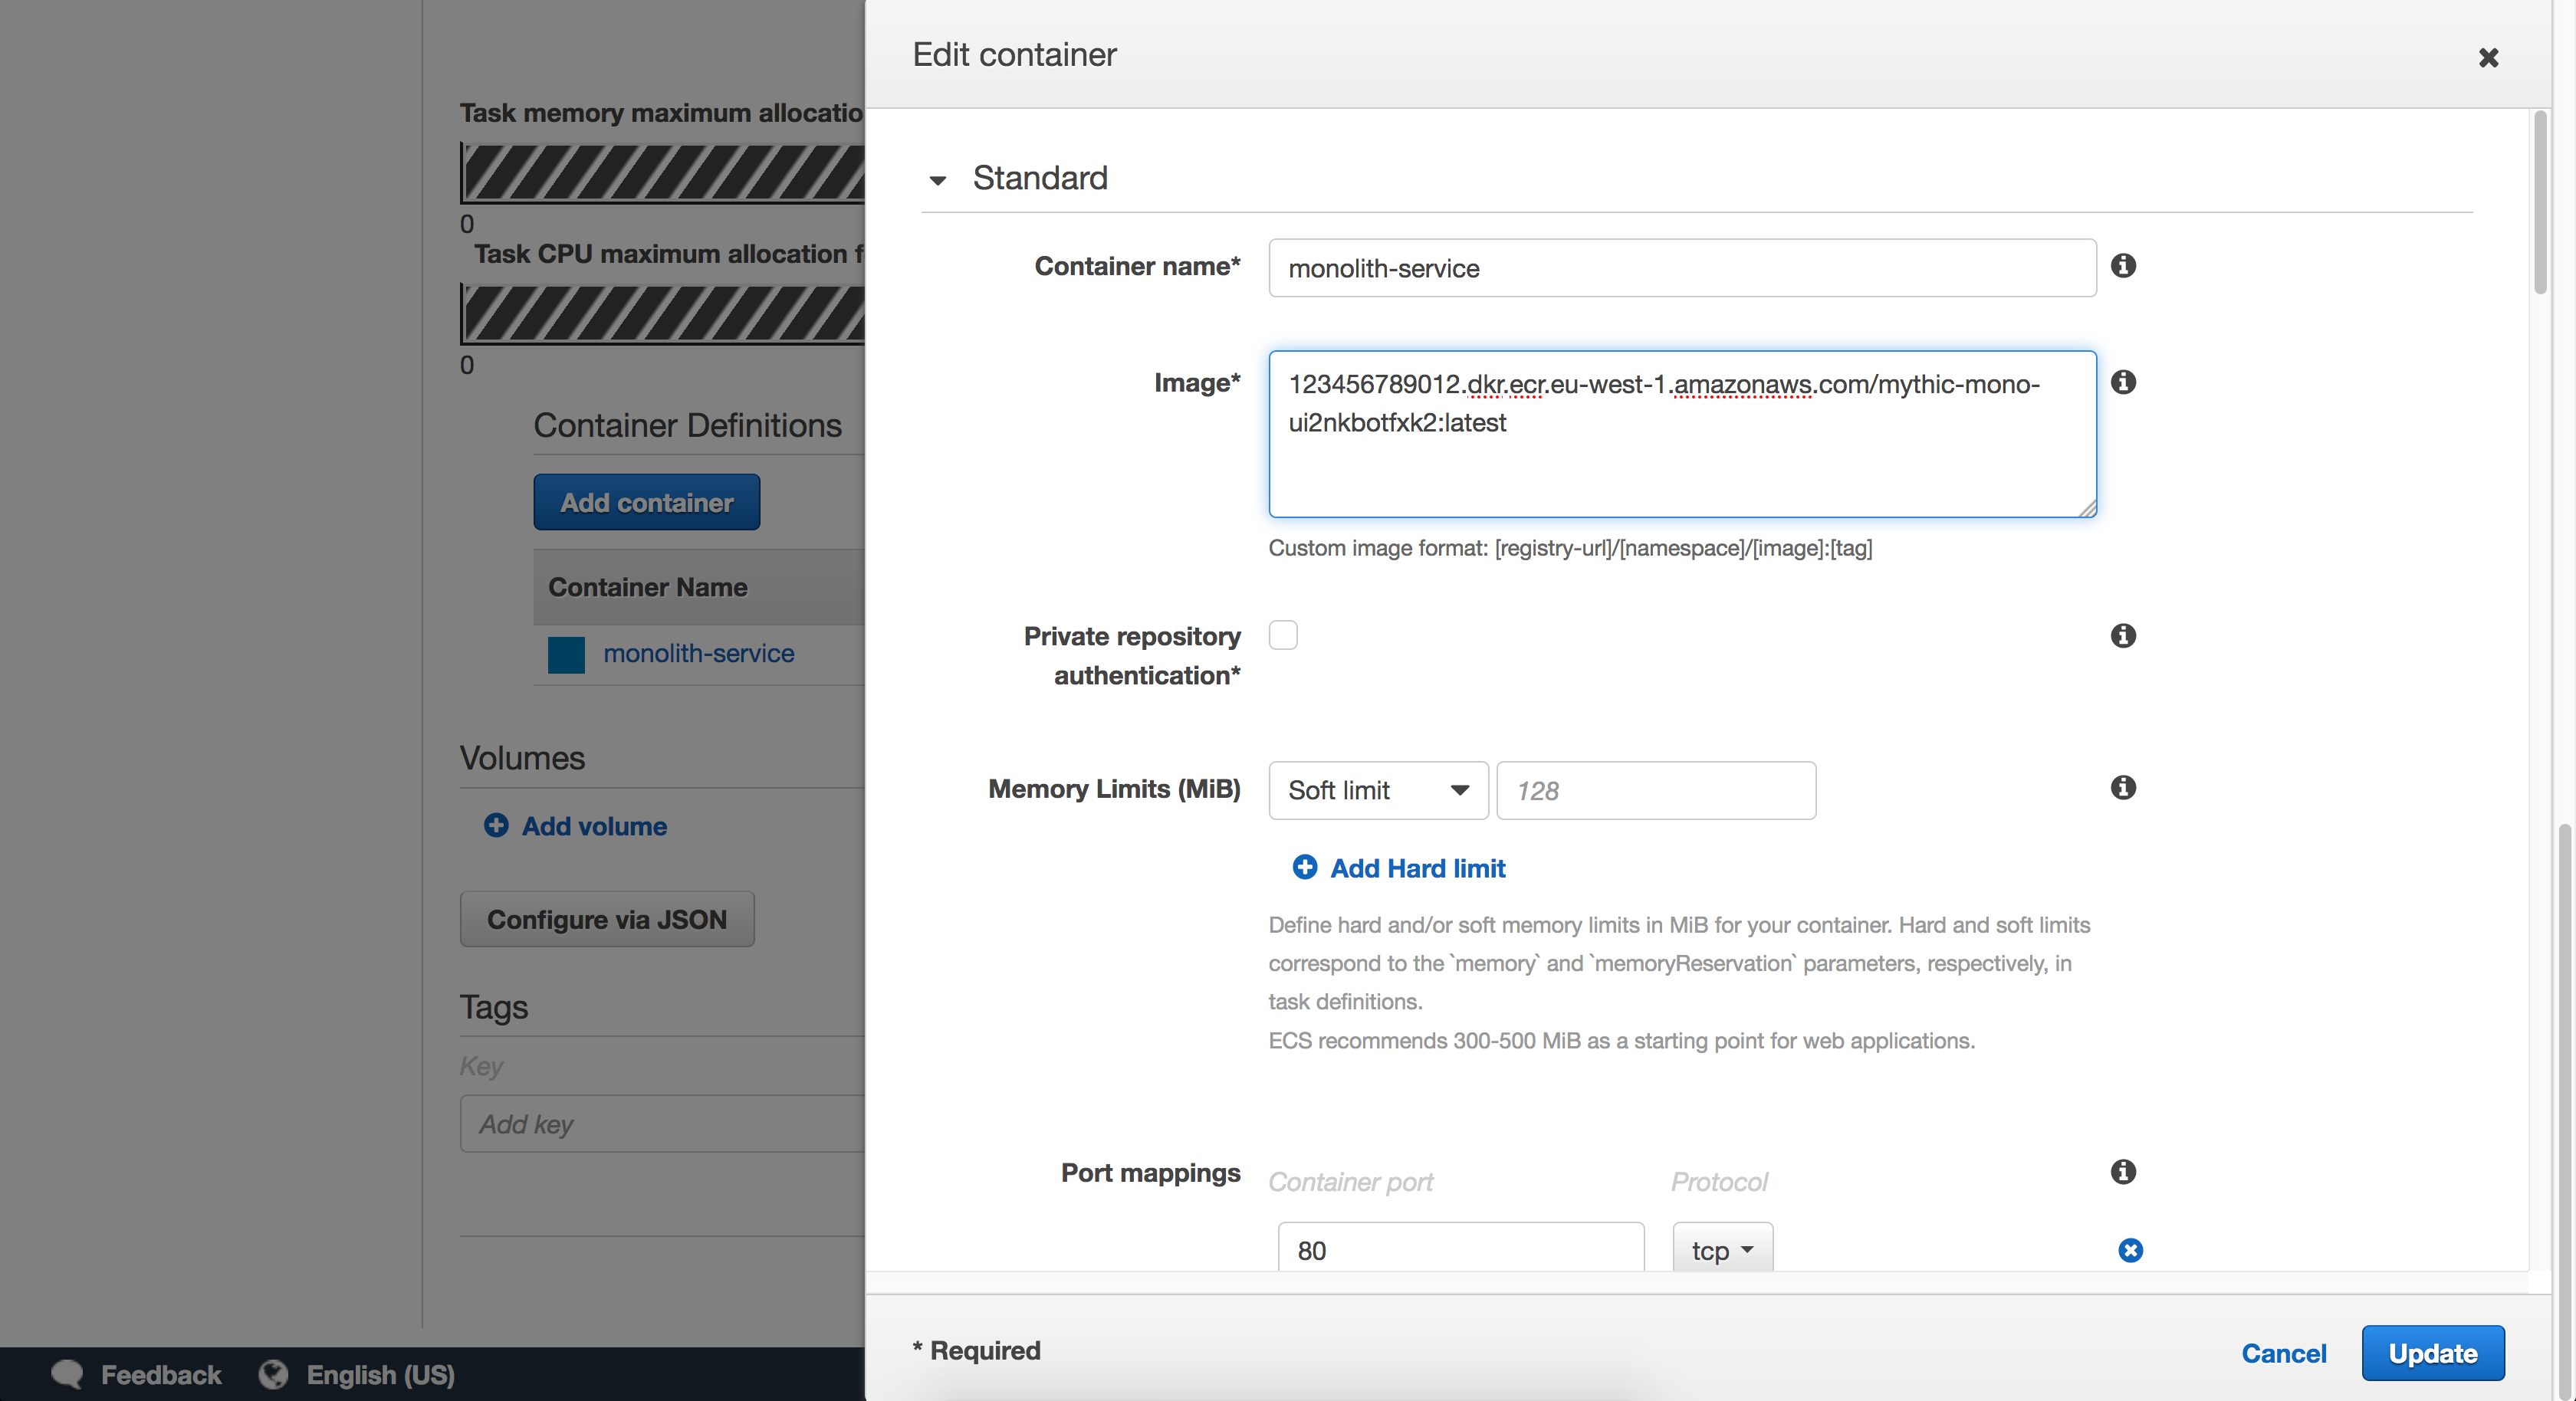
Scroll down to Container Definitions where you should see where we have pre-defined a monolith-service container. Click on **monolith-service** to see details. Normally, this is where you'd modify the container image to change what you want to deploy to Fargate. However, since we've already pre-populated this, you're all set.
Cancel out of everything until you're back to the **Task Definition** page.
4\. Create Fargate services
First, we get the task definition names that we want to use. You saw them in the console earlier, but let's get them from the CLI:
$ aws ecs list-task-definitions
{
    "taskDefinitionArns": [
        "arn:aws:ecs:eu-west-1:123456789012:task-definition/Mythical-Mysfits-Like-Service-mythical-mysfits-devsecops:1",
        "arn:aws:ecs:eu-west-1:123456789012:task-definition/Mythical-Mysfits-Monolith-Service-mythical-mysfits-devsecops:1"
    ]
}
Next up we need to create the Fargate services for the monolith service and the like service. We're using AWS CLI skeletons that we've updated to include the output values from the CloudFormation stack. The only thing you have to do is pass in the task definitions you noted down earlier. Run the following commands from your Cloud9 IDE, substituting in the task definitions for the ones you just listed. Make sure to include the number at the very end.
$ cd ~/environment/amazon-ecs-mythicalmysfits-workshop/workshop-2/Lab-0
$ aws ecs create-service --cli-input-json file://monolith-service.json --task-definition REPLACE_ME_MONOLITH_TASK_DEFINITION
$ aws ecs create-service --cli-input-json file://like-service.json --task-definition REPLACE_ME_LIKE_TASK_DEFINITION
In my case, things looked like this:
aws ecs create-service --cli-input-json file://monolith-service.json --task-definition Mythical-Mysfits-Monolith-Service-mythical-mysfits-devsecops:1
aws ecs create-service --cli-input-json file://like-service.json --task-definition Mythical-Mysfits-Like-Service-mythical-mysfits-devsecops:1
If successful, a large blob of JSON describing your new service will appear.
5\. Visit the Mythical Mysfits Homepage
Finally, let's look at what you've set up. The Mythical Mysfits adoption homepage is where you will be able to view all sorts of information about the Mythical Mysfits. To find out how to get there, go to the CloudFormation outputs section for your CloudFormation stack. Look for an output named **S3WebsiteEndpoint**. It is an HTTP link. Copy and paste it into your browser window and bookmark it or put it in a note. It should already be working. If you see a bunch of Mysfits, it's working. Otherwise, it's not.
# Checkpoint
You made it to the end of Lab 0. In one way or another, you should now have two running services hooked into an ALB. If you visit the S3 static website bucket that was created as part of the bootstrap, it should be working already and you should see a bunch of Mythical Mysfits. Now you're ready to move on to Lab 1 to start your journey to DevSecOps!
[Proceed to Lab 1](../Lab-1)
# The End?
This is the end of Lab 0, but if you're reading this, you may have gone too far. Make sure you click on the hidden dialogues right above this section.