## Lab 0 - Launch the Stack
### 1. Launch the stack
#### 1.1 Start
Click the link to kick off the process.
Region | Button
------------ | -------------
us-east-1 | [](https://console.aws.amazon.com/cloudformation/home?region=us-east-1#/stacks/new?stackName=LambdaAtEdgeWorkshopAlienCards&templateURL=https://s3.amazonaws.com/ws-lambda-at-edge/bootstrap/cfn-template.json)
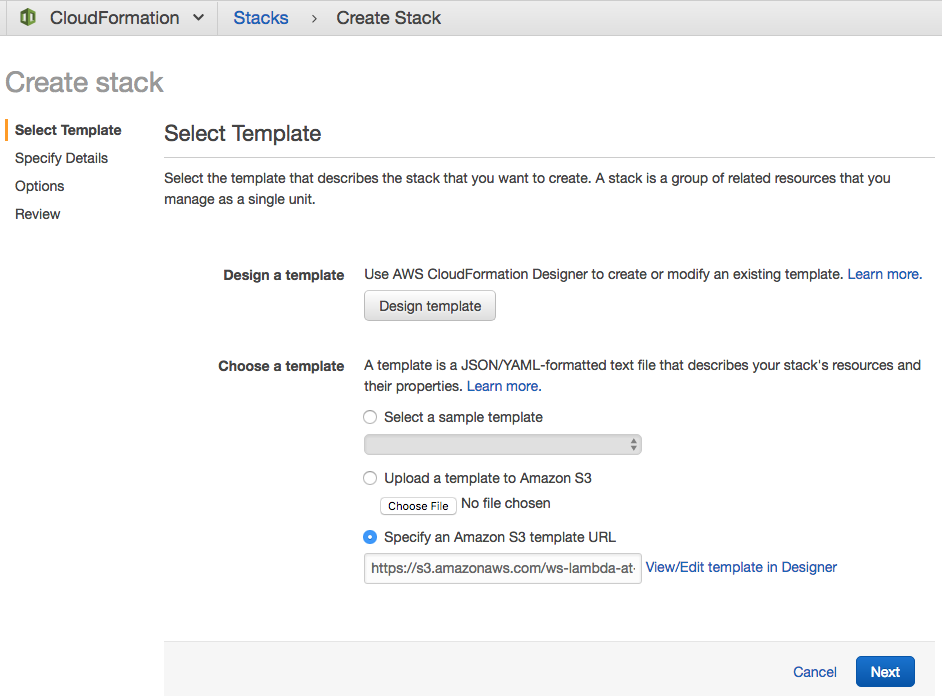
#### 1.2 Step "Select Template"
Click "Next"
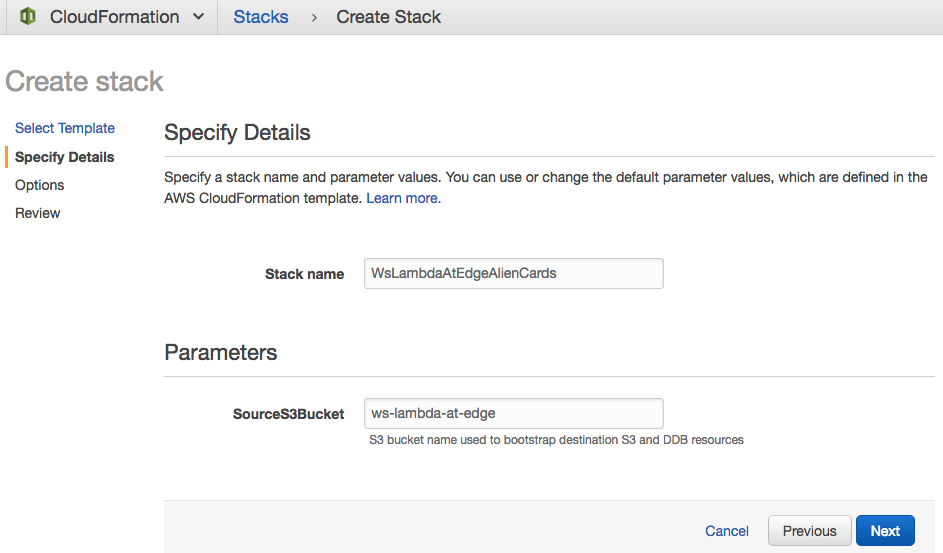
#### 1.3 Step "Specify Details", click "Next"
Leave the default values for "Stack name" and "SourceS3Bucket" as is.
Click "Next".
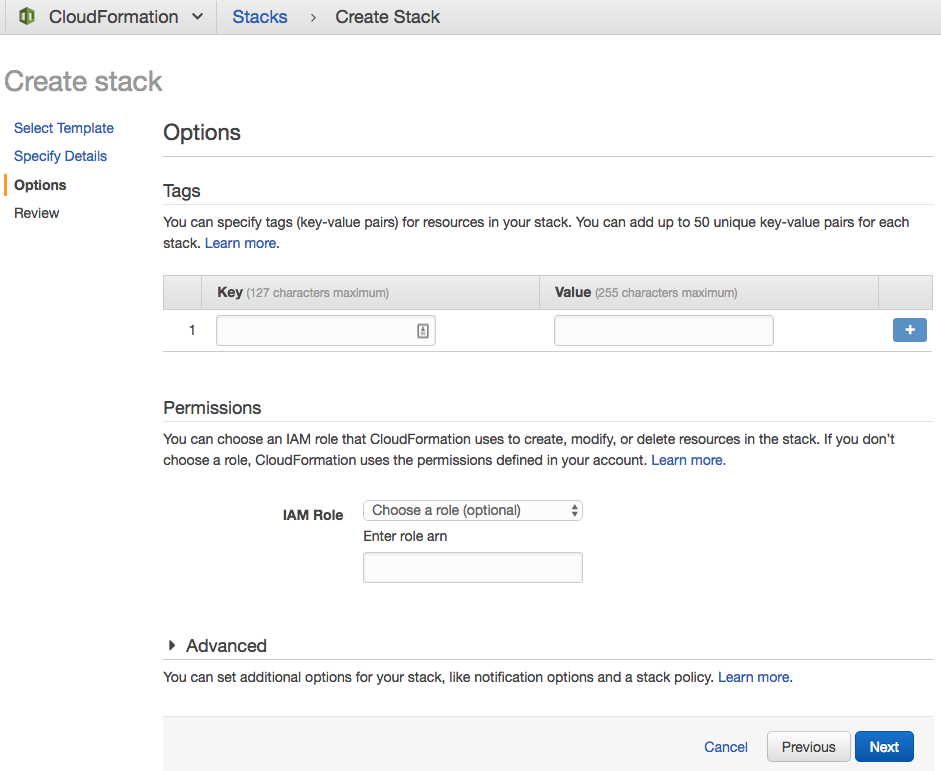
#### 1.4 Step "Options", click "Next"
No tags or advanced options needed.
Click "Next".
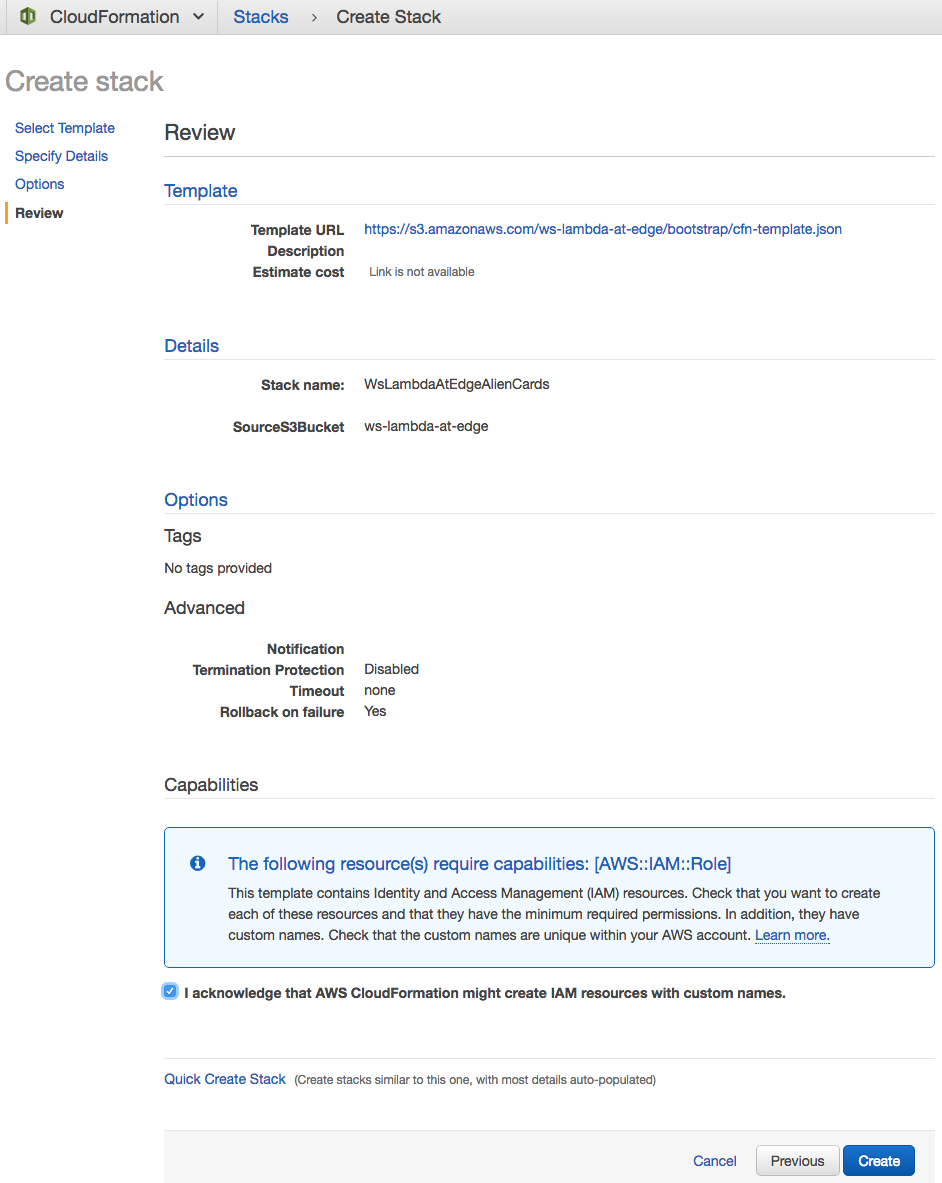
#### 1.5 Step "Review"
Click "I acknowledge that AWS CloudFormation might create IAM resources with custom names".
Click "Create".
You might need to click Refresh button on top right to see that stack creation status is CREATE_IN_PROGRESS.
#### 2 Wait for CloudFormation to create the stack
You can monitor the progress in CloudFormation console.
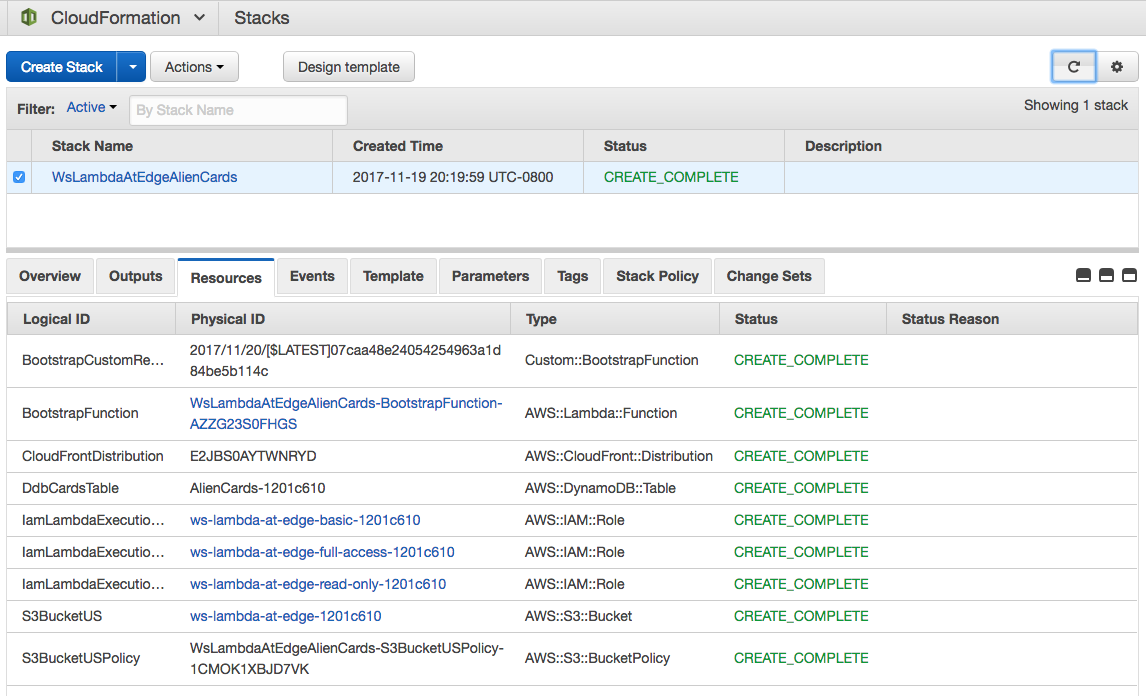
Wait for the "Status" to become "CREATE_COMPLETE" for all resources.
When completed the list of created resources on the "Resources" tab should look like this.
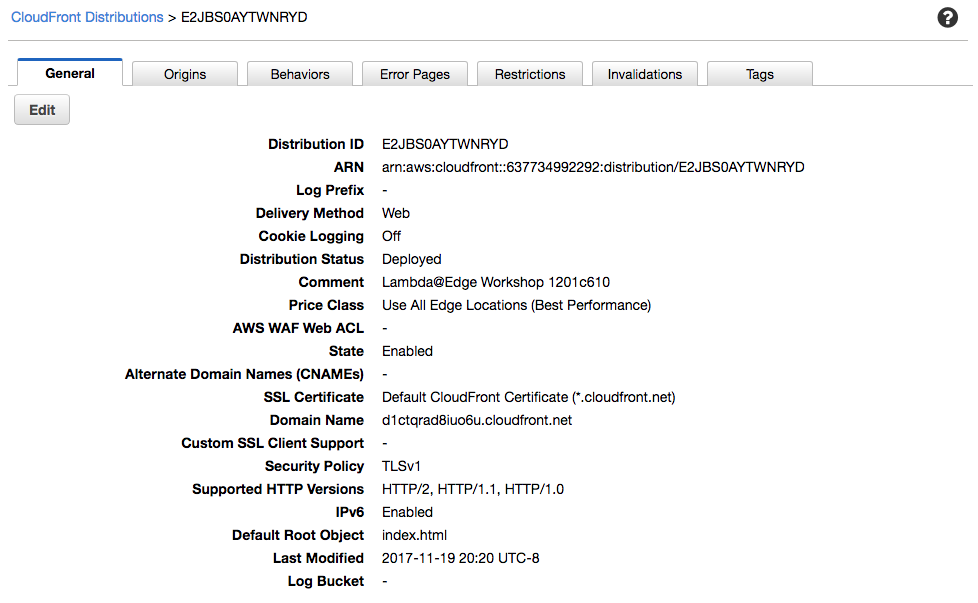
#### 3 Navigate to CloudFront Console
The created CloudFront distribution can be found in CloudFront Console and should look like this. Notice the comment "Lambda@Edge Workshop ".