# Deploy an ASP.NET MVC Application to Amazon EC2 using AWS CodeDeploy
## Overview
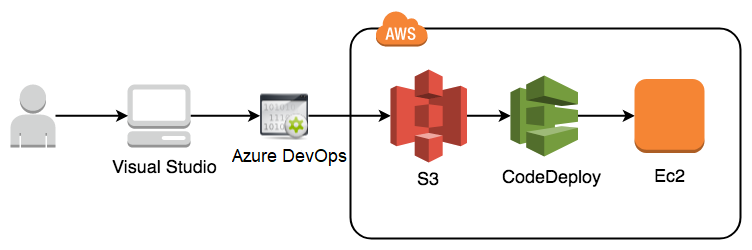
In this guide, you will configure build tasks from the [AWS Toolkit for Azure DevOps](https://aws.amazon.com/vsts/) to deploy an ASP.NET web application from an Azure DevOps project to [Amazon EC2](https://aws.amazon.com/ec2/?ec2-whats-new.sort-by=item.additionalFields.postDateTime&ec2-whats-new.sort-order=desc) using [AWS CodeDeploy](https://aws.amazon.com/codedeploy/)
## Architecture
## Modules
1. Create a New Project in Azure DevOps or Azure DevOps Server, or use an existing project
1. Create an ASP.NET MVC web application
1. Configure the project to support deployment using [AWS CodeDeploy](https://aws.amazon.com/codedeploy/)
1. Check-in to Azure DevOps source control
1. Create an [Amazon S3](https://aws.amazon.com/s3/) bucket to store the built application during deployment
1. Set up an [AWS Identity and Access Management](https://aws.amazon.com/iam/) (IAM) Role for your EC2 instance(s).
1. Create an EC2 instance
1. Set up an IAM Service Role for AWS CodeDeploy
1. Create an AWS CodeDeploy application and deployment group resource
1. Add a task in your Azure DevOps build pipeline to deploy the application using AWS CodeDeploy
1. Test the Deployment
### Module 1: Create a New Project in Azure DevOps or Azure DevOps Server, or use an existing project
#### Overview
In this module we will login to Azure DevOps or Azure DevOps Server to create a New Project for our application
> Note: You can also use an existing project if you have one.
#### Implementation instructions
1. Login to Azure DevOps using your credentials
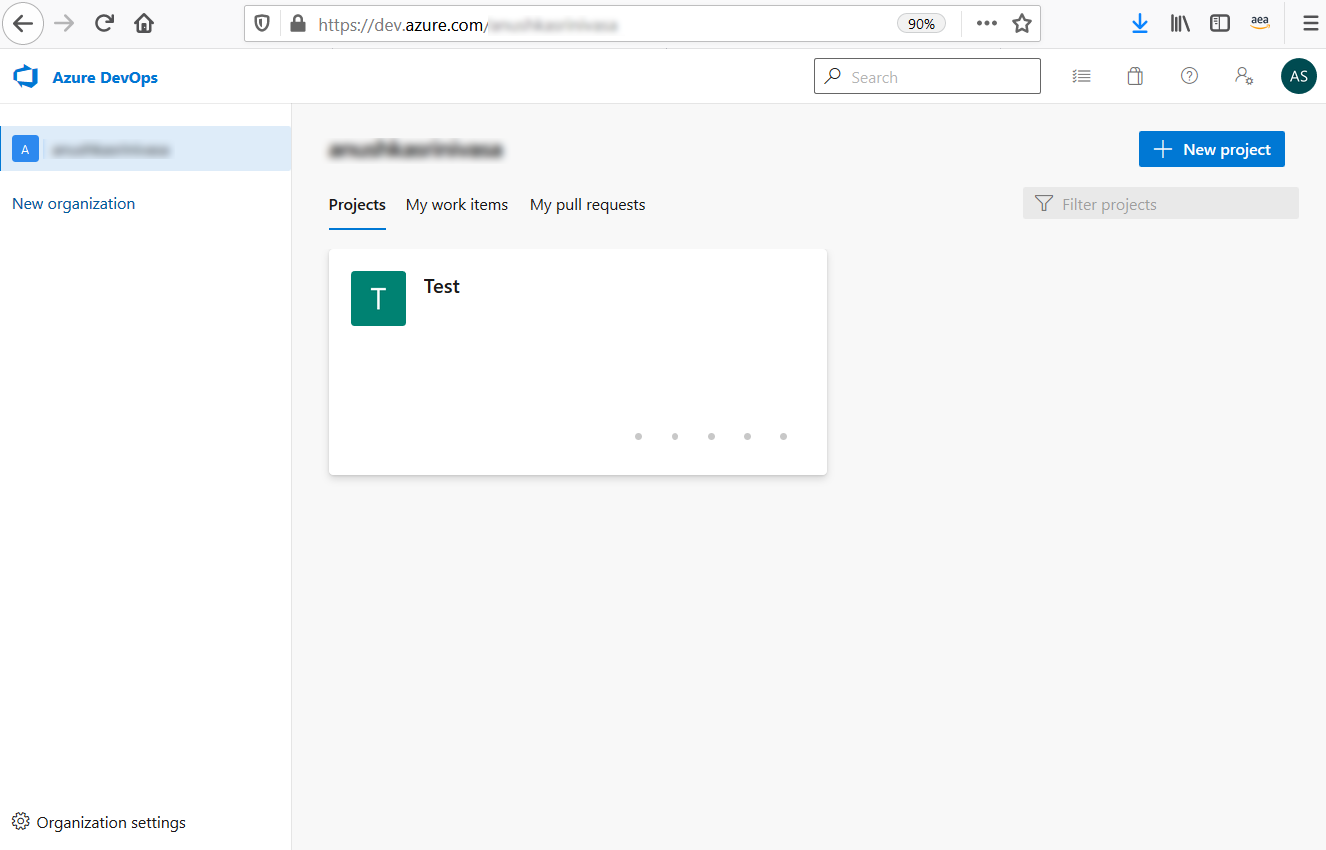
1. Click **New Project**
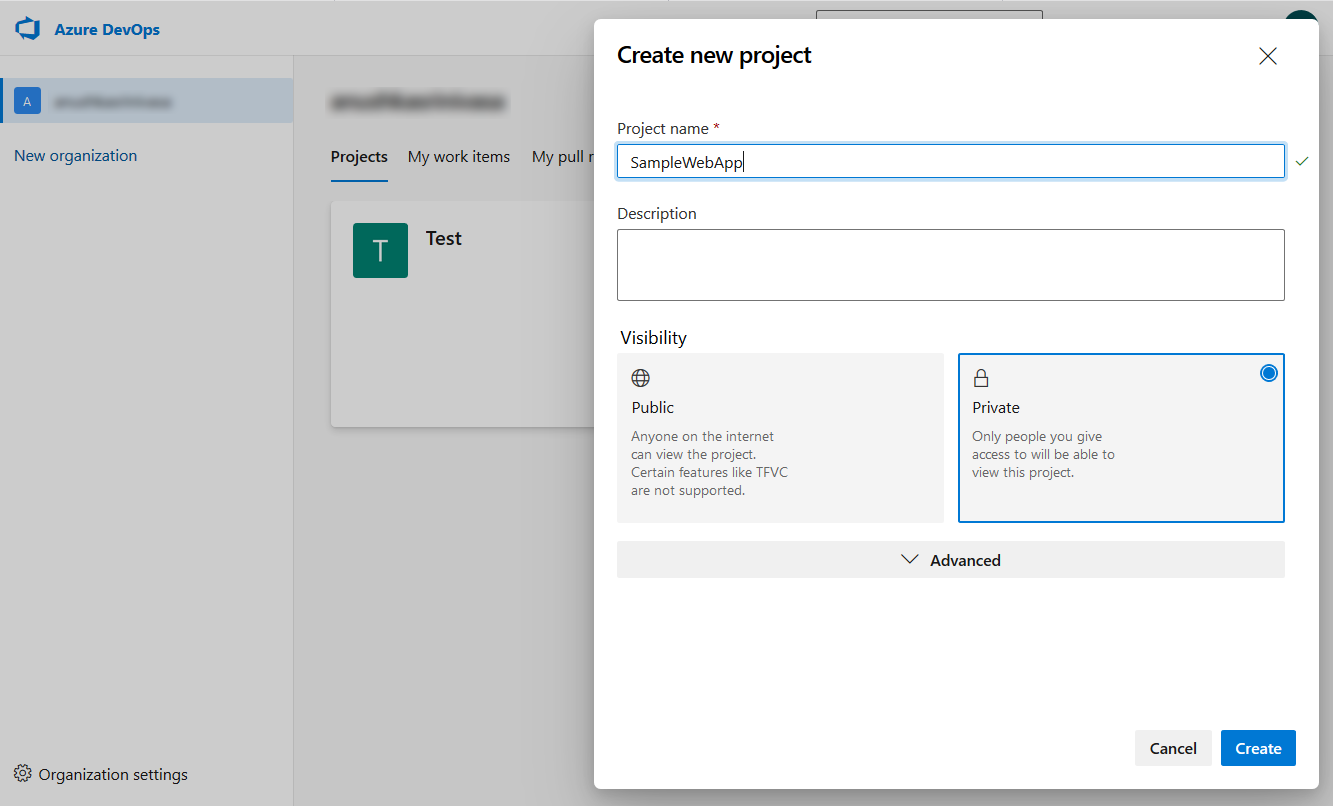
1. The project window will open
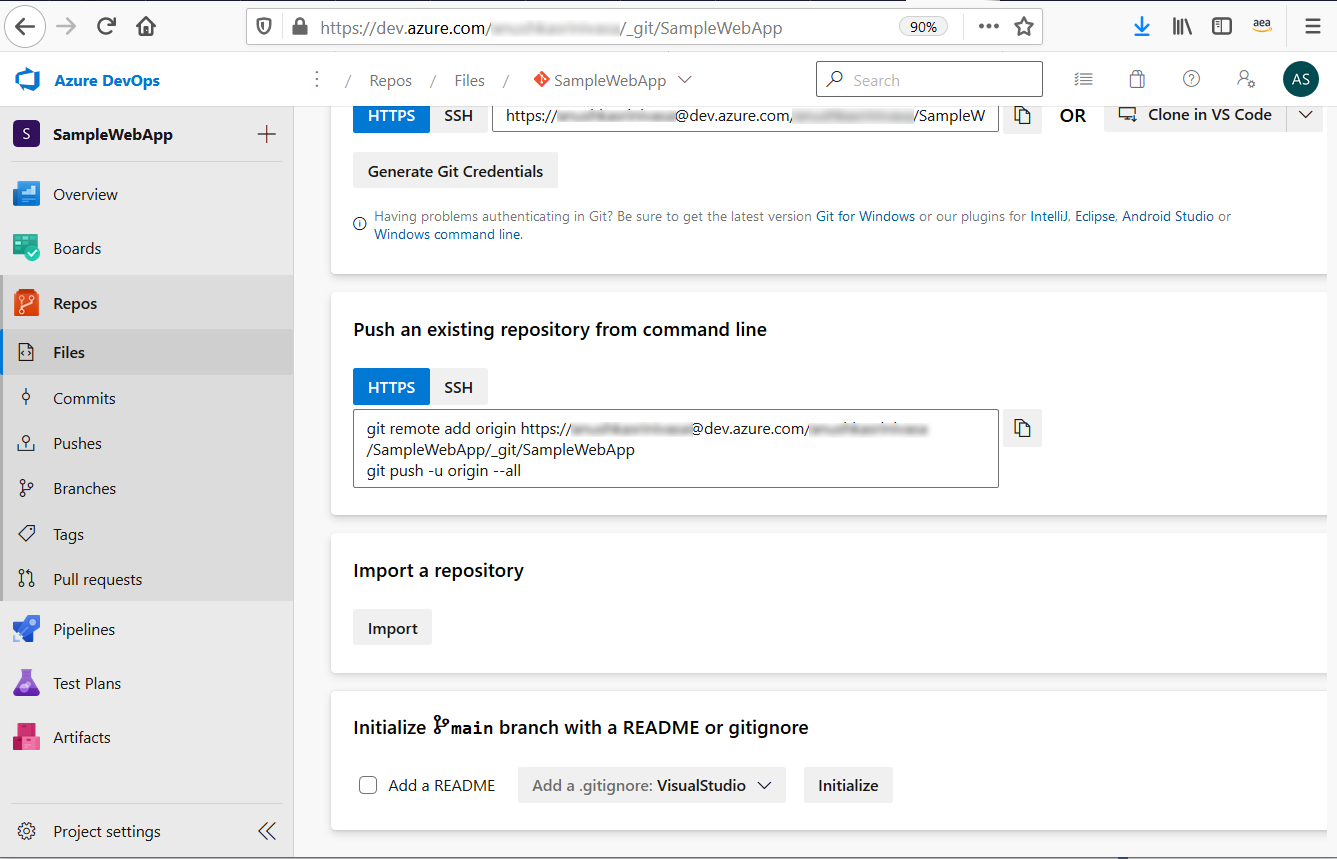
1. Click on **Repos** > **Files** (This is the location where we will add our sample ASP.NET application code later)
1. Select **Visual Studio** under *Initialize main branch with a ReadME or gitignore*
1. Click **Initialize**
### Module 2: Create an ASP.NET MVC web application
#### Overview
In this module we will use Visual Studio Community edition to create an
ASP.NET MVC web application.
#### Implementation Instructions
1. Open Visual Studio
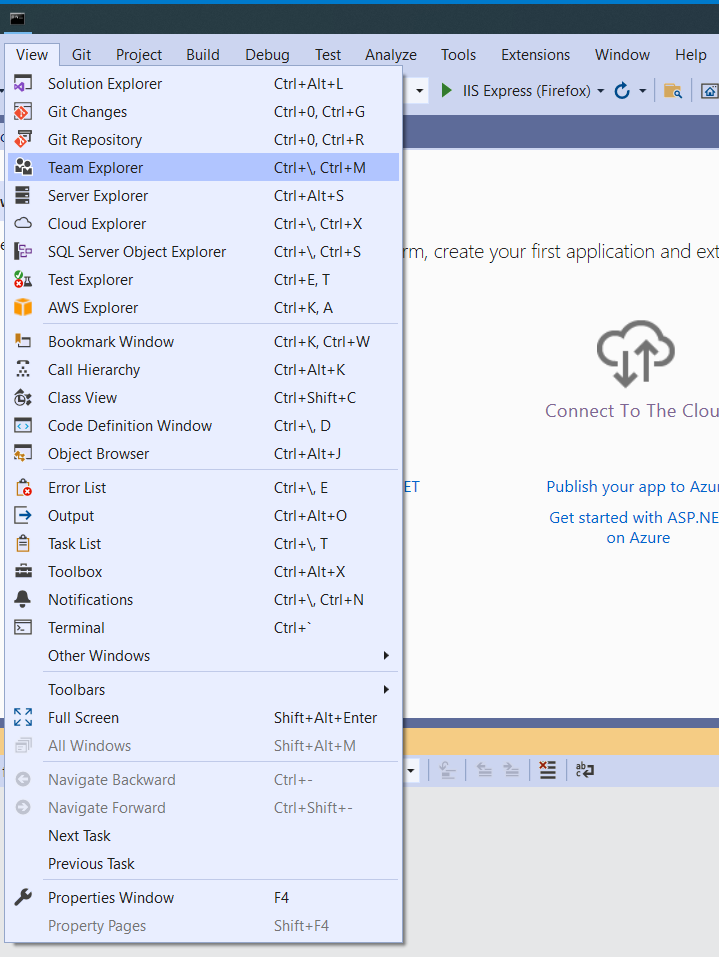
1. Select **View** > **Team Explorer**
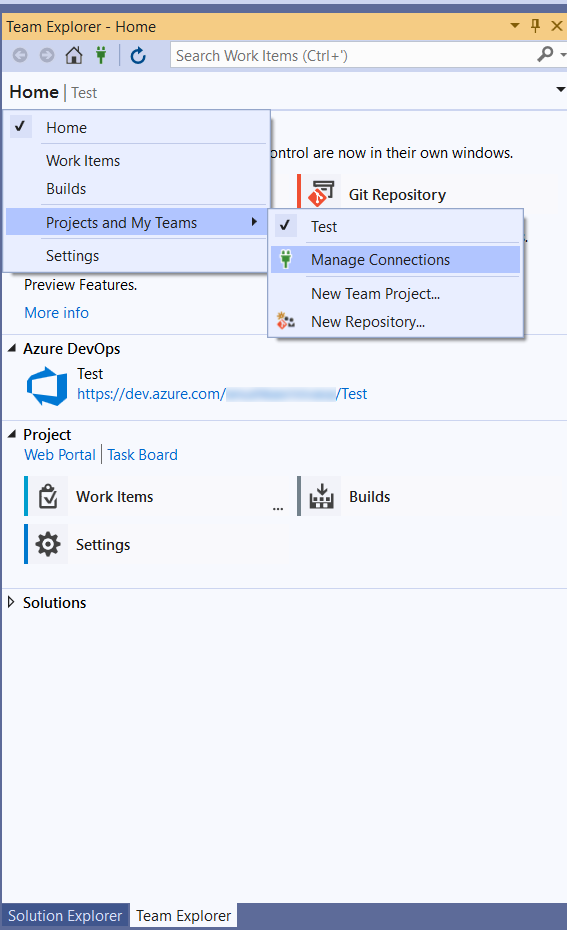
1. Select **Home** > **Projects and My Teams** > **Manage Connections**
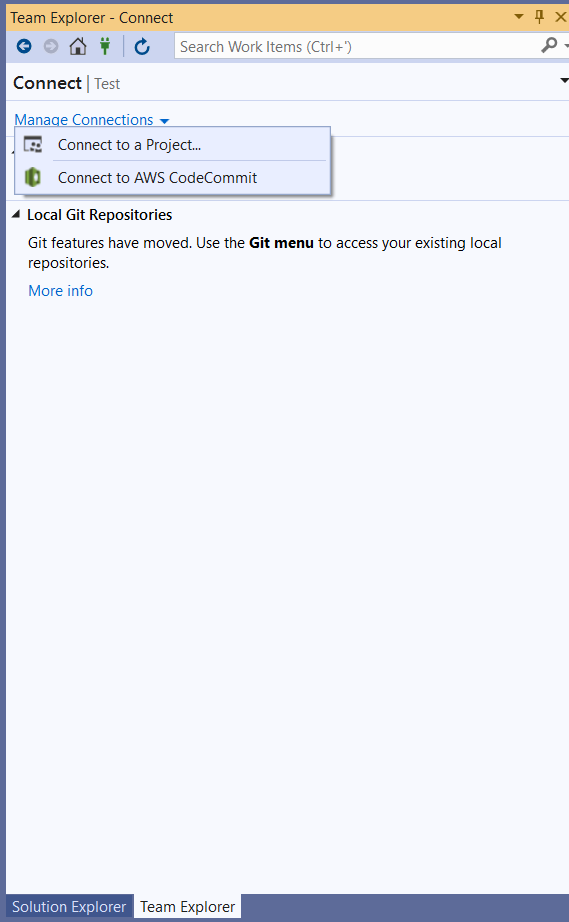
1. Select **Connect to a Project**
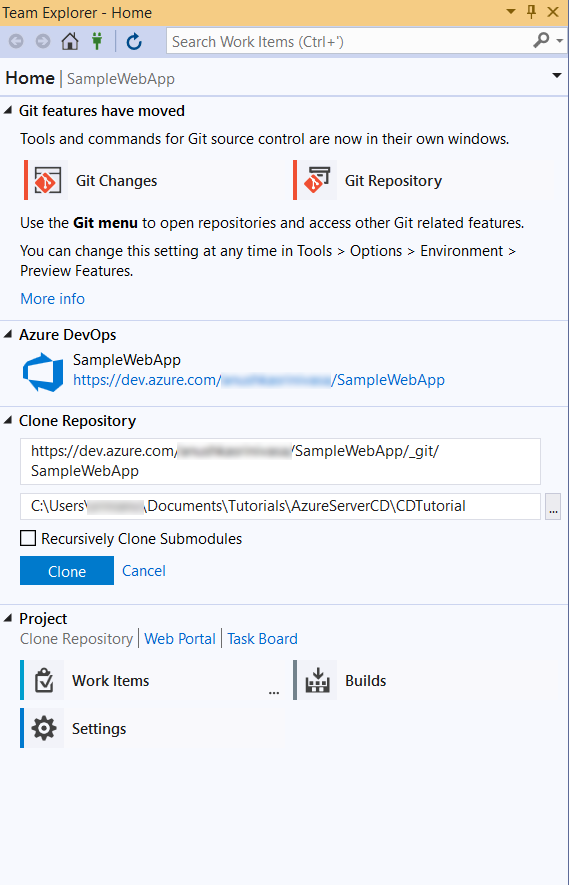
1. Select the project SampleWebApp created in Module 1 and click **Connect**

1. In the *Team Explorer - Home*, under *Project*, click **Clone Repository** > **Clone**
1. Select **File** \> **New** \> **Project...**
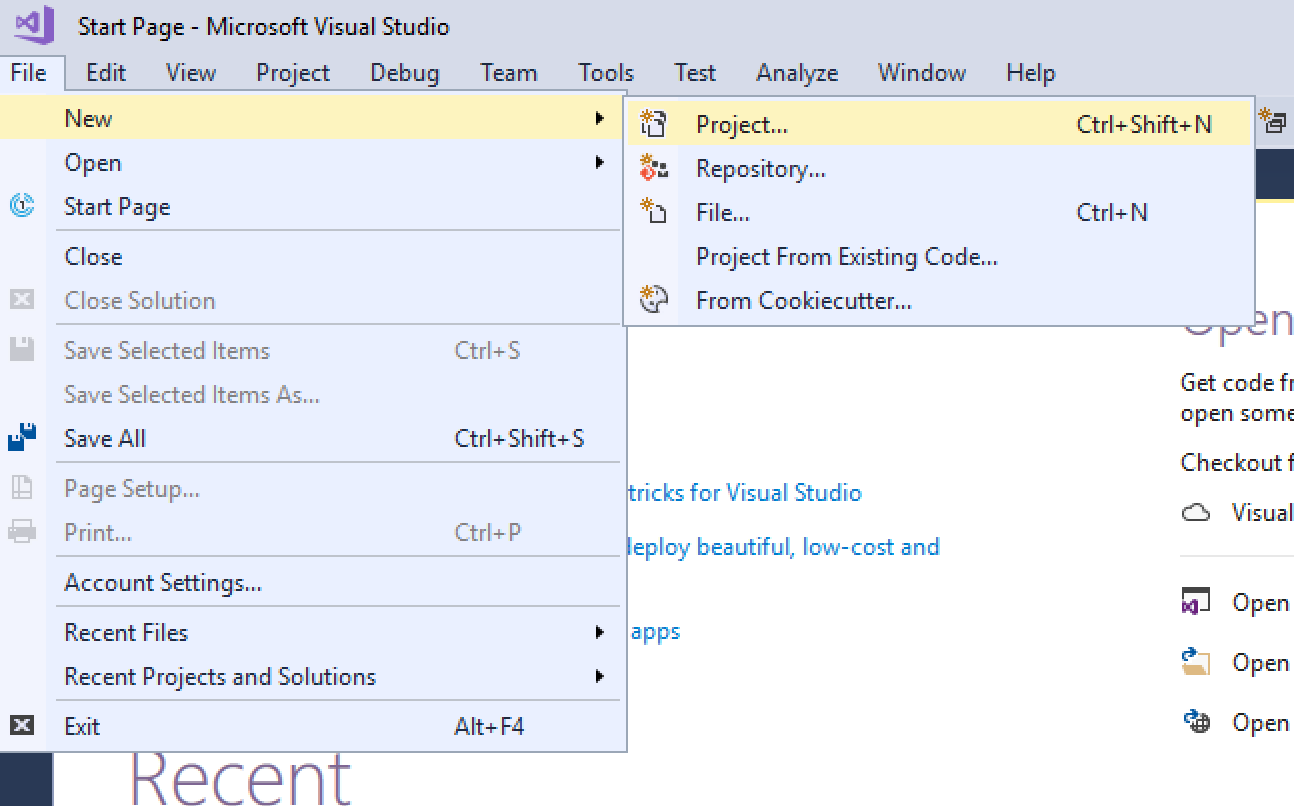
1. The project dialog window will popup. Select the *ASP.NET Web
Application(.NET Framework)* template.
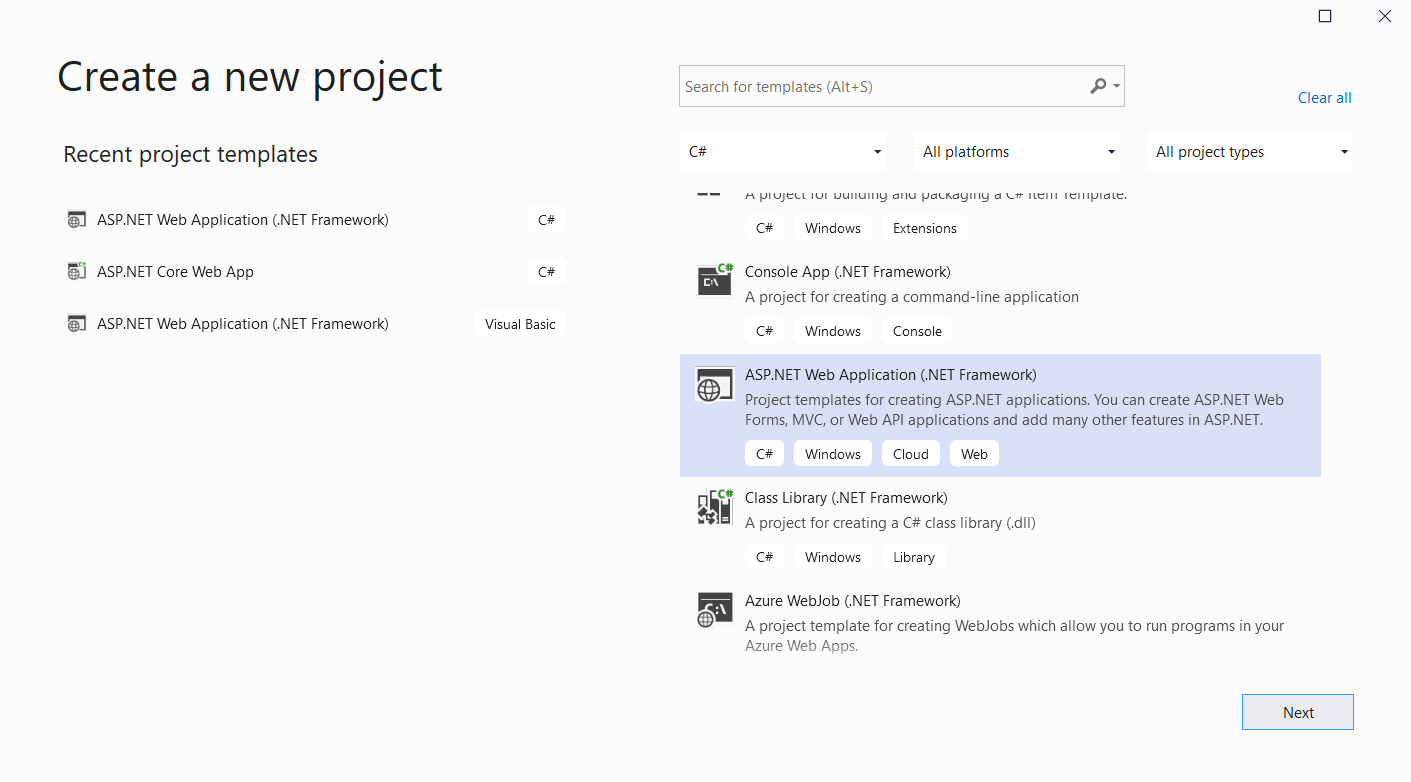
1. Enter the project name. Create the project in the same location where you cloned the repository
1. Click **Create**

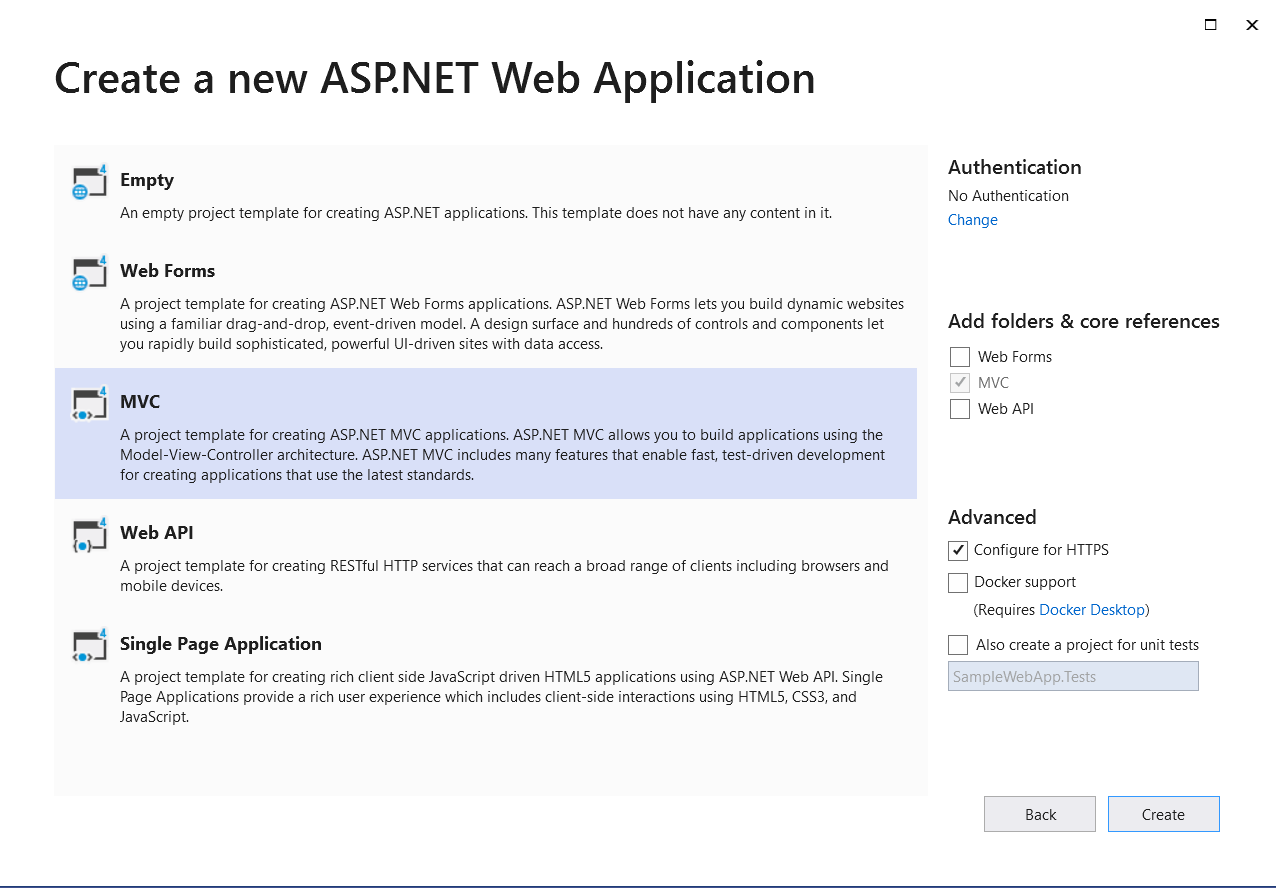
1. Select **MVC**.
1. Click **Create**
### Module 3: Configure the project to support deployment using [AWS CodeDeploy](https://aws.amazon.com/codedeploy/)
#### Overview
Now that we have an ASP.NET application, let's add the files needed to allow AWS CodeDeploy to understand the deployment and configuration.
There are two files we will need to add:
1. **appspec.yml** -- The application specification file is a YAML or
JSON-formatted file used by AWS CodeDeploy to manage a deployment.
1. **installapp.ps1** -- A script to deploy the application binaries, held in a WebDeploy package file, into IIS on the EC2 instance.
Implementation Instructions
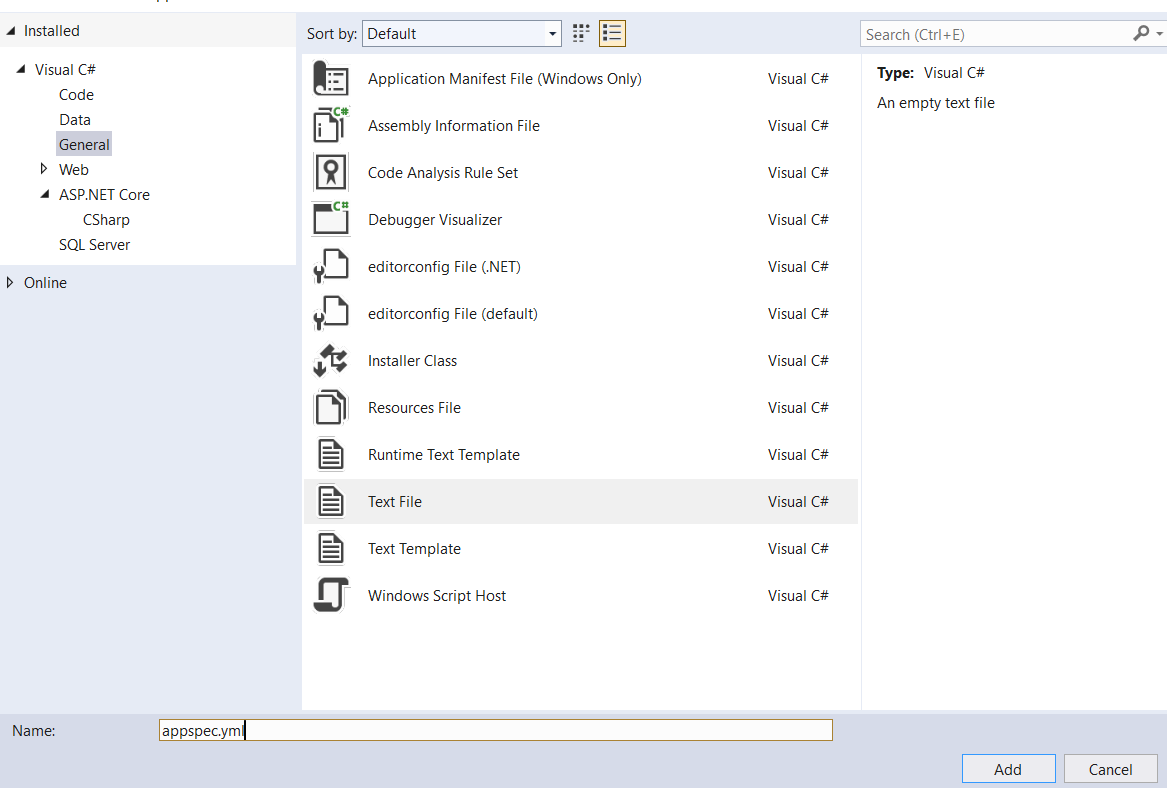
1. Create the appspec.yml file by right clicking on the project \>
**Add** \> **New Item...**
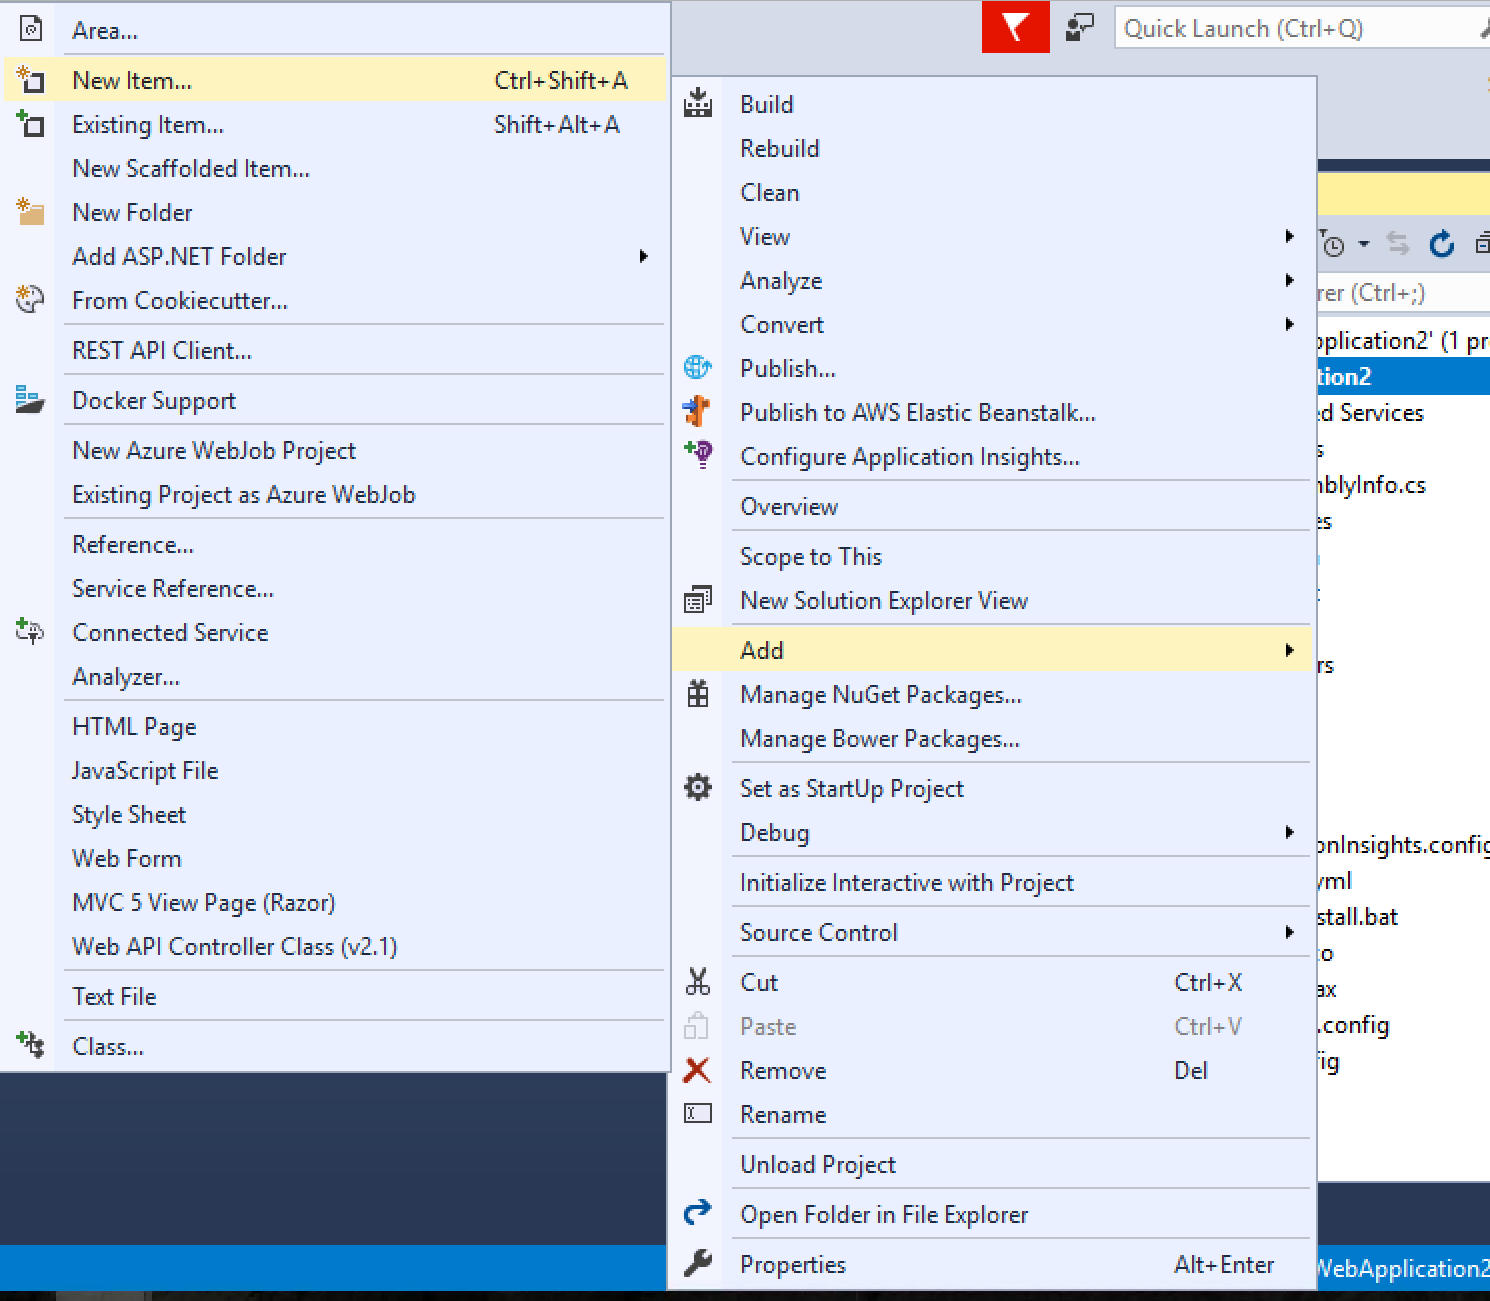
1. Name the file appspec.yml and click **Add**.
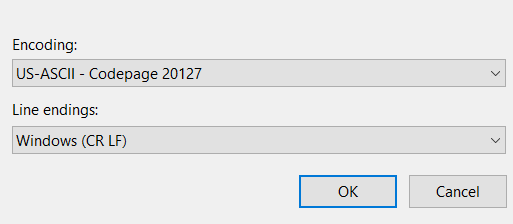
> Note: The file should be saved in UTF-8 without a BOM marker. We suggest using *Save As* and selecting the encoding shown below.
1. Copy the following code, paste into the file and save.
```yaml
version: 0.0
os: windows
hooks:
AfterInstall:
- location: .\installapp.ps1
```
1. Use the same process to create the installapp.ps1
1. Copy the following code, paste into the installapp.ps1 file and
save.
```
& "$PSScriptRoot\SampleWebApp.deploy.cmd" /Y
```
### Module 4: Check-in to Azure DevOps source control
#### Overview
Now that we have the code we want deployed to EC2, we need to check it
into a source control system. In this module we will add our code to
Azure DevOps Repos through the Git window in Visual Studio.
#### Implementation Instructions
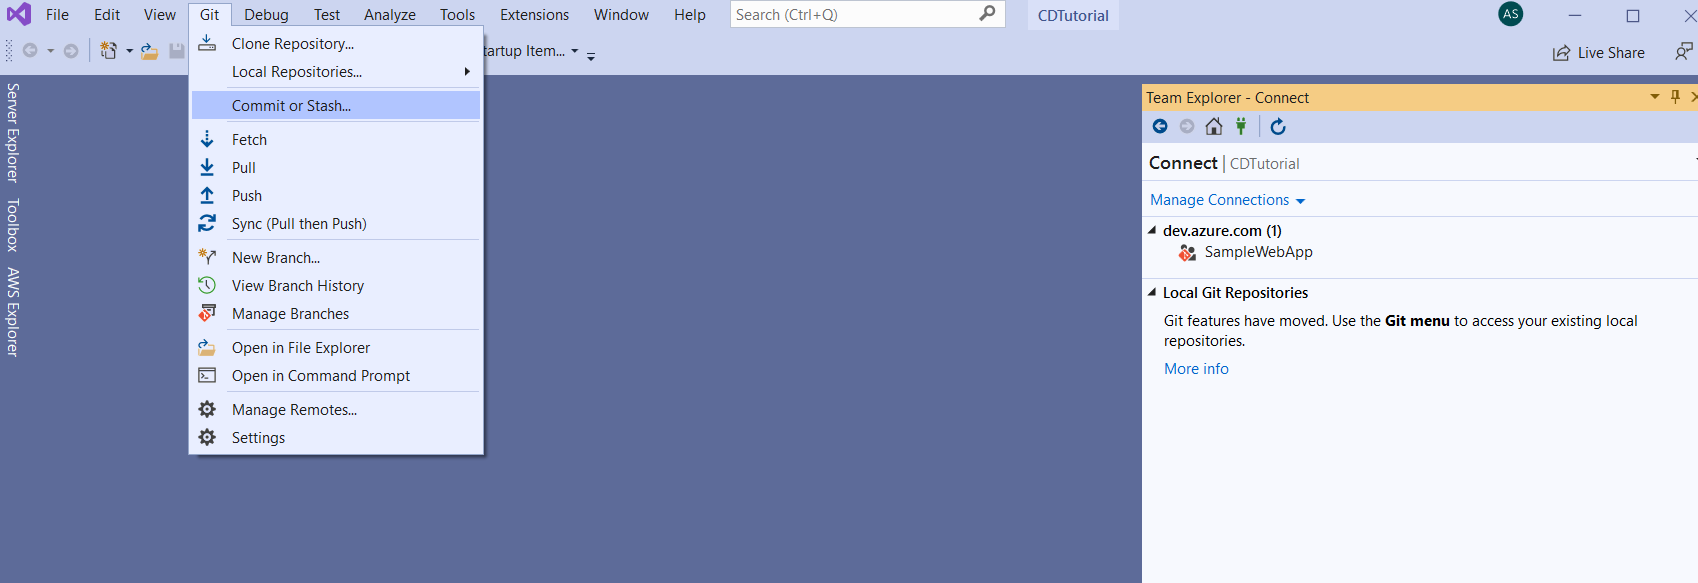
1. With the ASP.NET Core project open, select **Git** from the menu bar, select **Commit or Stash...**
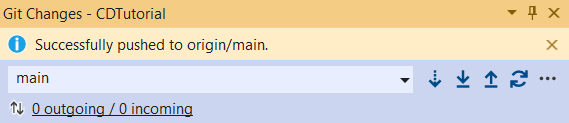
1. Enter a commit message and select **Commit All and Push**
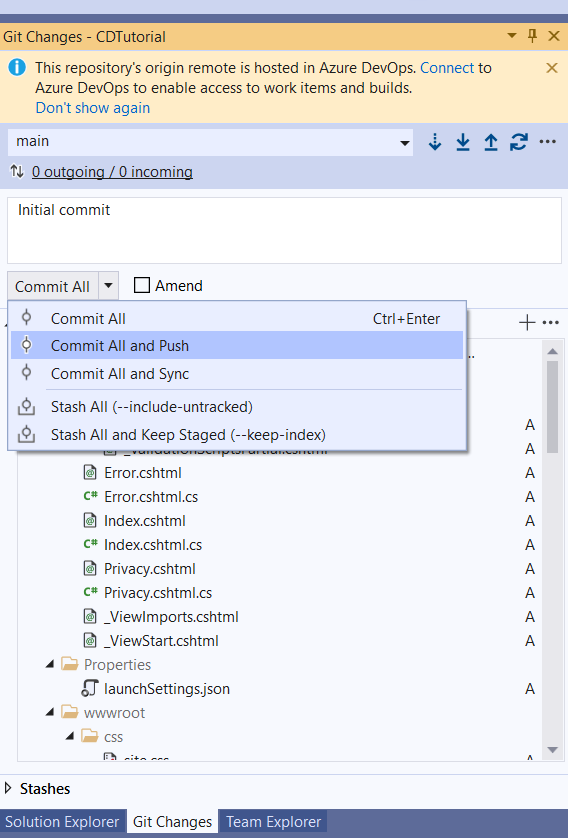
1. You will see a message once the push is complete.
### Module 5: Create an [Amazon S3](https://aws.amazon.com/s3/) bucket to store the built application during deployment
#### Overview
In this module, we will create an Amazon S3 bucket to which the revision bundle will be uploaded. A revision in AWS CodeDeploy is a version of an application you want to deploy. Our sample application revisions will be stored in Amazon S3
#### Implementation
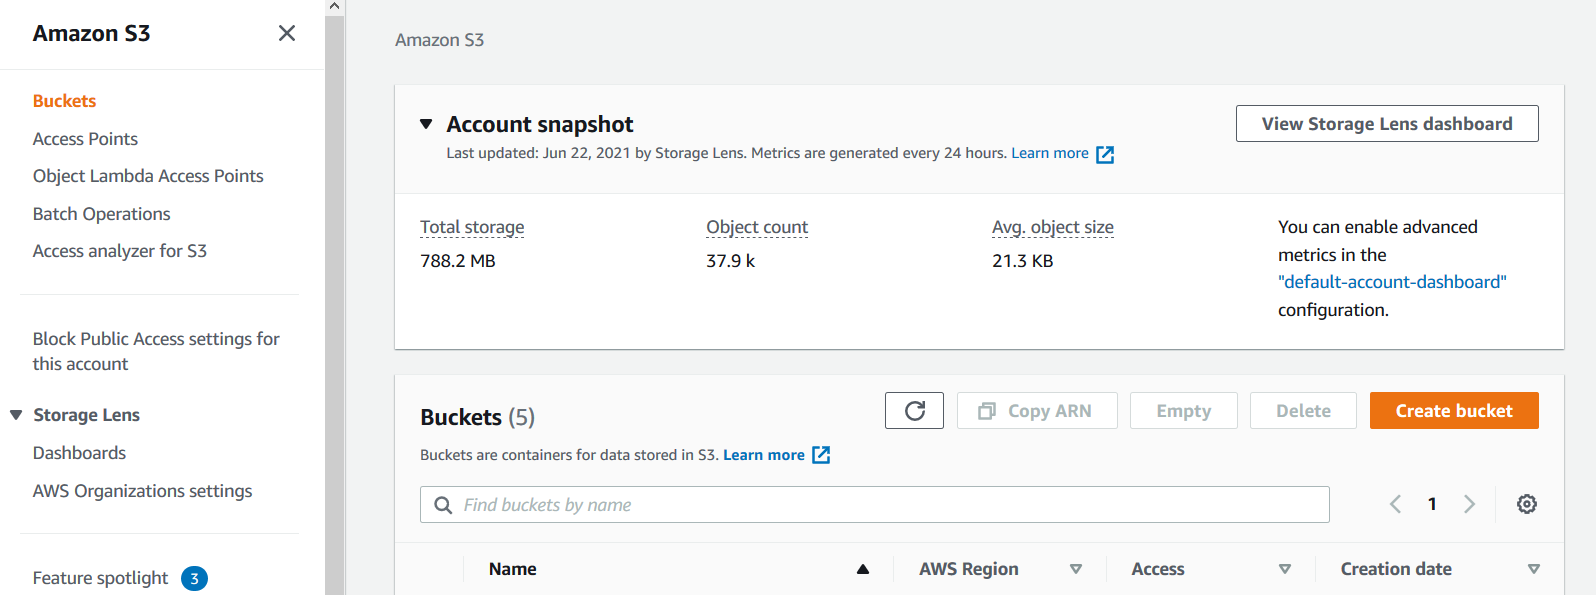
1. From the AWS Console search for S3.
1. Click **Create bucket**
1. Enter the *Bucket name* and select the *AWS Region*. The *AWS Region* needs to be in the same region as the CodeDeploy resources which will be subsequently created in the tutorial.
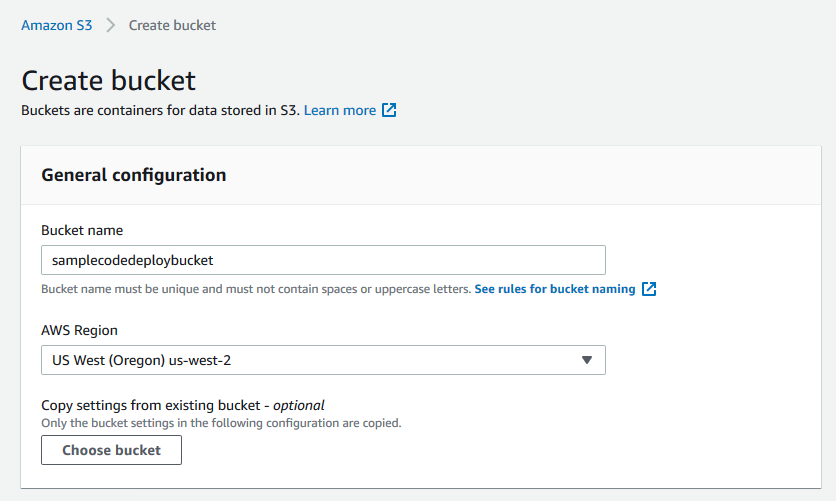
1. Leave the remaining settings to default and click **Create bucket**

### Module 6: Set up an [AWS Identity and Access Management](https://aws.amazon.com/iam/) (IAM) Role for your EC2 instance(s).
#### Overview
In this step we will create an IAMs role which will give EC2 instances the required access to Amazon S3
#### Implementation Instructions
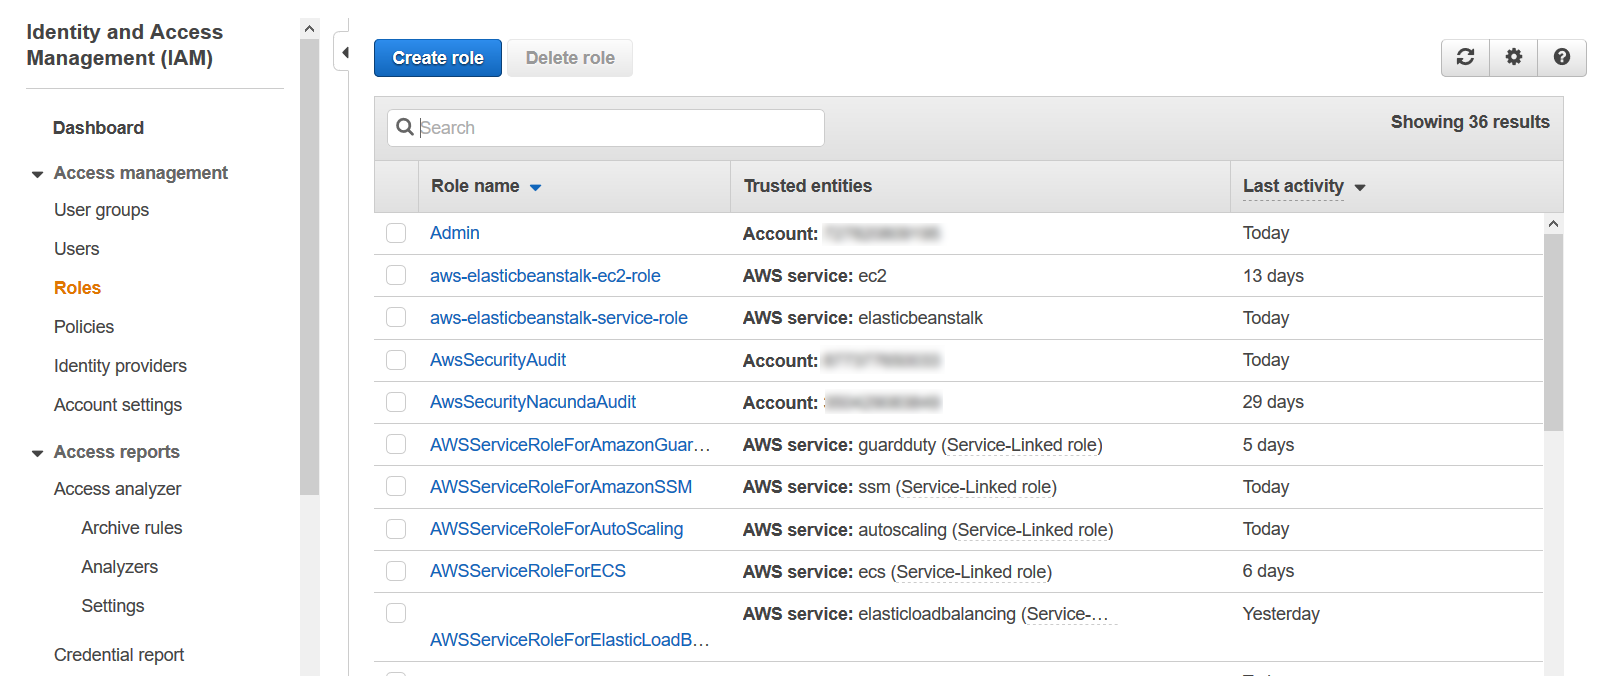
1. From the AWS Console search for IAM.
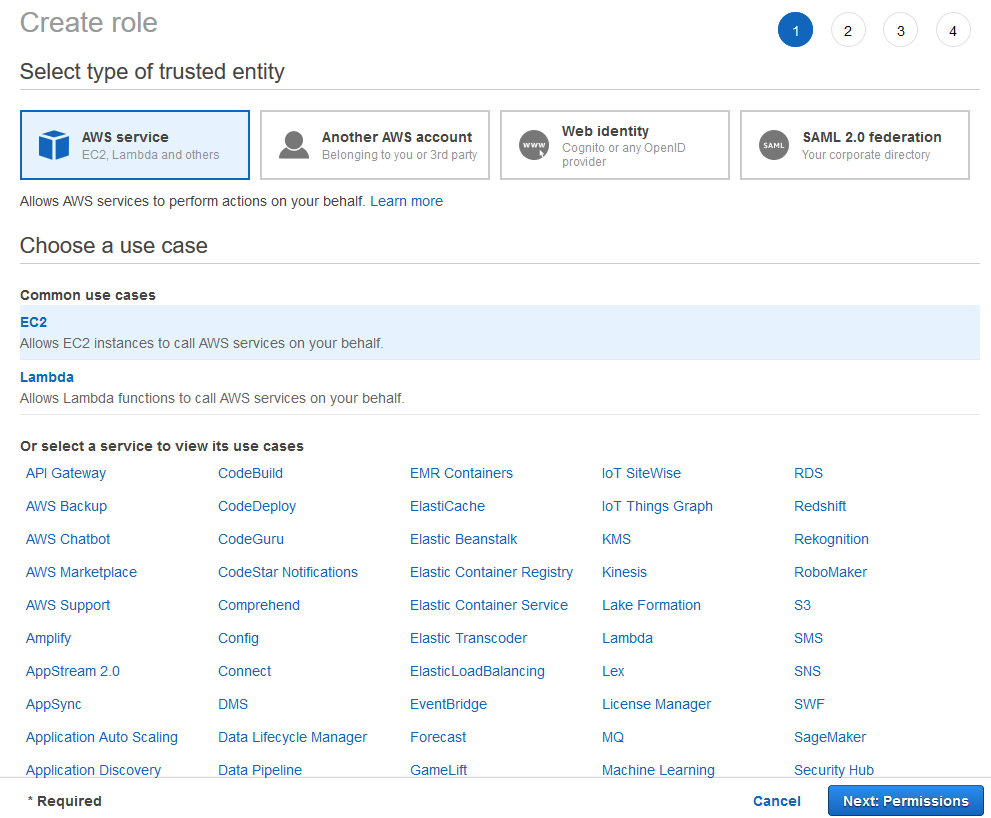
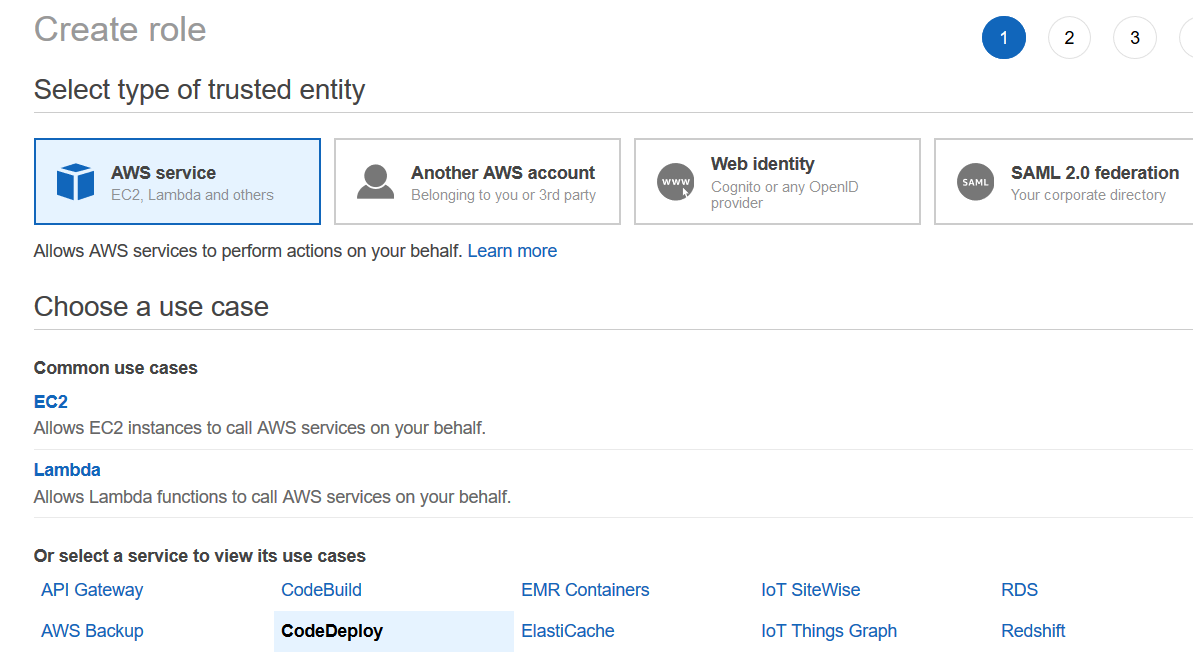
1. Select **Roles** > **Create Role**
1. Select **AWS service** under *Select type of trusted entity*
1. Select **EC2** under *Choose a use case*
1. Click **Next: Permissions**
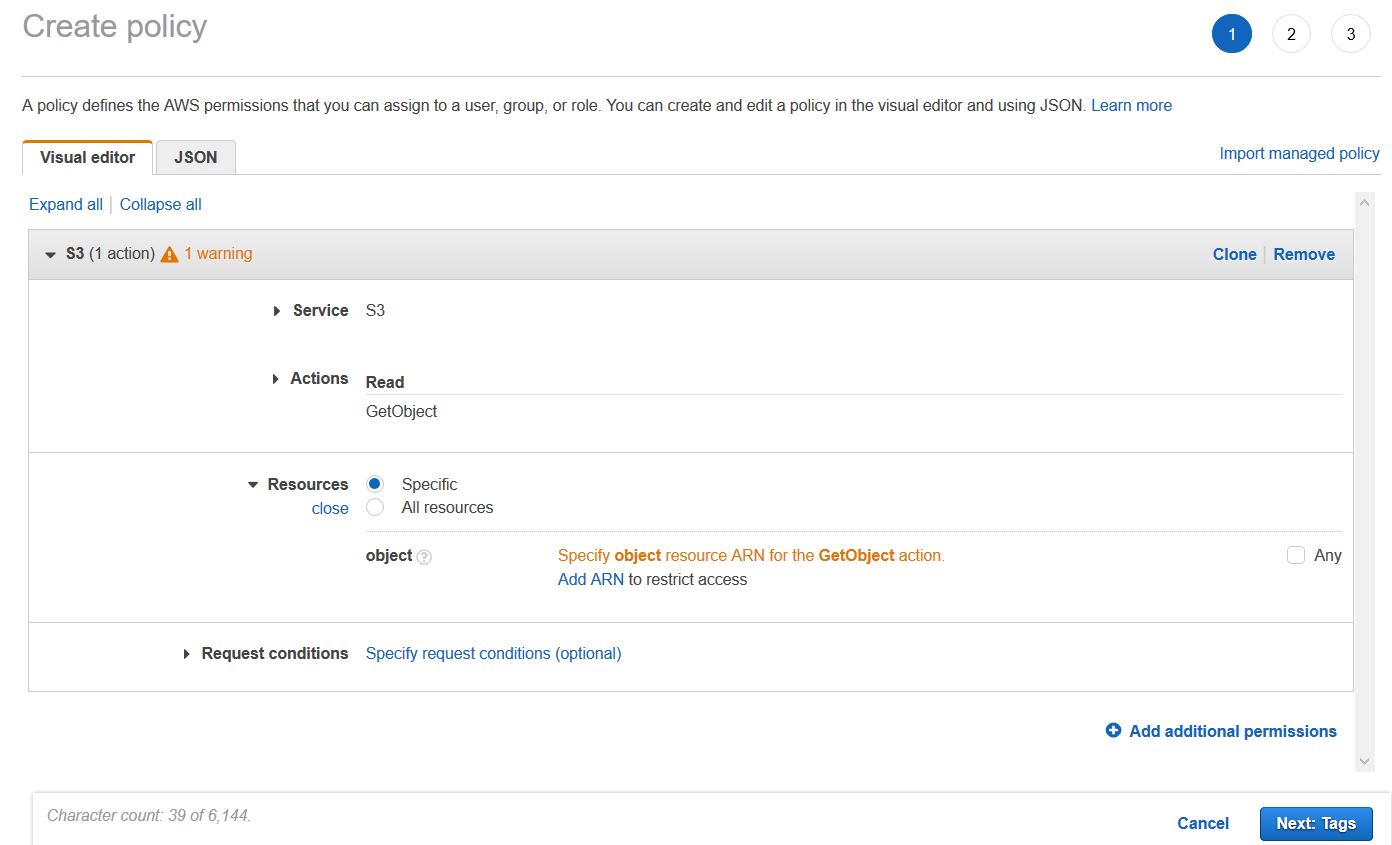
1. Click **Create Policy**

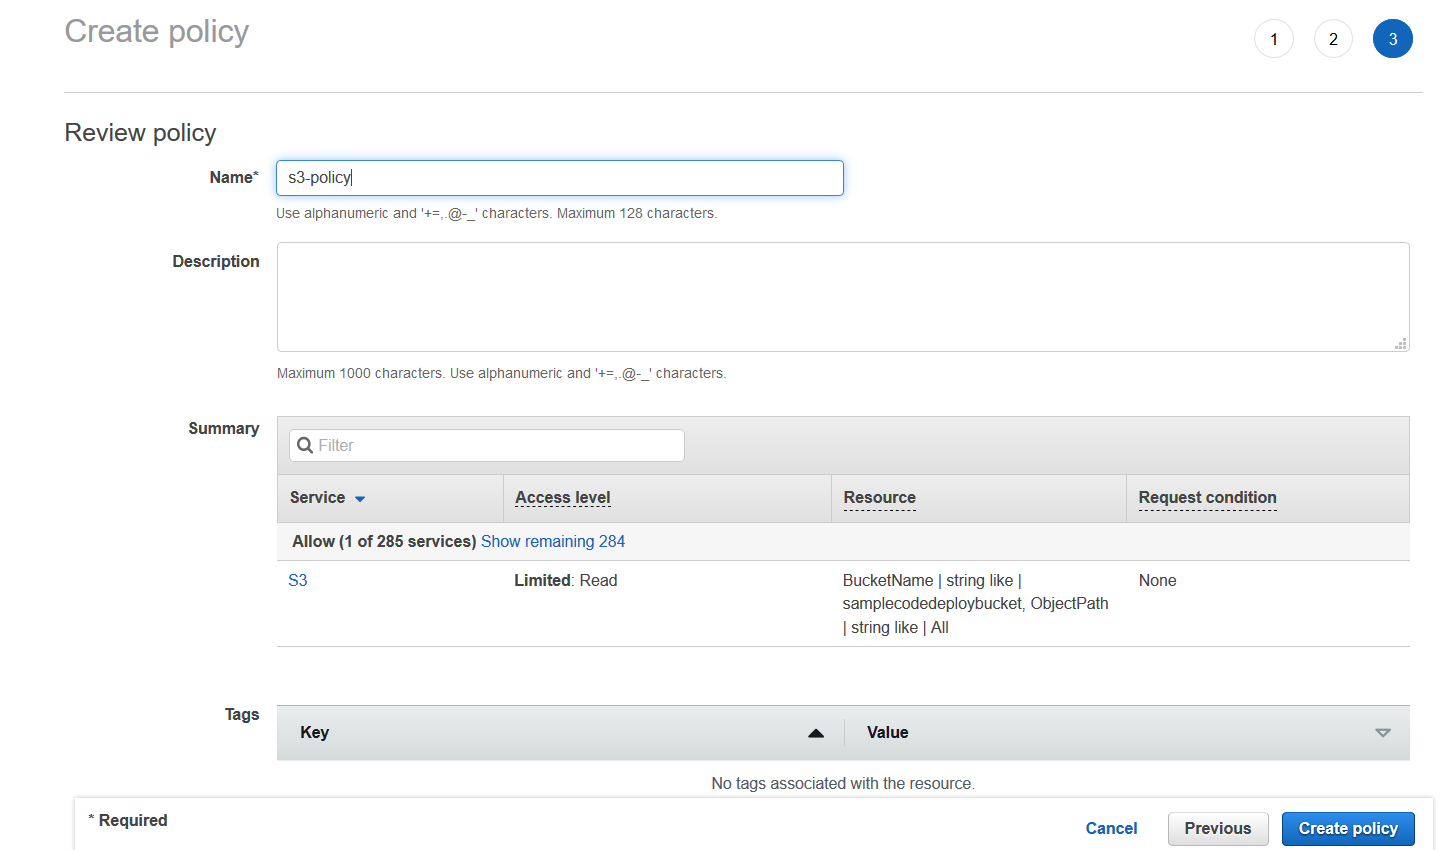
1. Add the following permission to the policy as follows
- *Service*: S3
- Select *GetObject* under *Read* *Actions*
- Select *Specific* for *Resources*
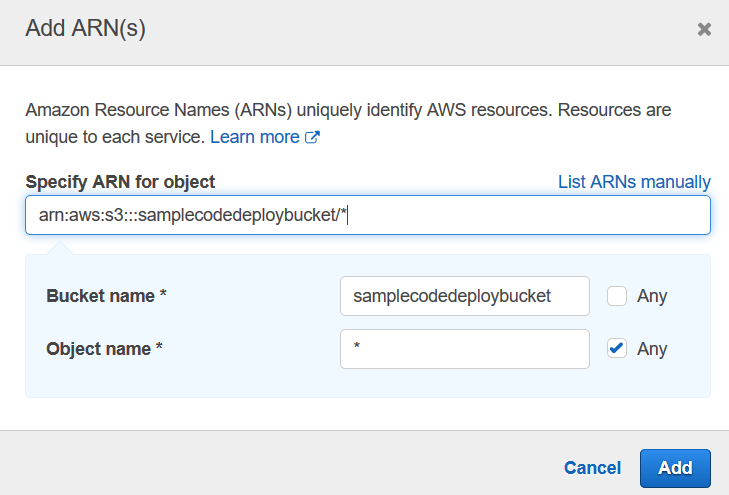
1. Click **Add ARN**
1. Enter the *Bucket name* created in Module 5
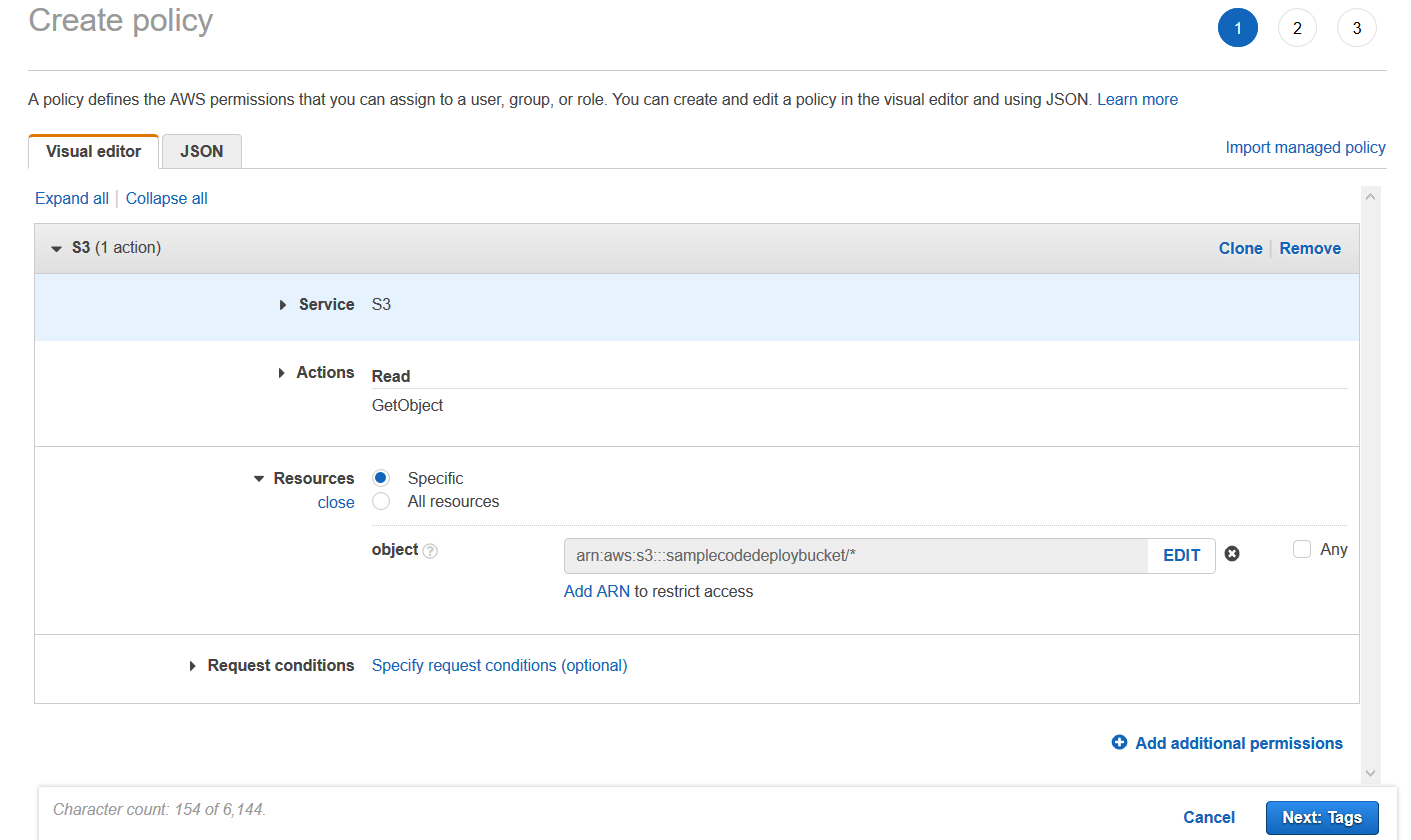
1. Select *Any* for *Object name*. Specifying the Amazon Resource Name(ARN) will give the specified Read permission only to the specified bucket
1. Click **Add**
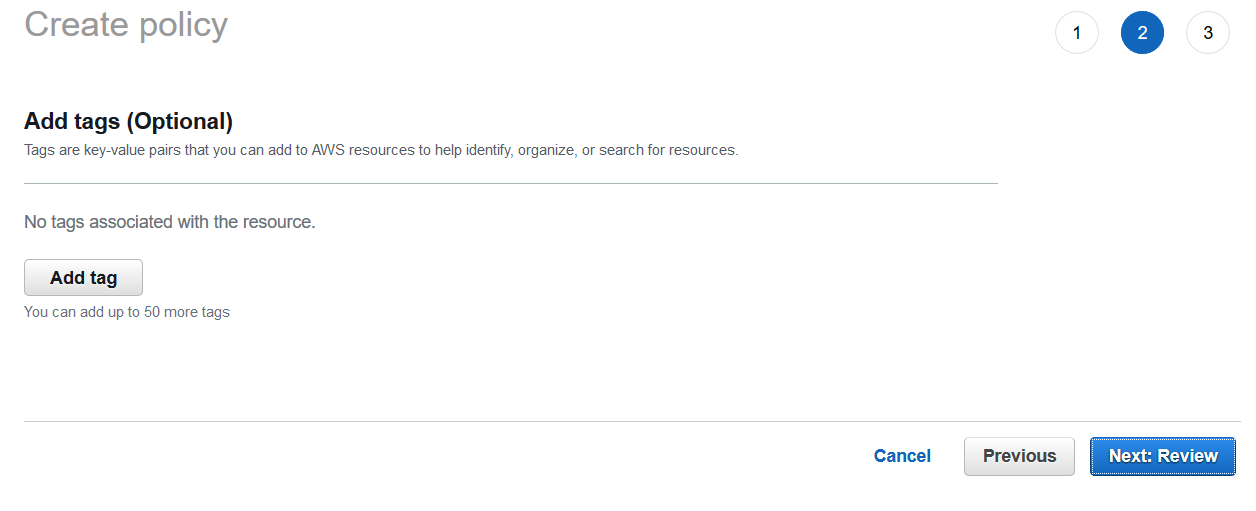
1. Click **Next: Tags**
1. We will not be adding any Tags. Click **Next: Review**
1. Enter *Name*: s3-policy
1. Click **Create policy**
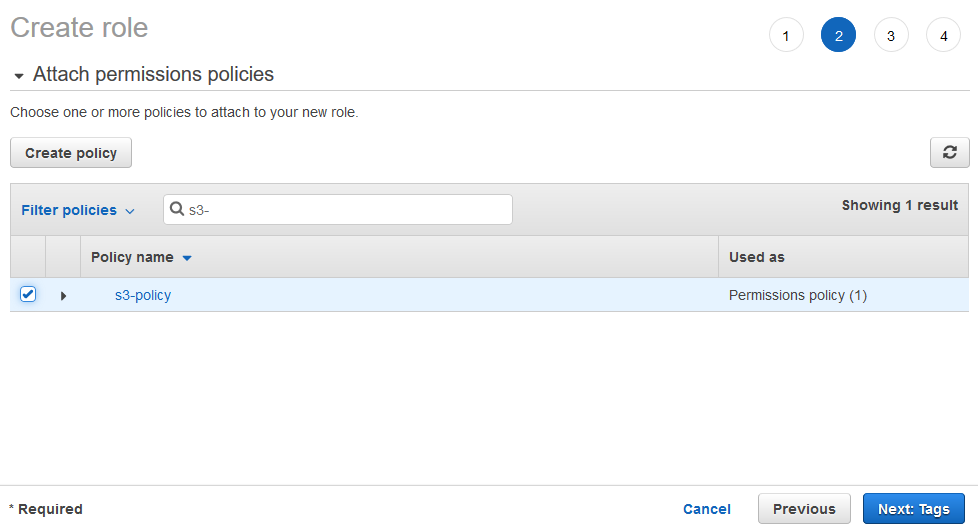
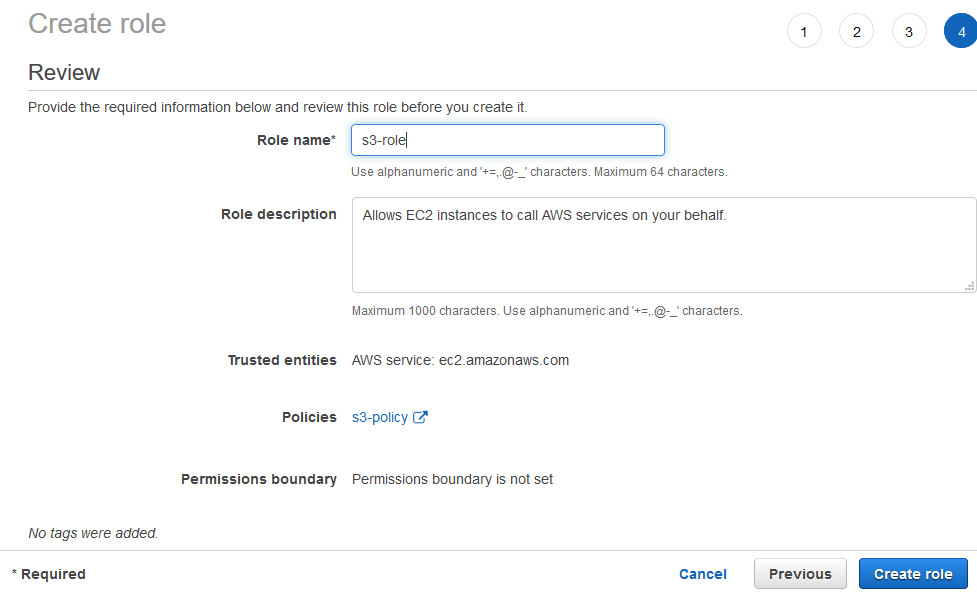
1. In the Create role window, select the policy created above
1. Click **Next: Tags**
1. We will not be adding any Tags. Click **Next: Review**
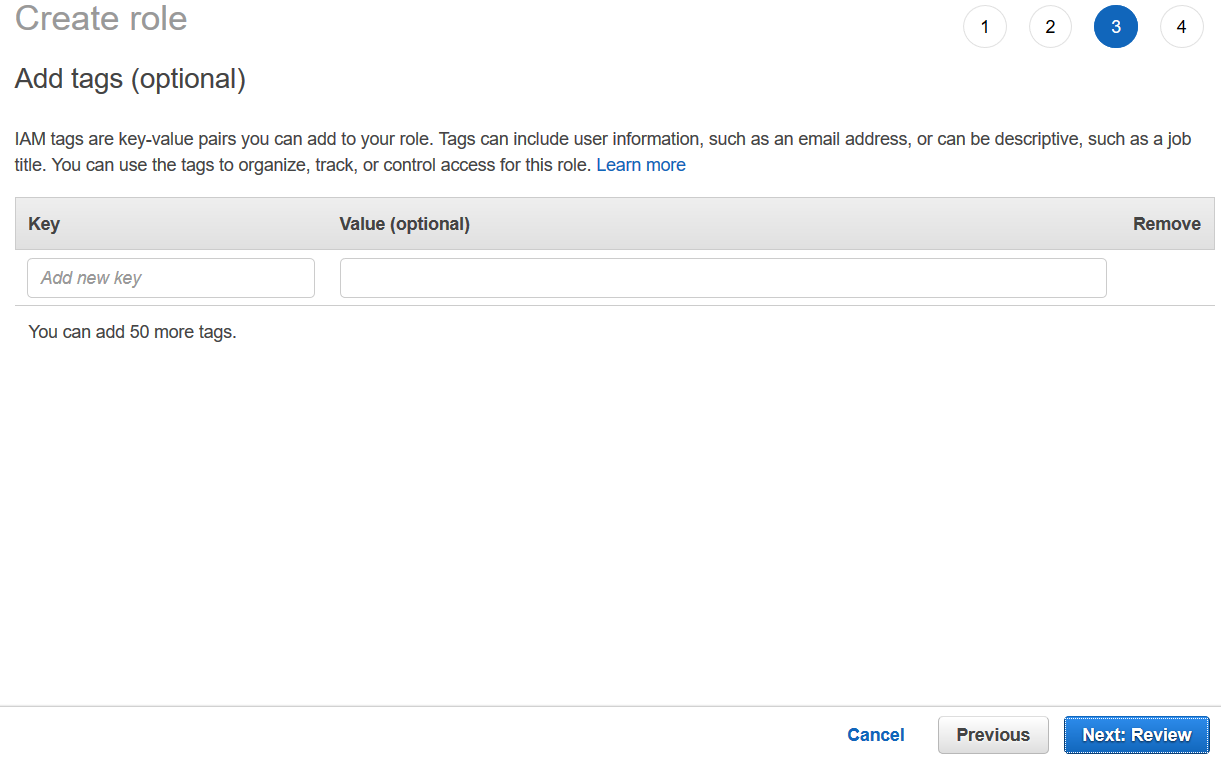
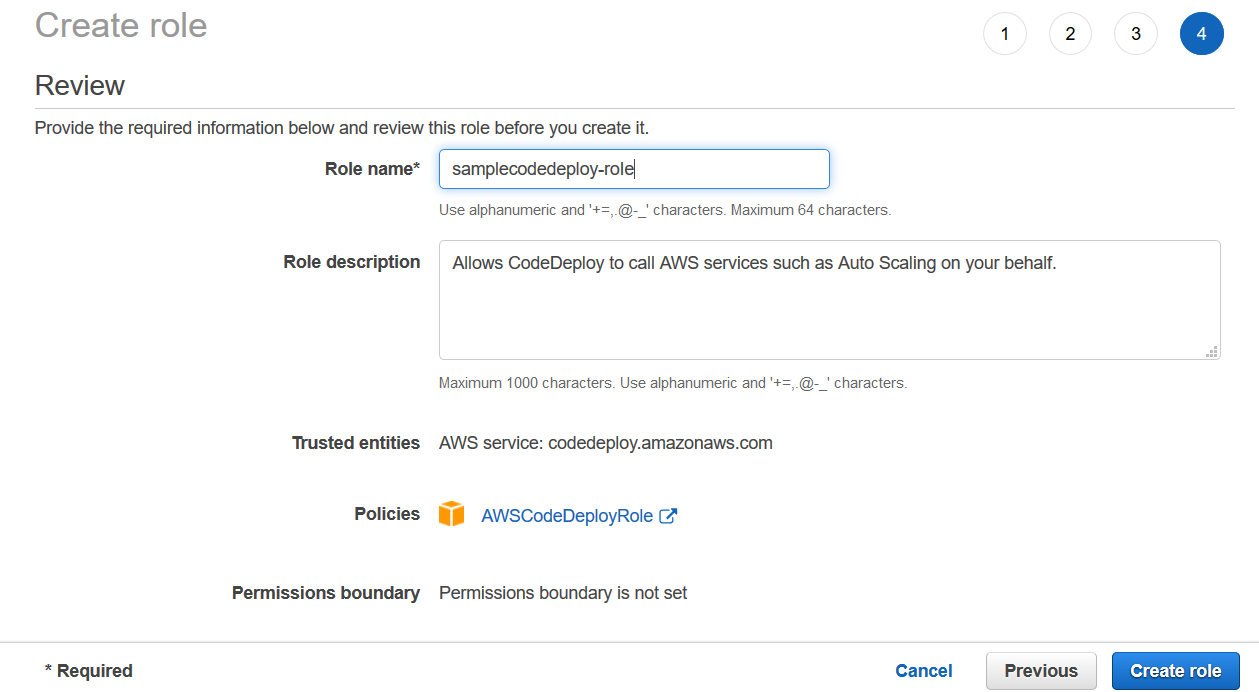
1. Enter the *Role name* and click **Create role**
### Module 7: Create an EC2 instance
#### Overview
Now we will create an EC2 instance where our sample application code will be deployed.
#### Implementation Instructions
1. From the AWS Console search for EC2.
1. Click on **Instances** > **Launch instances**

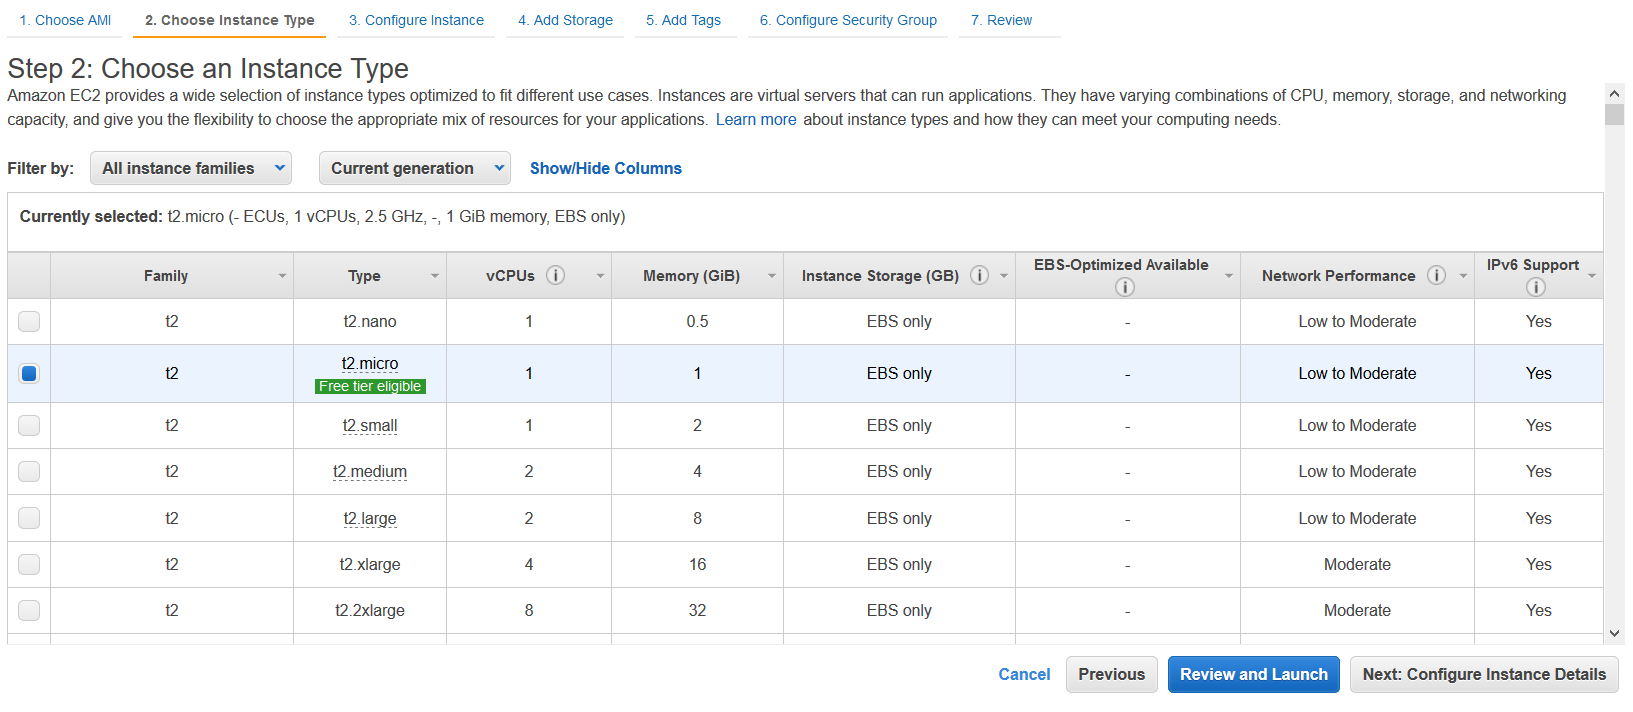
1. **Select** the Free tier eligible *Microsoft Windows Server 2019 Base*

1. Select *Type* - *t2.micro*
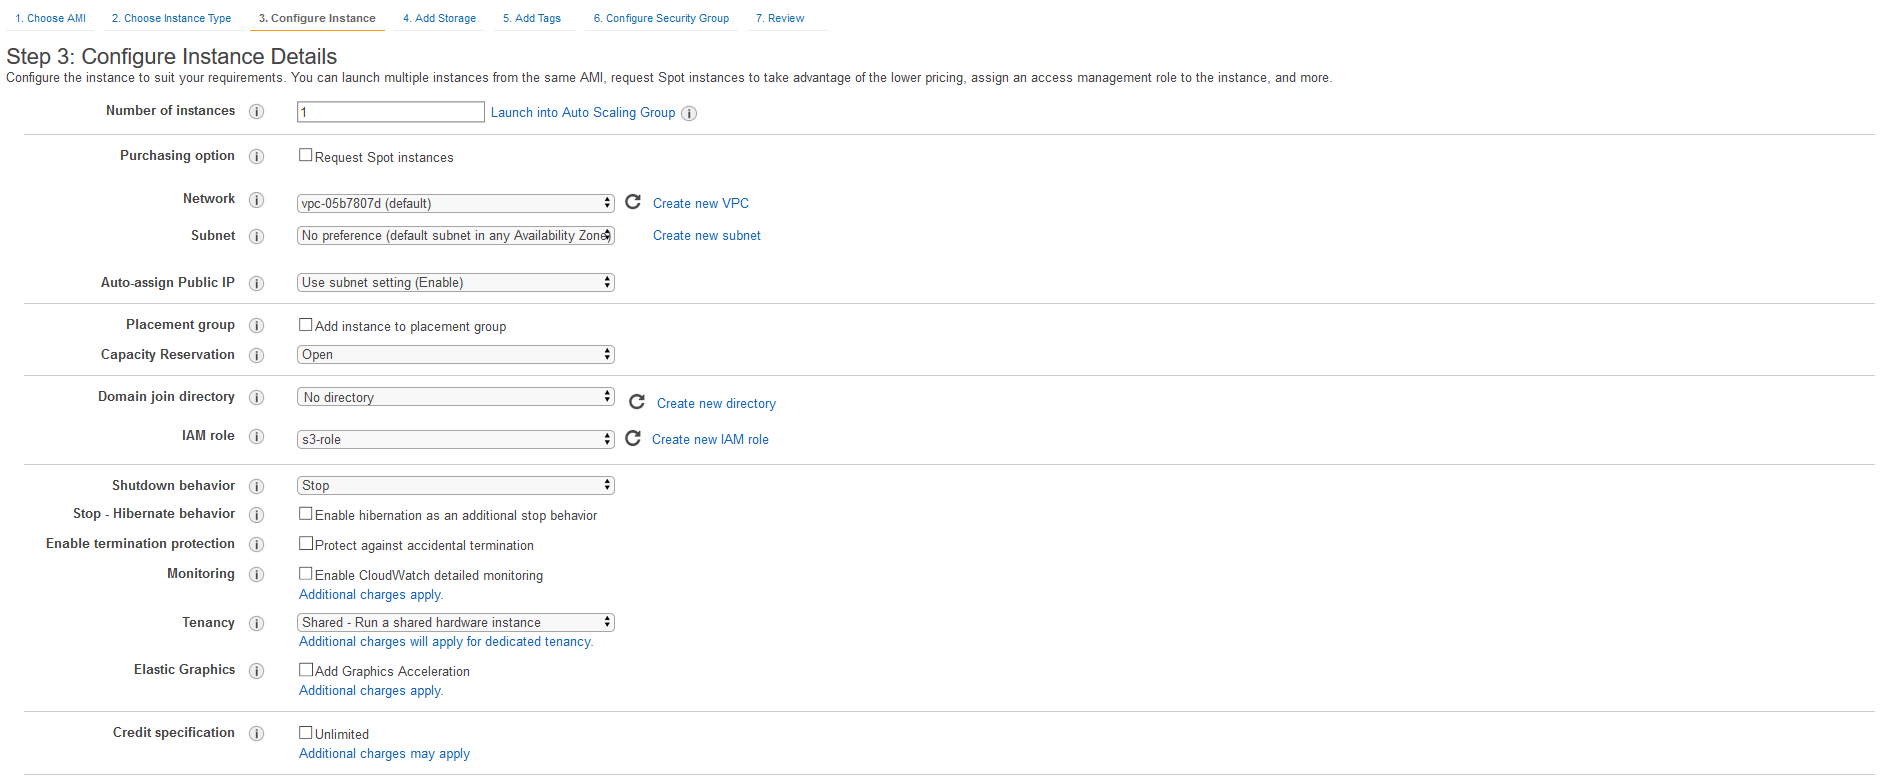
1. Click **Next: Configure Instance Details**
1. For *Network*, select default VPC
1. For *IAM role*, select the role you created in Module 6
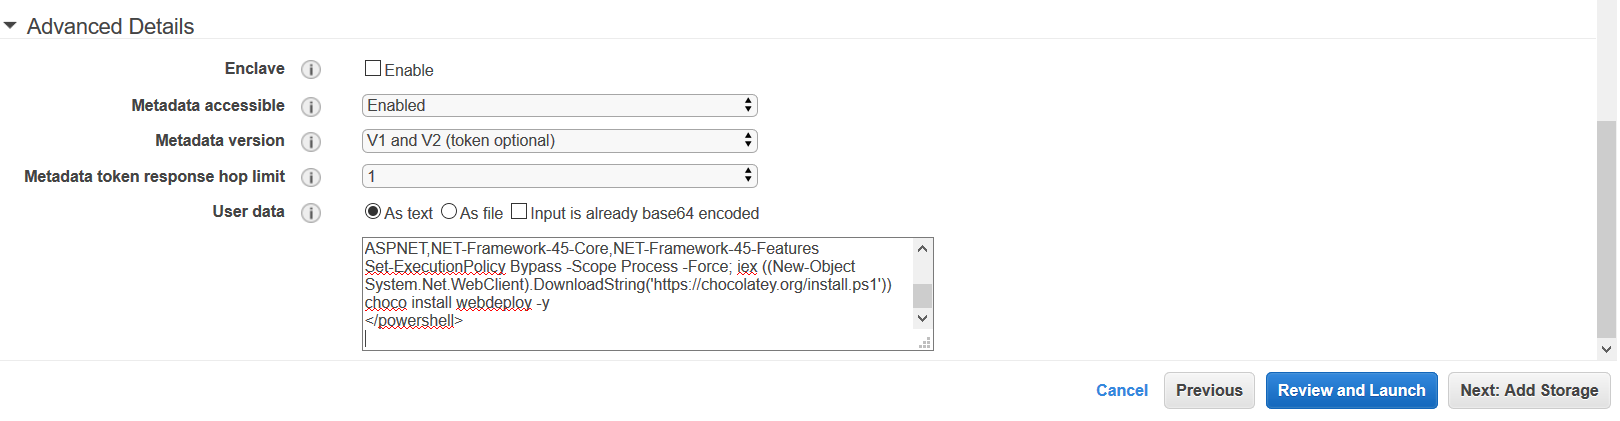
1. Copy the following code, paste into the User data As text.
```
Read-S3Object -BucketName aws-codedeploy-us-west-2 -Key latest/codedeploy-agent.msi -File c:\temp\codedeploy-agent.msi
c:\temp\codedeploy-agent.msi /quiet /l c:\temp\host-agent-install-log.txt
Install-WindowsFeature -Name Web-Server,NET-Framework-45-ASPNET,NET-Framework-45-Core,NET-Framework-45-Features
Set-ExecutionPolicy Bypass -Scope Process -Force; iex ((New-Object System.Net.WebClient).DownloadString('https://chocolatey.org/install.ps1'))
choco install webdeploy -y
```
1. The above code downloads and installs the CodeDeploy agent, installs and configures IIS with ASP.NET 4.8 on the EC2 instance.
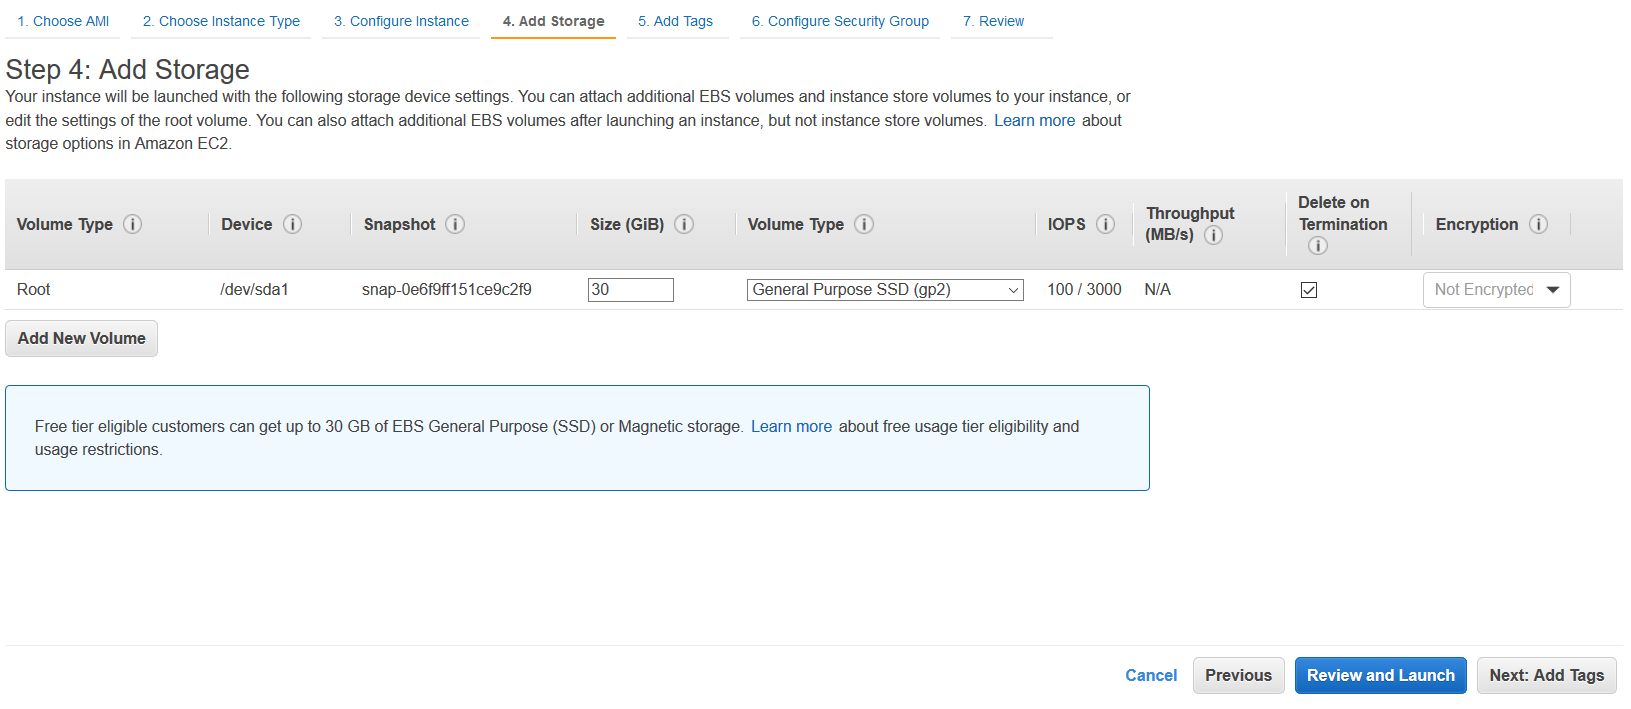
1. Click **Next: Add Storage**
1. Keep the default settings for storage
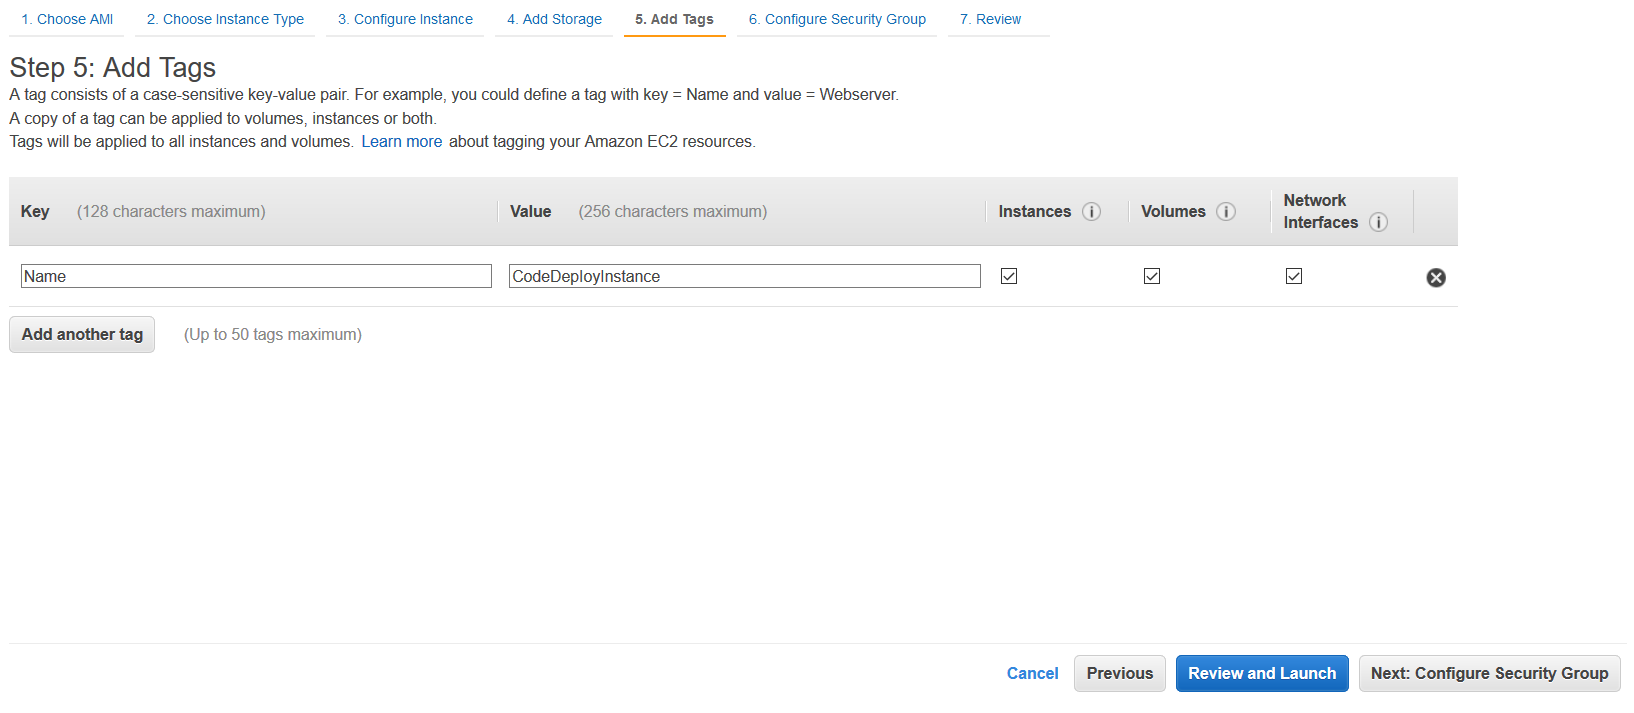
1. Click **Next: Add Tags**
1. Enter *Key* - Name, *Value* - CodeDeployInstance. This tag will be used to identify the EC2 instance(s) that CodeDeploy should deploy our application to
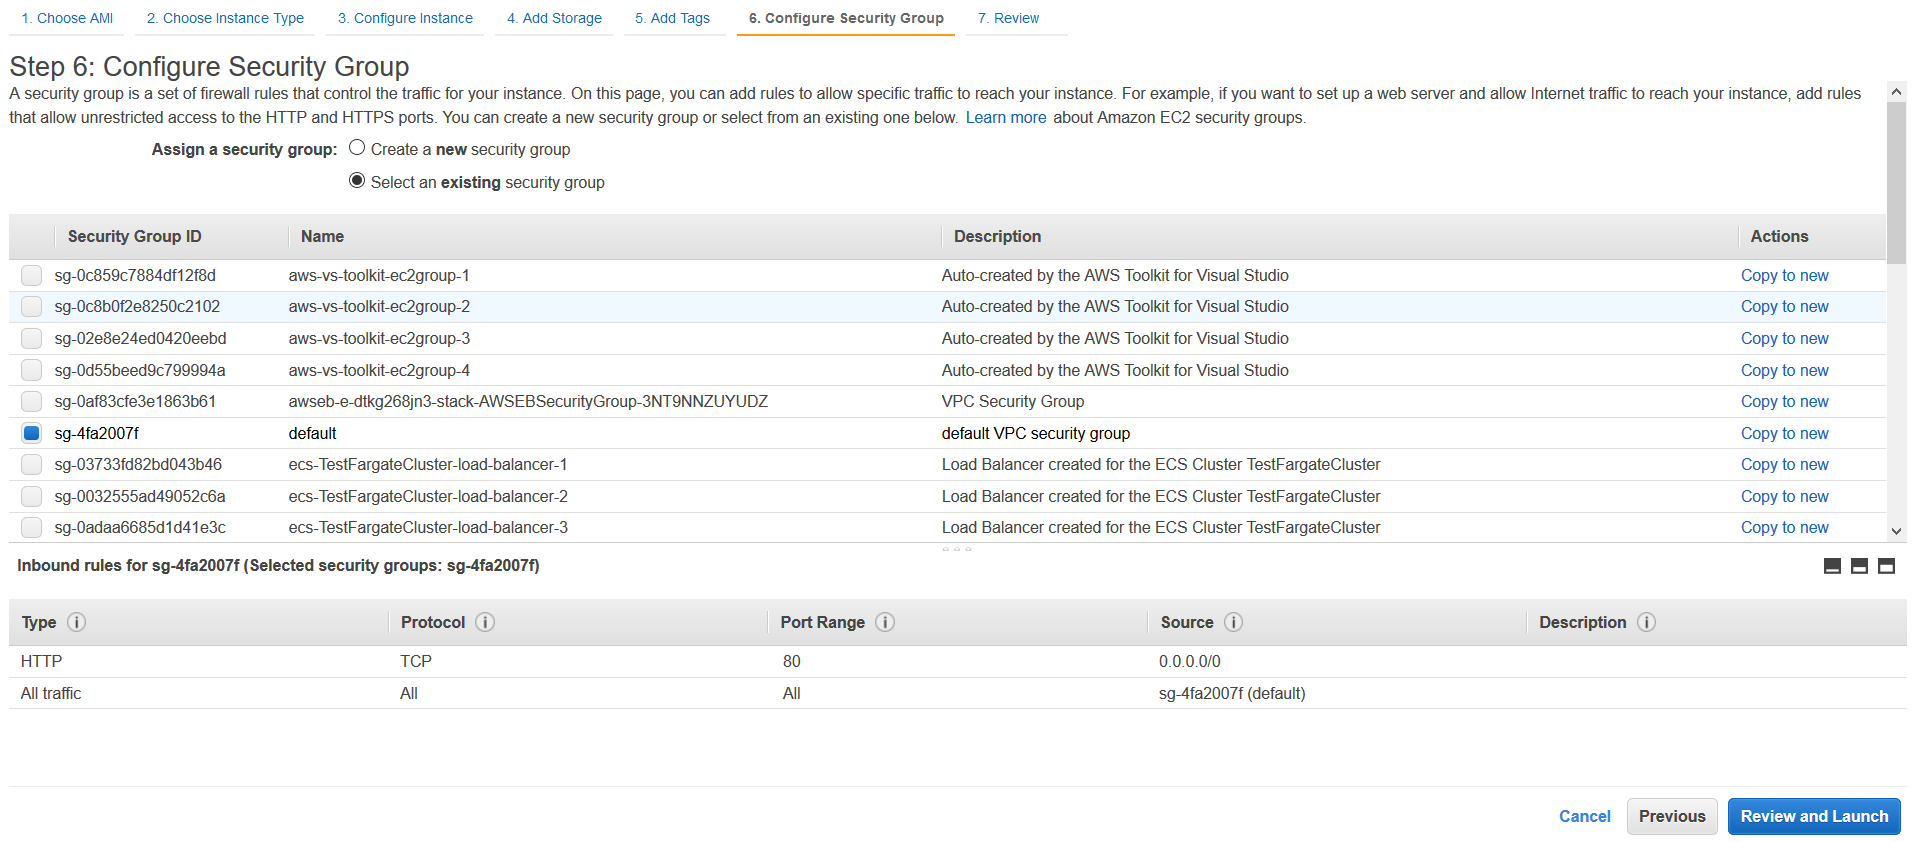
1. Click **Next: Configure Security Group**
1. *Select an existing security group* and select the *default* option
1. Click **Review and Launch**
1. Click **Launch**

1. Select **Proceed without a key pair**
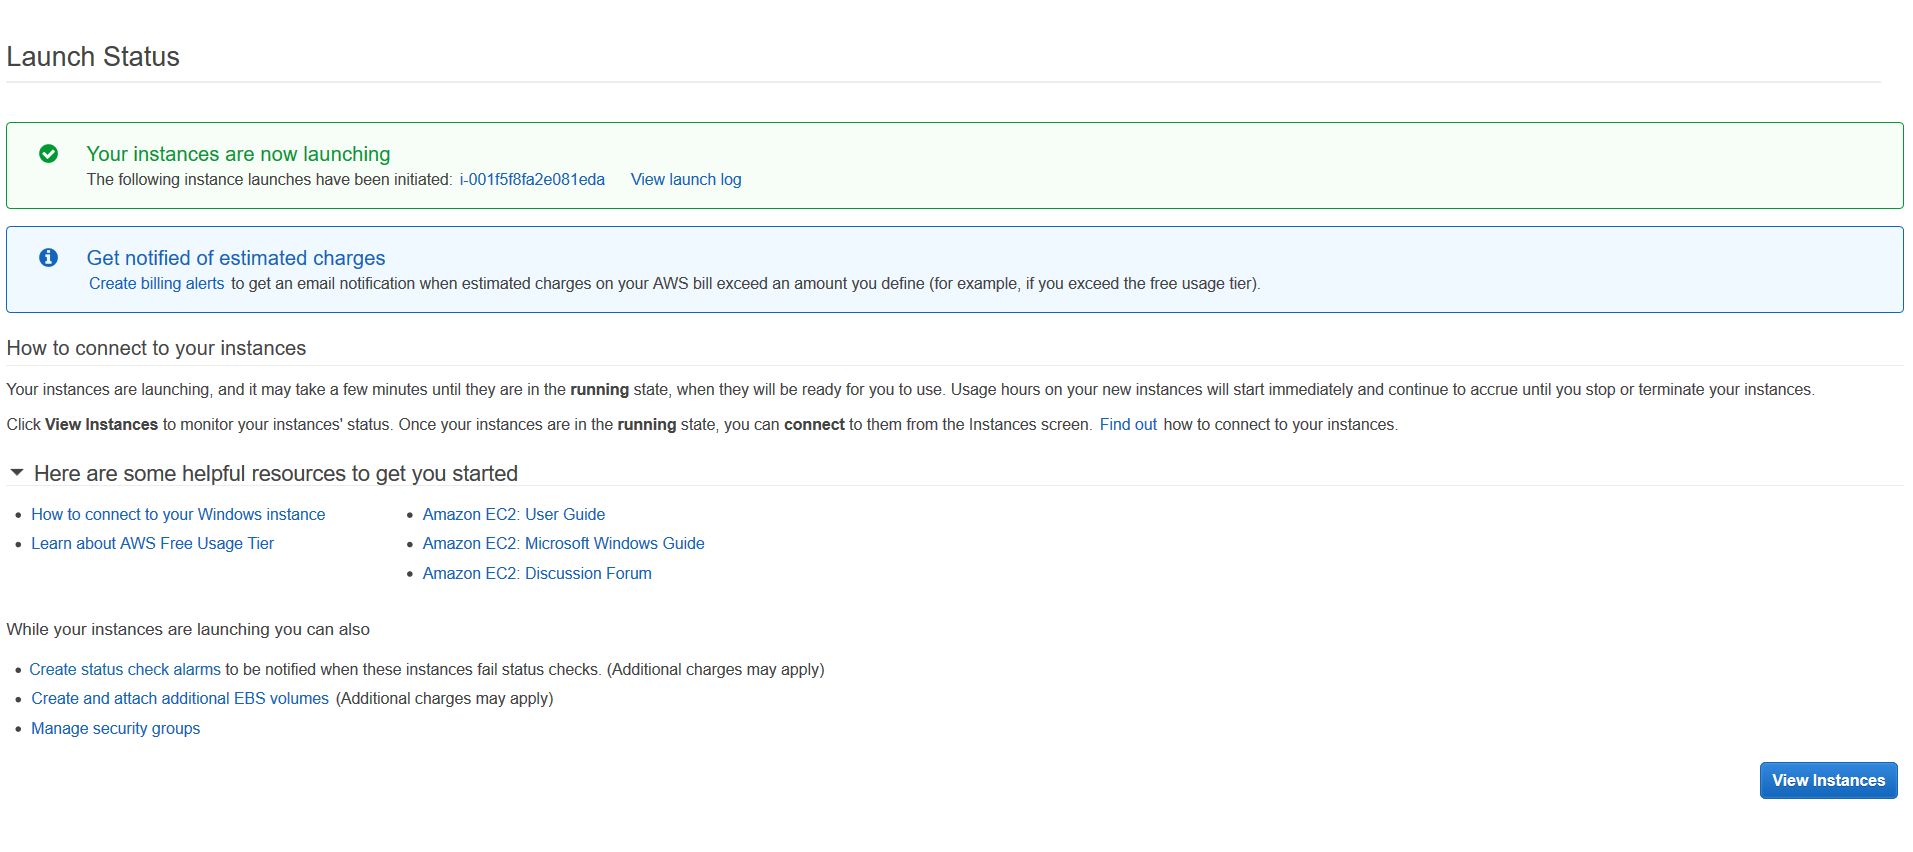
1. Click **Launch instances**

1. You can view the status of the EC2 instance by clicking **View Instances**
### Module 8: Set up an IAM Service Role for AWS CodeDeploy
#### Overview
In this step we will create a Service Role which will grant AWS CodeDeploy access to the target EC2 instance.
#### Implementation Instructions
1. From the AWS Console search for IAM.
1. Select **Roles** > **Create Role**

1. Select **AWS service** under *Select type of trusted entity*.
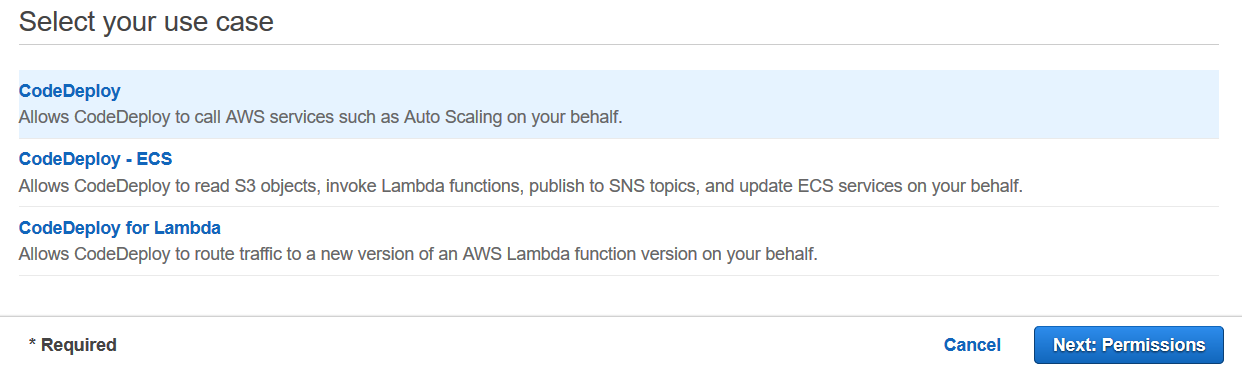
1. Select **CodeDeploy** under *Choose a use case*
1. Click **Next: Permissions**
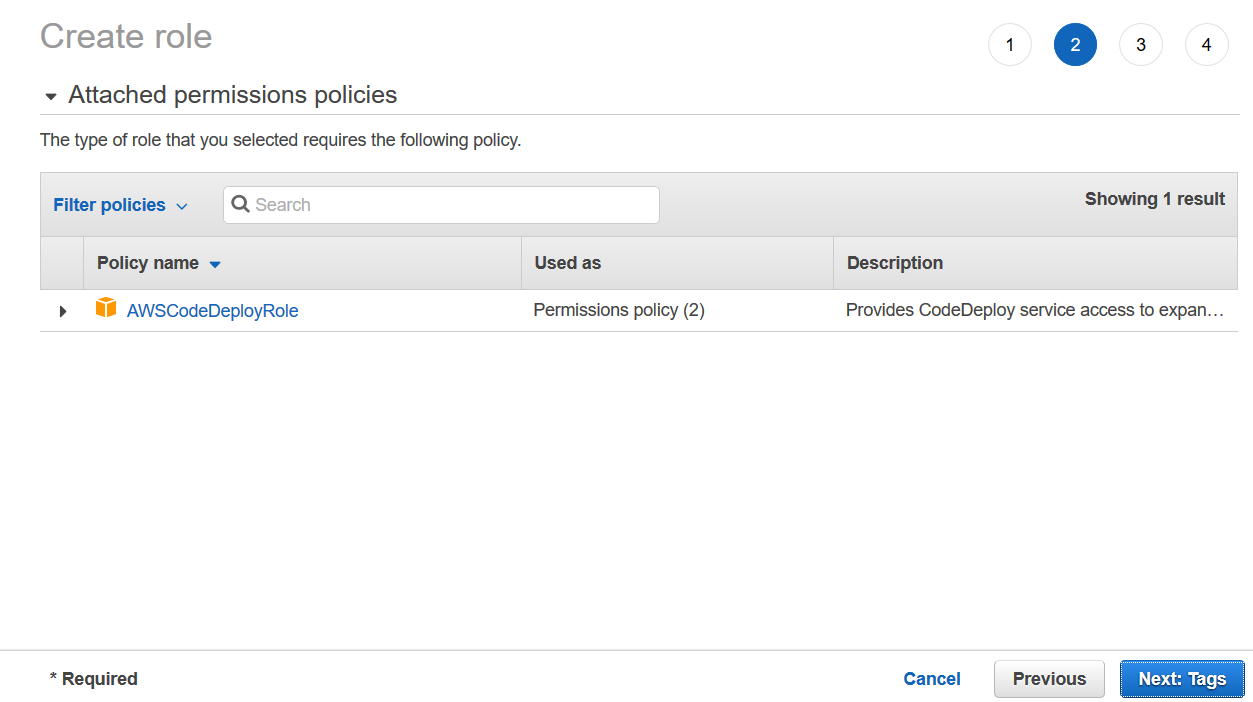
1. A policy has already been attached. Click **Next:Tags**
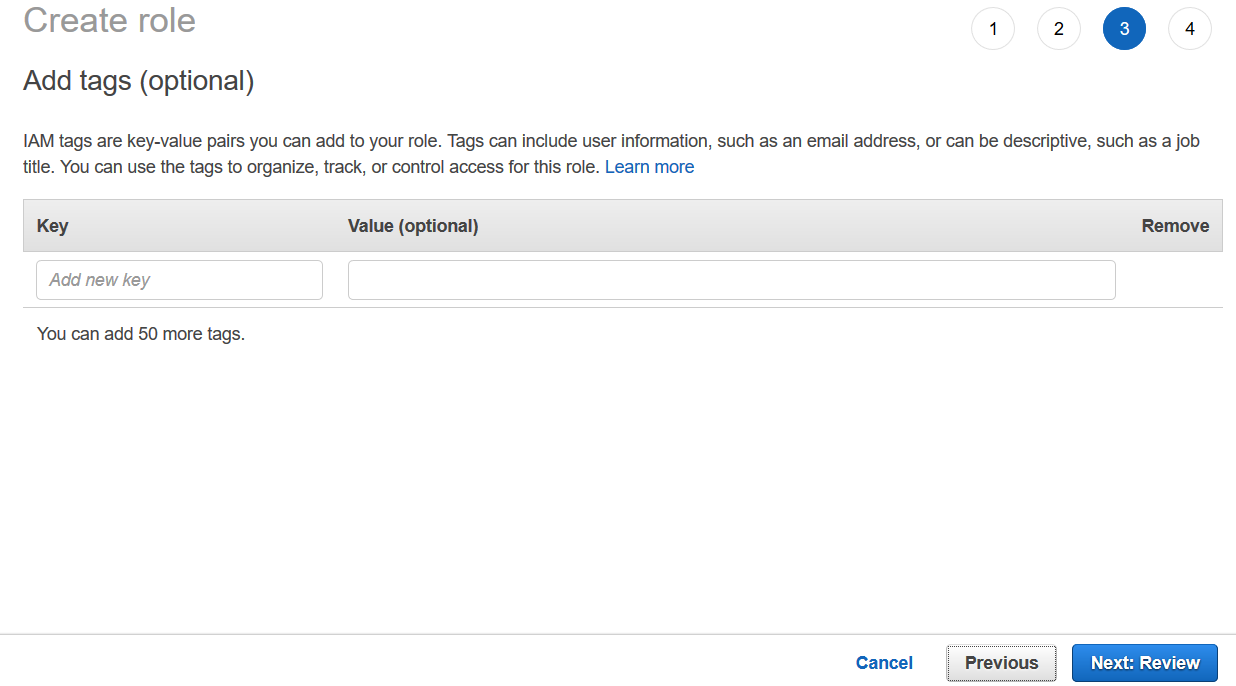
1. We will not be adding any Tags. Click **Next: Review**
1. Enter *Role name* and click **Create role**
### Module 9: Create an AWS CodeDeploy application and deployment group resource
#### Overview
CodeDeploy is a deployment service that automates application deployments to Amazon EC2 instances, on-premises instances, serverless Lambda functions, or Amazon ECS services.
In this step we will create an application which is a name or container used by CodeDeploy to ensure that the correct revision, deployment configuration, and deployment group are referenced during a deployment. We will also create a deployment group. Each application deployment uses one of its deployment groups. The deployment group contains settings and configurations used during the deployment.
deployment group in CodeDeploy.
#### Implementation Instructions
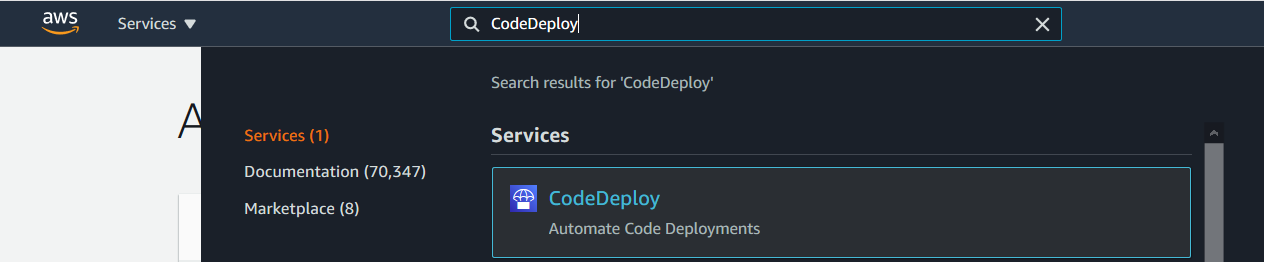
1. From the AWS Console, search for CodeDeploy.
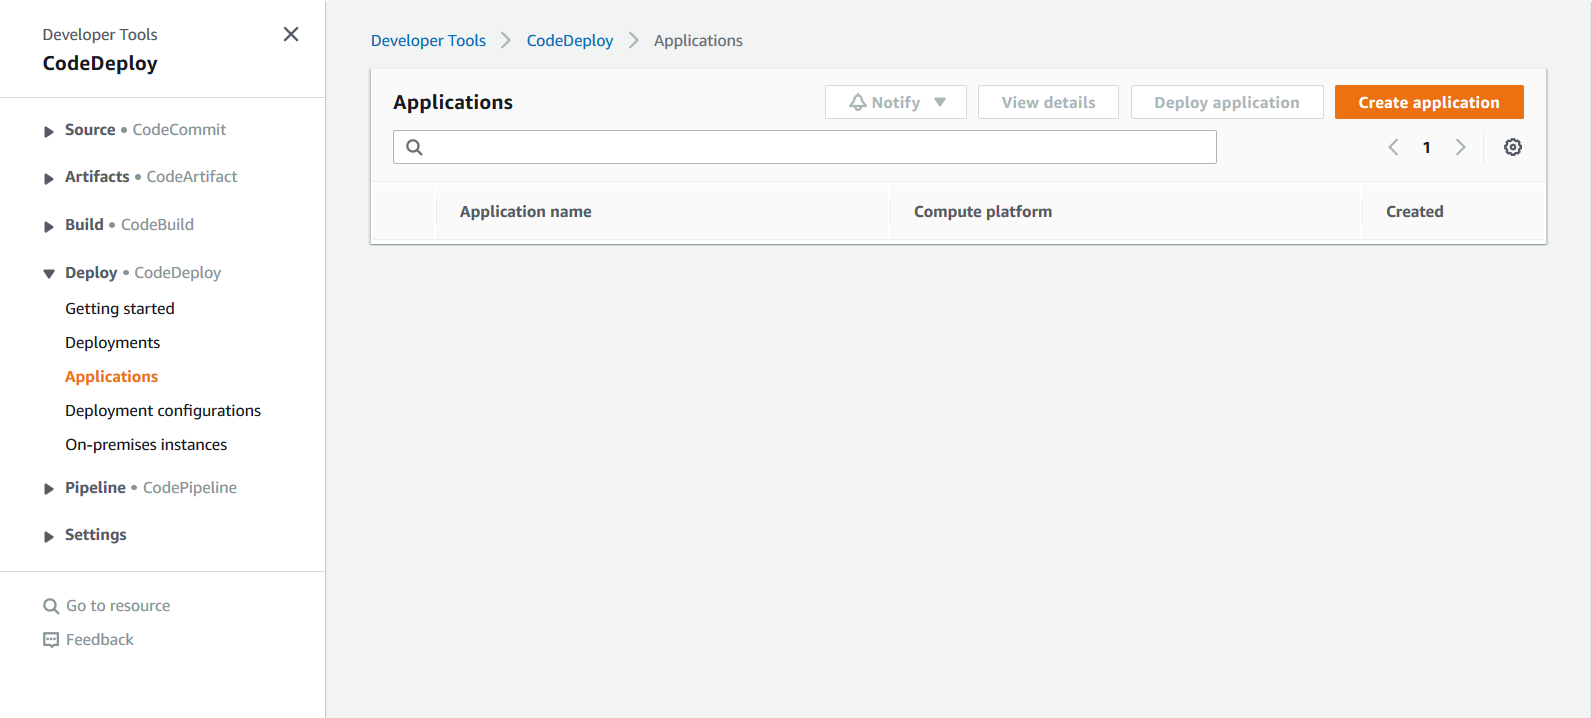
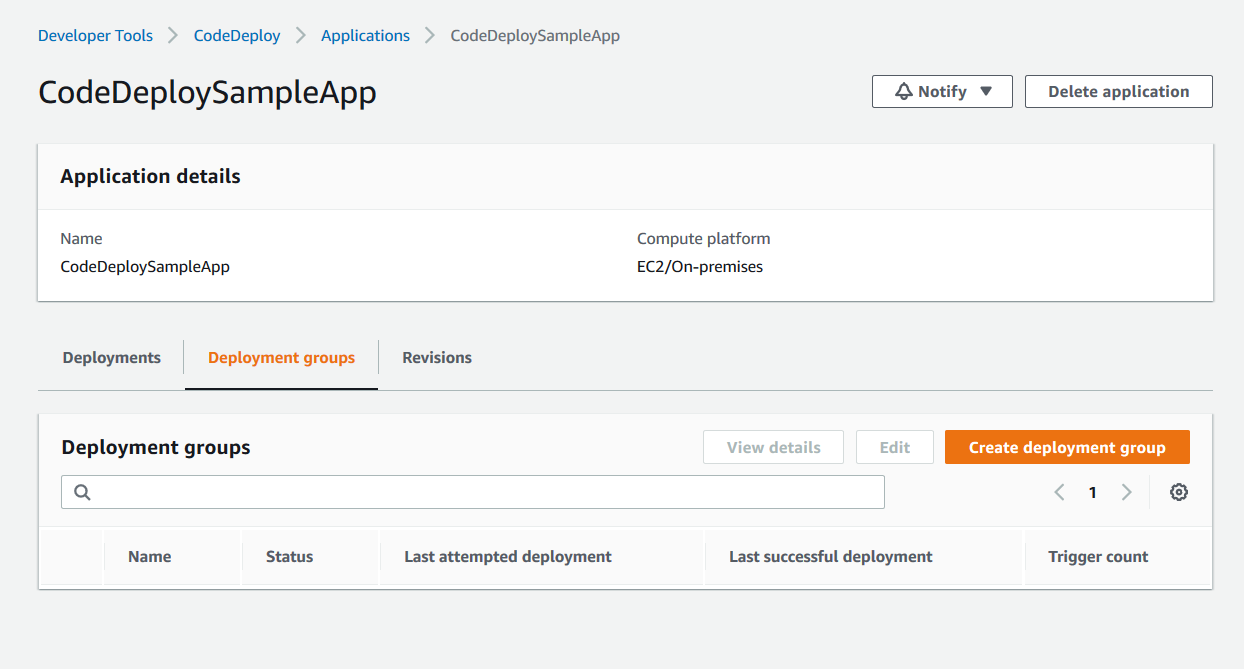
1. Go to **Applications**, click **Create application**
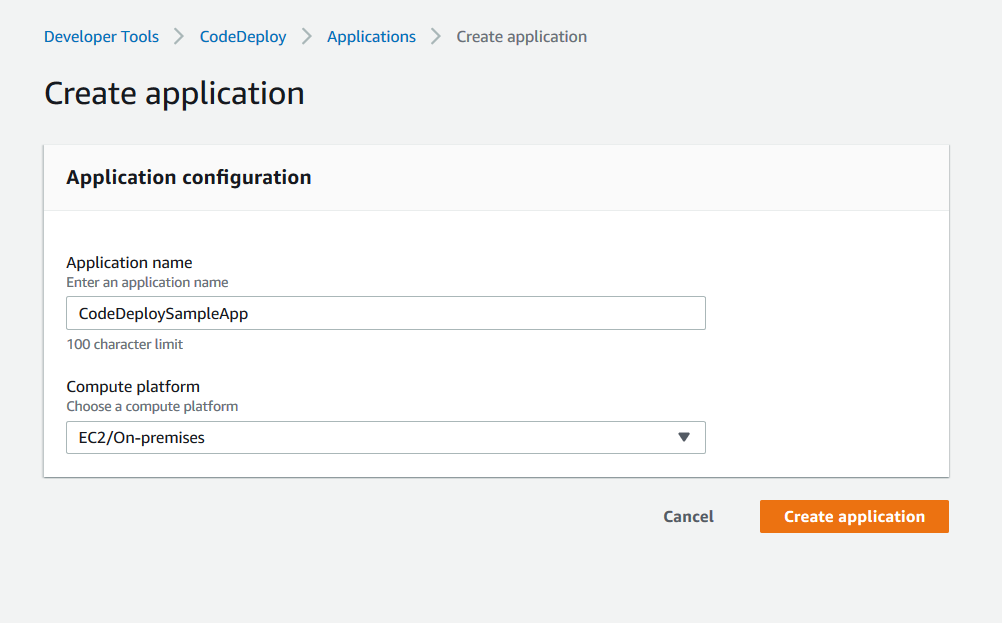
1. Enter the *Application name*
1. Select **EC2/On-premises** under *Compute platform* and click **Create application**
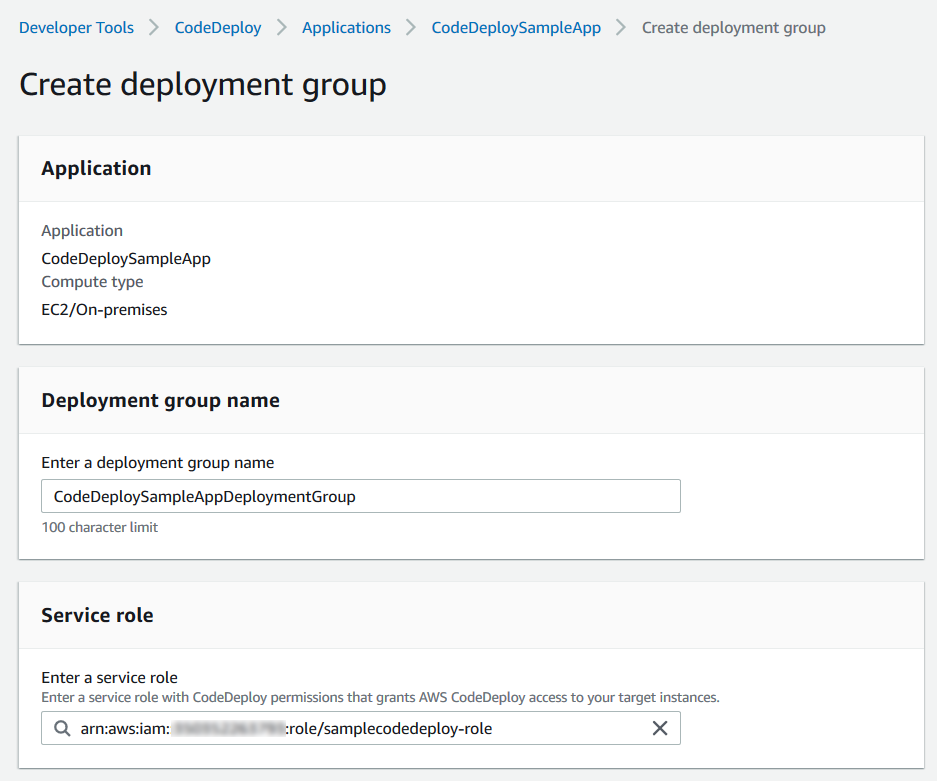
1. Go to the application and click **Create deployment group**
1. Enter the *deployment group name*
1. Select the *Service Role* created in Module 8
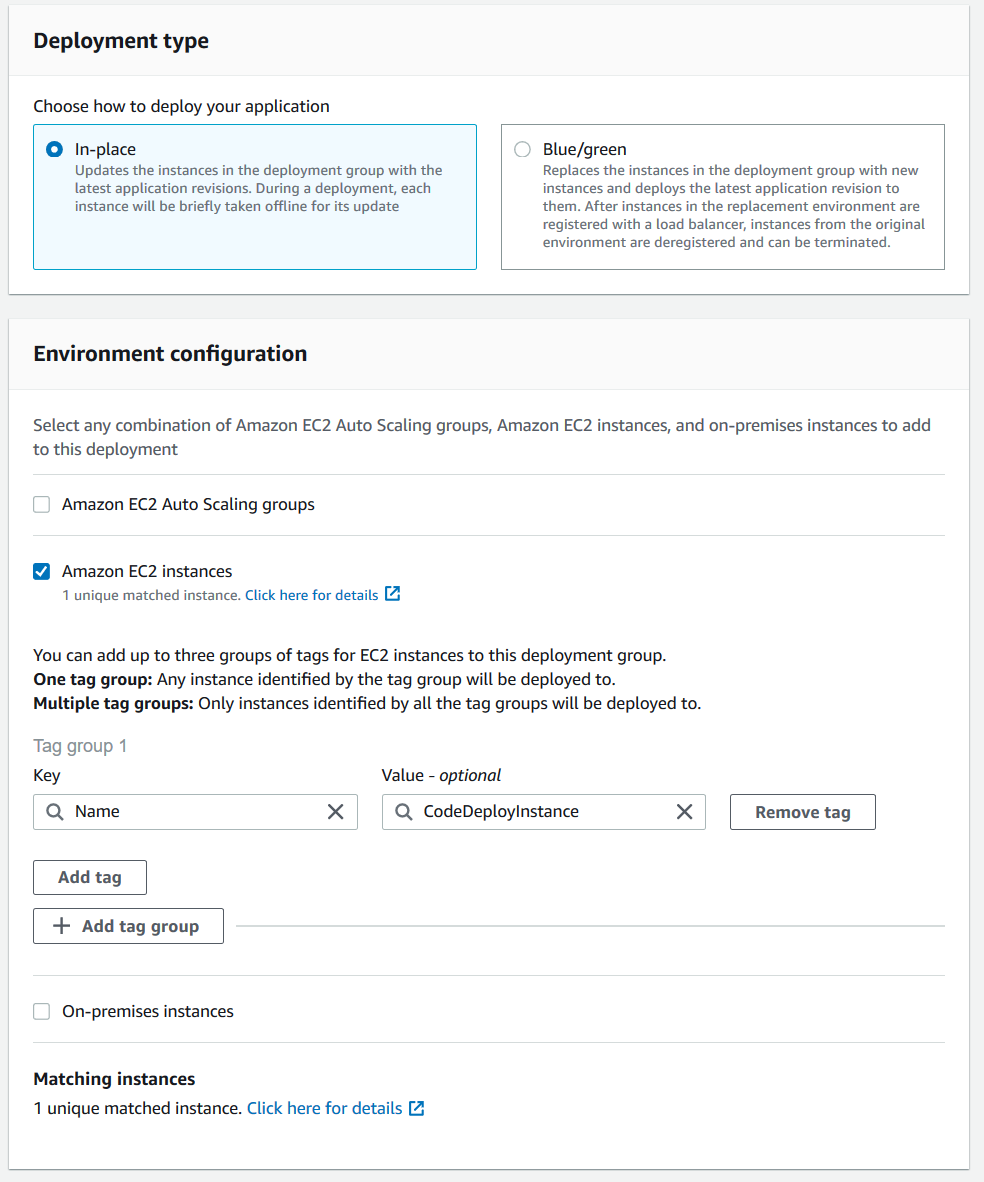
1. Choose **In-place deployment**
1. Select **Amazon EC2 instances** under *Environment configuration*
1. Add a tag with *Key* - Name, *Value* - (Name of the EC2 instance created in Module 7) This will identify the EC2 instance created in Module 7
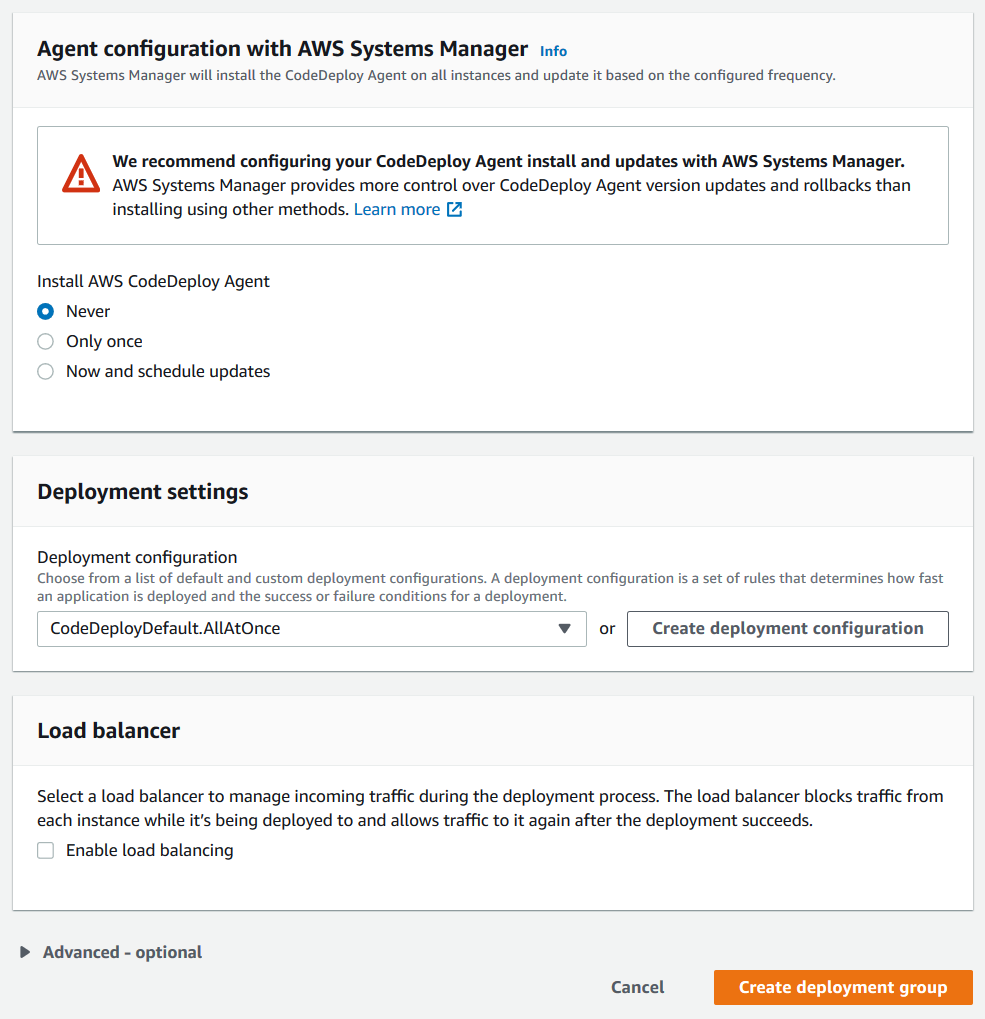
1. Select **Never** under *Agent configuration with AWS Systems Manager* as we have already configured the EC2 instance with the CodeDeploy Agent.
1. Select **CodeDeployDefault.AllAtOnce** under *Deployment Settings*. This option attempts to deploy an application revision to as many instances as possible at once. We will be dealing with a single instance.
1. Since its a single instance application we will not be needing a Load balancer. Deselect *Enable load balancing*
1. Click **Create deployment group**
1. CodeDeploy is ready to receive our application.
### Module 10: Add a task in your Azure DevOps build pipeline to deploy the application using AWS CodeDeploy
#### Overview
In this step we will create an Azure DevOps build job that will deploy our
application to EC2 instances via CodeDeploy.
#### Implementation Instructions
1. Open our project in Azure DevOps, select **Pipelines** > **Create Pipeline**

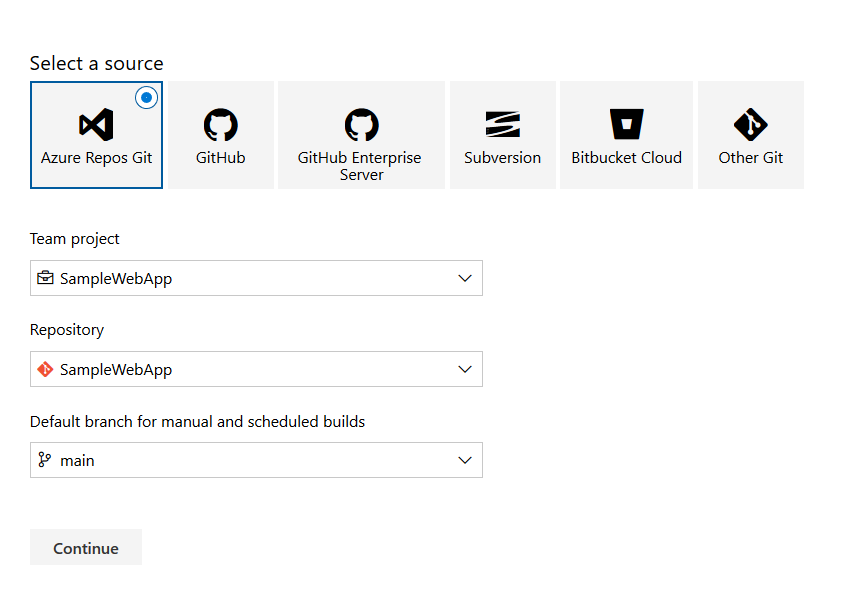
1. Select **Other Git**
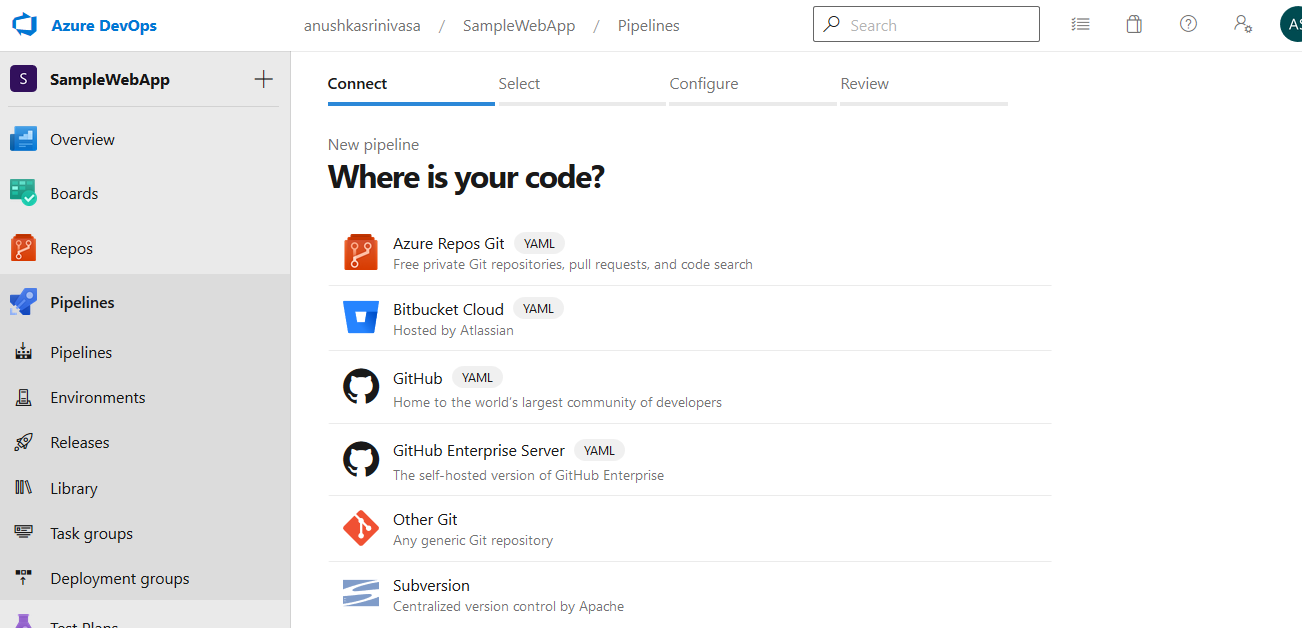
1. Choose the **Azure Repos Git**, select your project and Repository
1. Click **Continue**
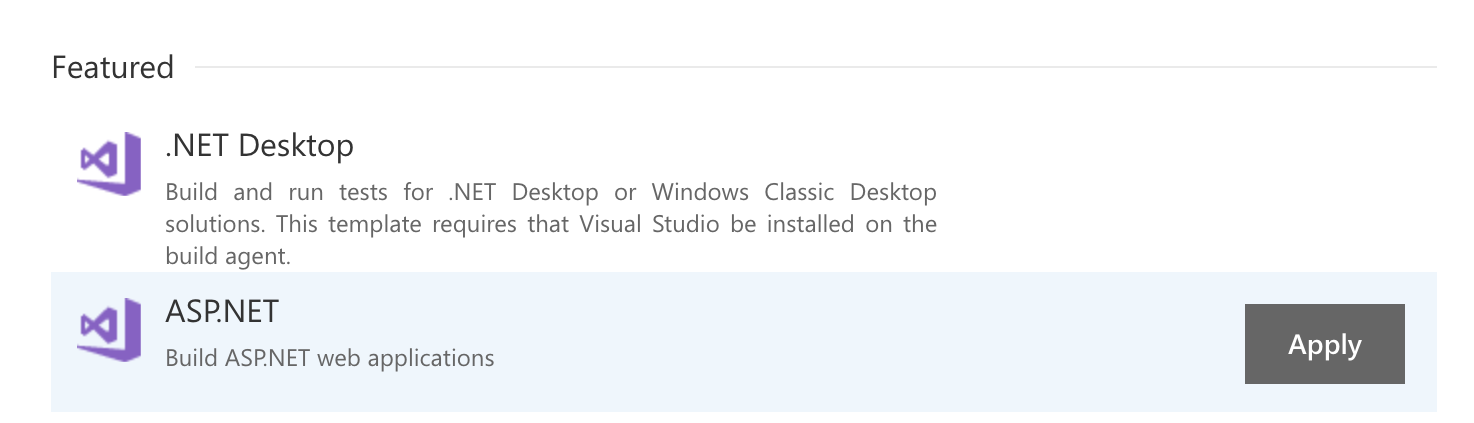
1. Select the **ASP.NET** template and click **Apply**
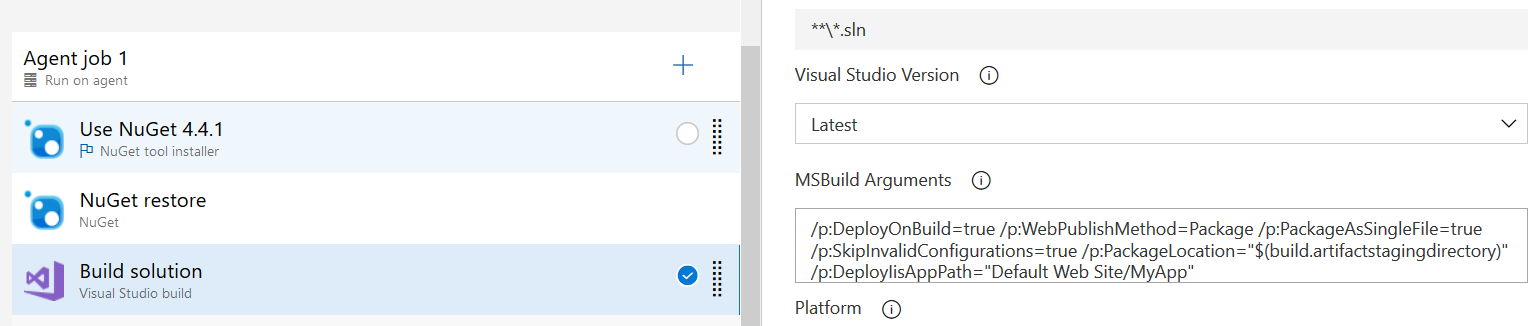
1. Go to the task Build solution and append the following in *MSBuild Arguments*. This will set the default path where our application will be hosted
/p:DeployIisAppPath="Default Web Site/MyApp"
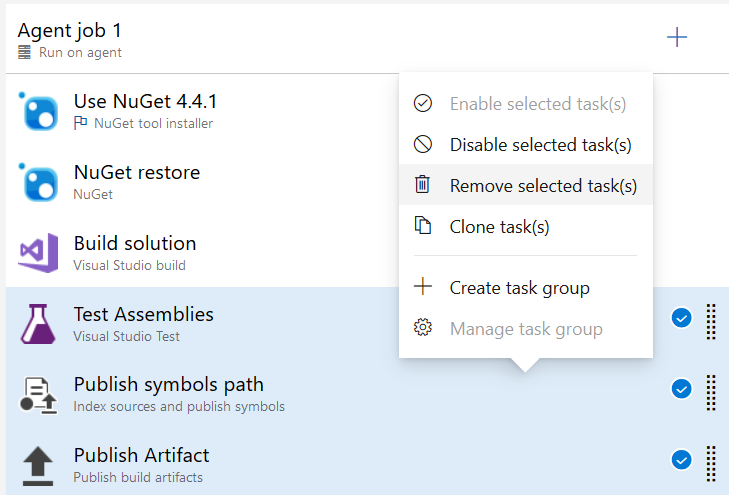
1. Select the Tasks - *Test Assemblies*, *Publish symbols path* and *Publish Artifact* and select **Remove selected task(s)**. We won't be needing these three tasks.
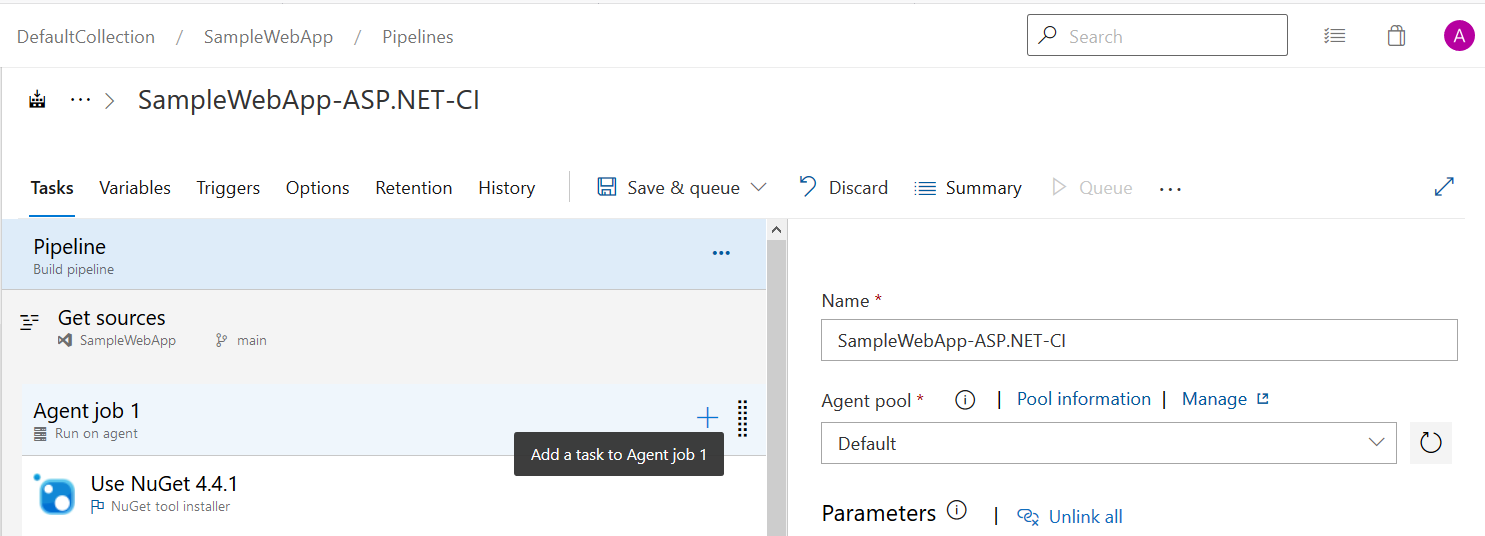
1. Click the + symbol to add a new task.
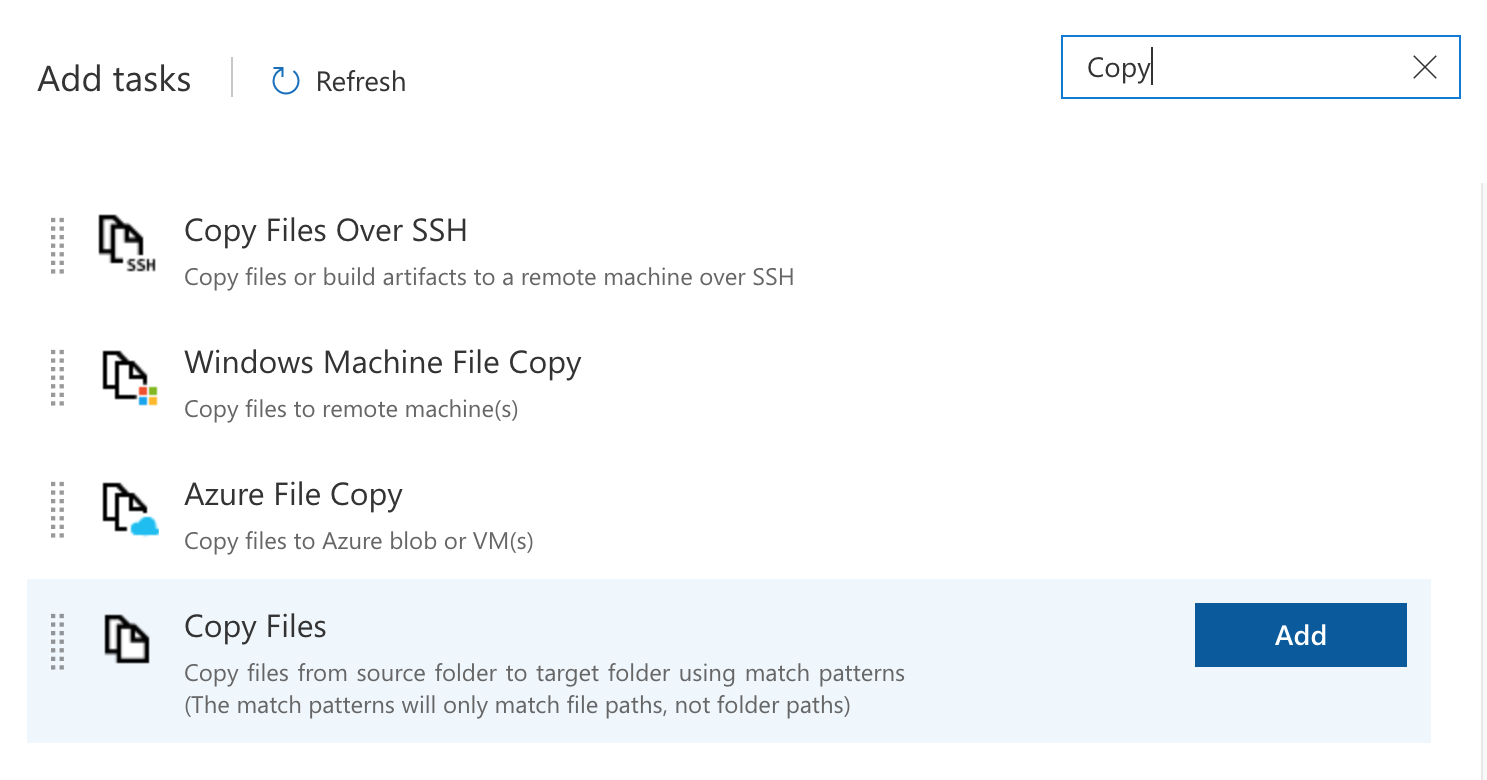
1. Search for the *Copy Files* task and click **Add**. The task will go to
the bottom of the list on the left.
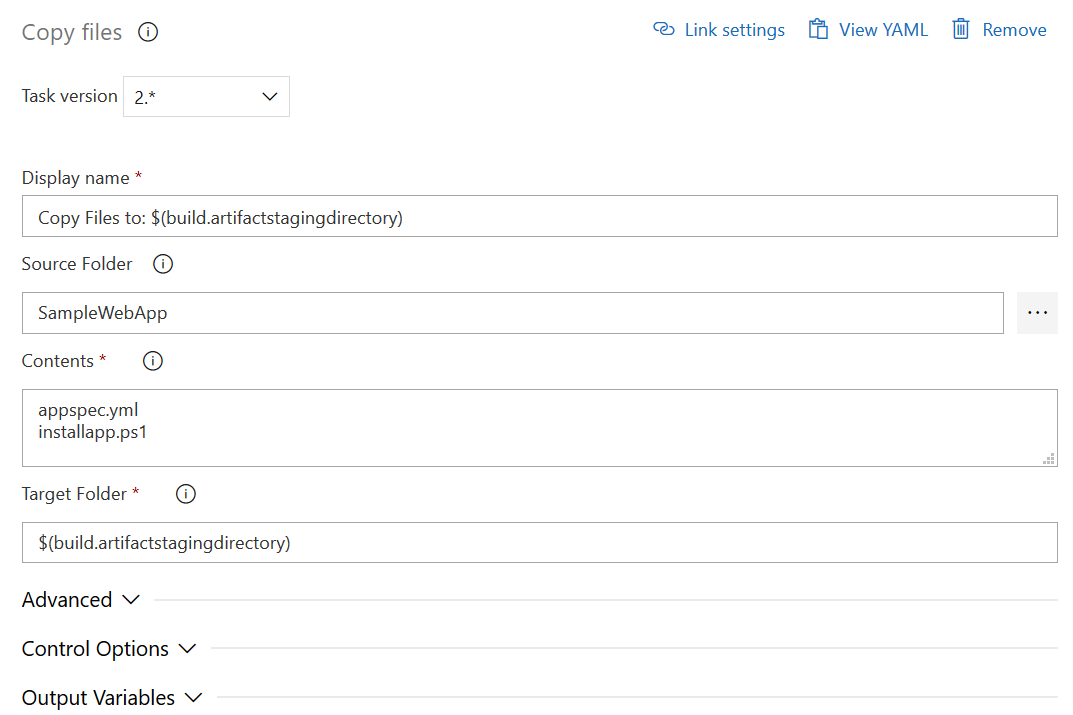
1. Select the *Copy Files* task and update the parameters as shown in the image.
- *Source Folder*: It is the folder that contains the files you want to copy. Select the project folder - SampleWebApp
- *Contents*: The specified files mentioned here will be copied to the specified Target folder containing other build artifacts which will be used by the CodeDeploy task when it builds the webdeploy-based application bundle for deployment. Enter *installapp.ps1* and *appspec.yml* as shown below
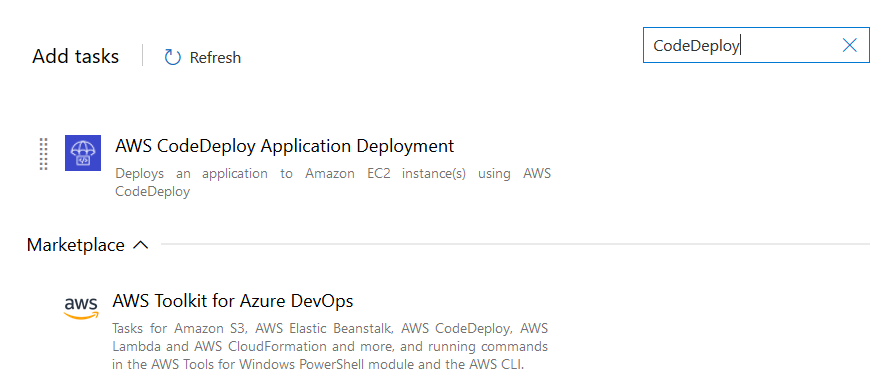
1. We will be adding *AWS CodeDeploy Application Deployment* task in the next step . The *AWS Toolkit for Azure DevOps* adds tasks to easily enable build and release pipelines in Azure DevOps. If you are using the toolkit for the first time, you can install and configure it from the [Visual Studio Marketplace.](https://marketplace.visualstudio.com/items?itemName=AmazonWebServices.aws-vsts-tools)
1. Click the + symbol to add a new task. Search for the CodeDeploy task
and click **Add**. The Task will go to the bottom of the list on the
left. Update the parameters.
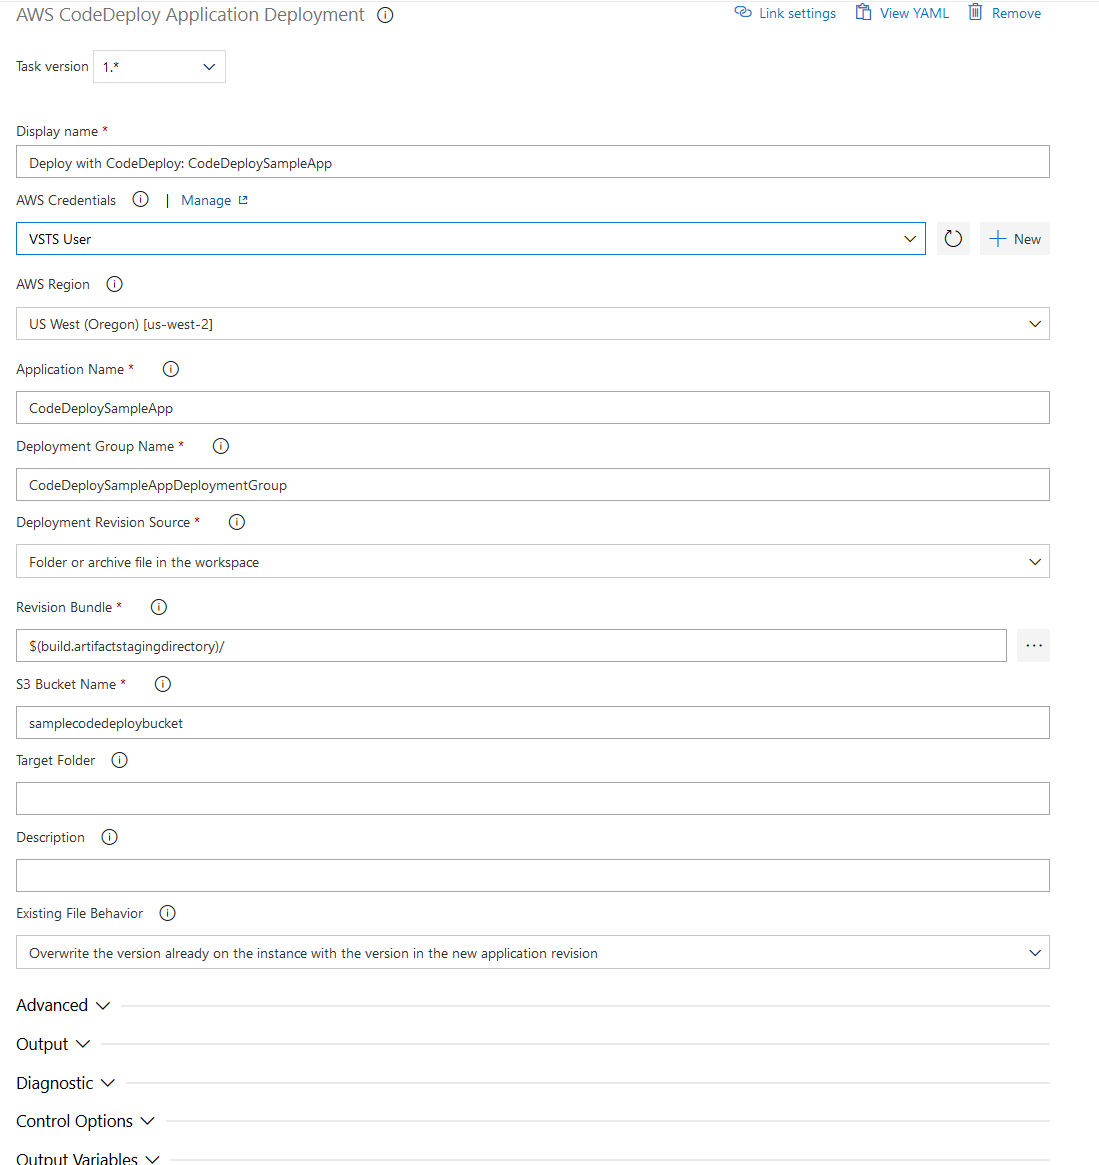
1. Configure the Code Deploy task.
- *AWS Credentials* - Specify the AWS credentials to be used by the task in the build agent environment
- *AWS Region* - Specify the region containing the AWS resources for this project
- *Application Name* - Specify the name of the AWS CodeDeploy application (Module 9)
- *Deployment Group Name* - Specify the name of the deployment group the revision is to be deployed to (Module 9)
- *Revision Bundle* - Specify the location of the application revision artifacts to deploy which is *$(build.artifactstagingdirectory)*
- *S3 Bucket Name* - Specify the name of the Amazon S3 bucket to which the revision bundle is uploaded or can be found (Module 5)
- *Existing File Behavior* - This specifies how AWS CodeDeploy should handle files that already exist in a deployment target location but weren't part of the previous successful deployment. Select *Overwrite the version already on the instance with the version in the new application revision*
1. Select **Triggers** and enable *Continuous integration*
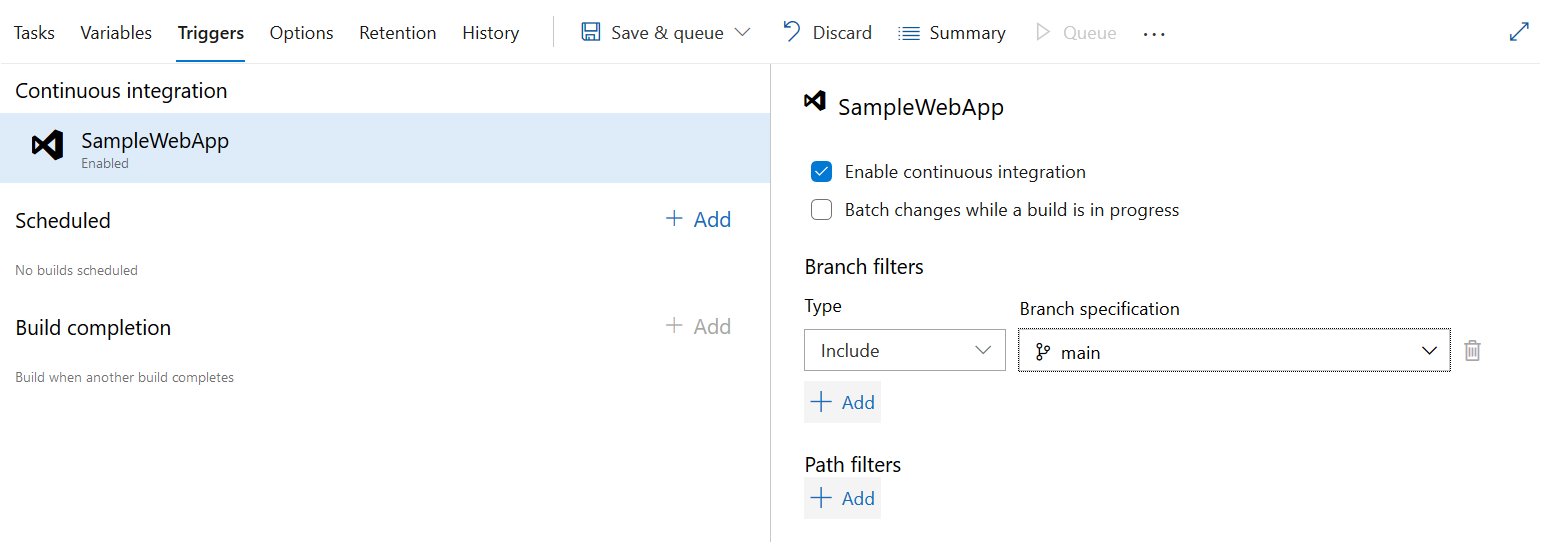
1. Save the build.
### Module 11: Test the Deployment
#### Overview
In this module, we will deploy the code to the EC2 instance(s).
#### Implementation
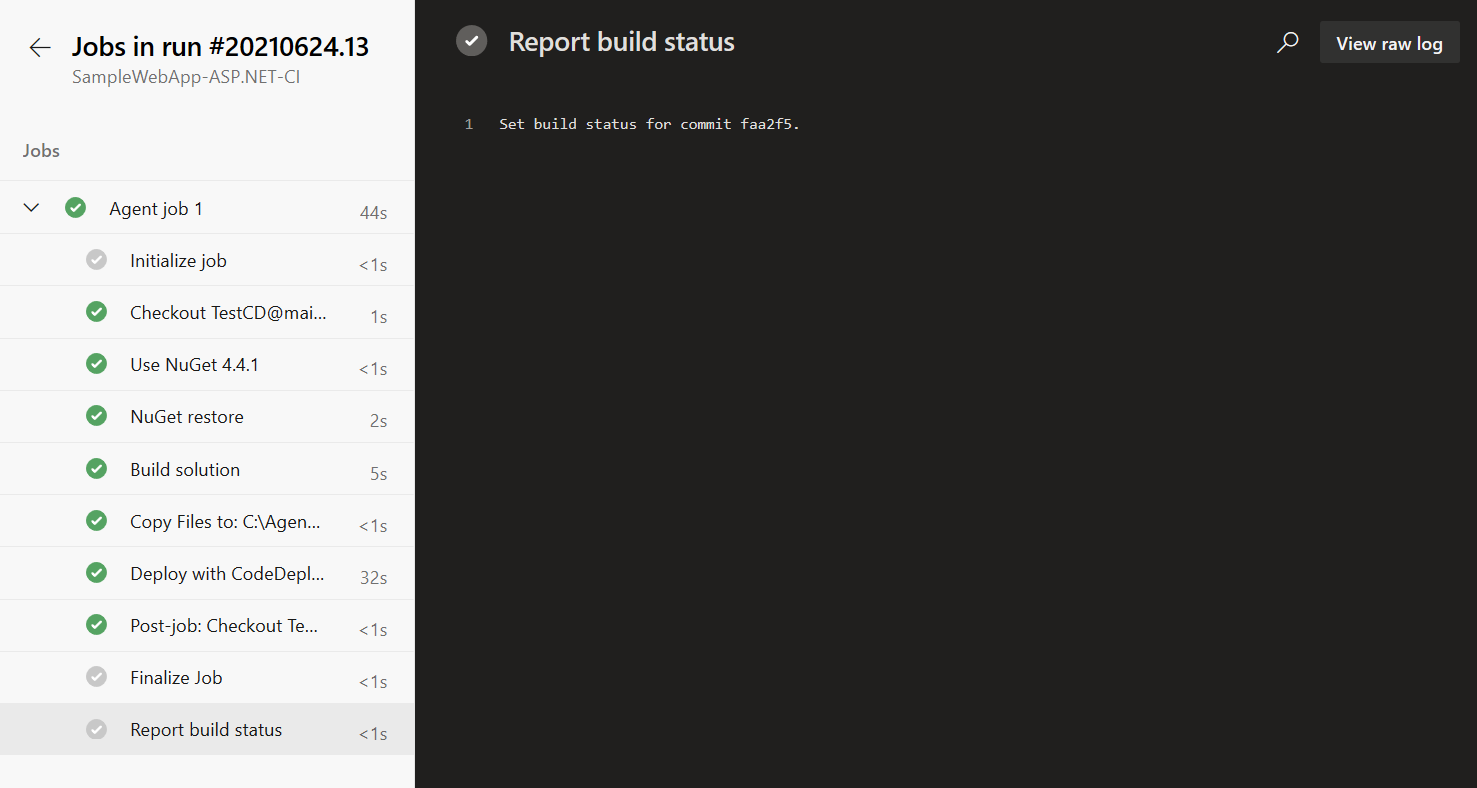
1. Make a change to your code and check it into Azure DevOps which initiates a
build. Once the build is complete you will be able to click through
the various steps in the process.
1. You can view your deployed application by getting the public DNS or
IP address for the EC2 instance and appending the default path added in Step 6 of Module 10 and navigate to the site in a browser.
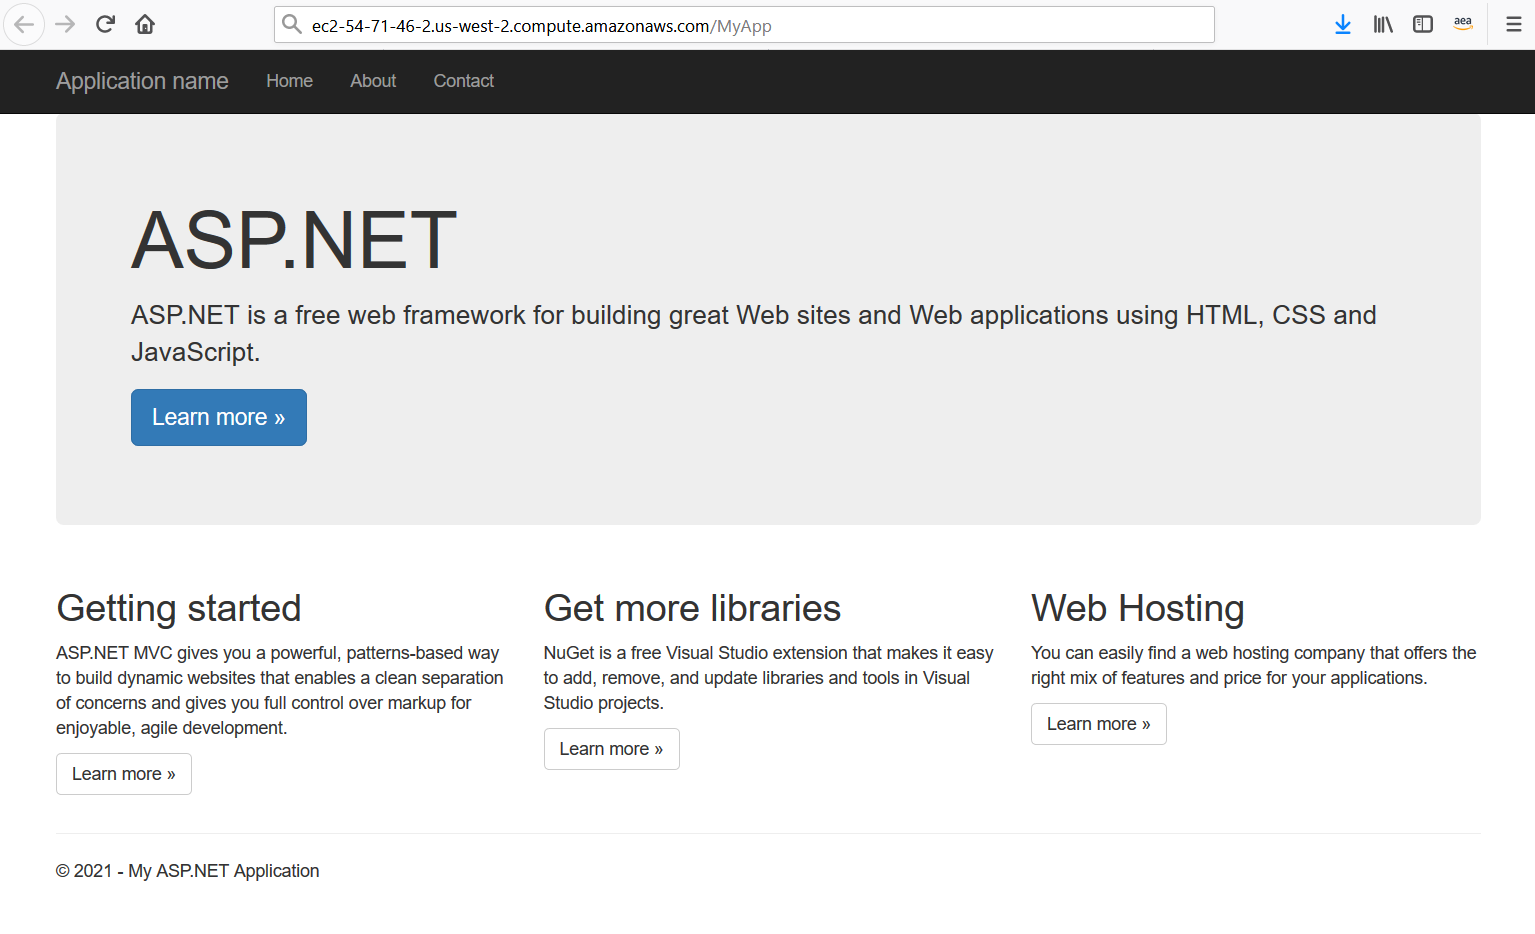
1. You now have a working CI/CD pipeline in Azure DevOps that deploys an ASP.NET
application from source control to EC2.