# Using a NAT Gateway - Console UI
This approach uses a [NAT gateway](https://docs.aws.amazon.com/vpc/latest/userguide/vpc-nat-gateway.html) to give your Lambda function access to the internet, not only to the Secrets Manager service. It is the simpler of the two approaches, but your traffic to Secrets Manager will travel over the internet. In the second approach, using a VPC endpoint, your traffic to Secrets Manager will travel within the VPC.
For most people, sending secrets over the internet is not a problem, as the data is end-to-end encrypted.
*Another advantage of this approach is that your function will have full internet access, not limited to just the Secrets Manager service. So this approach will work for you if your Lambda function needs to connect to other AWS services, or some third party service accessible over the internet.*
## Some Background and Concepts
### Subnets
By default, your VPC has multiple subnets, one for each availability zone. You are going to use two of these subnets in this tutorial.
One will be designated as public, and one as private. There is no setting on the subnet that makes it public or private. For the purposes of this tutorial, a public subnet is one that has a route to the internet via an [Internet Gateway](https://docs.aws.amazon.com/vpc/latest/userguide/VPC_Internet_Gateway.html), and a private subnet is one that has a route to the internet via a [NAT Gateway](https://docs.aws.amazon.com/vpc/latest/userguide/vpc-nat-gateway.html).
### NAT Gateway
The NAT (Network Address Translation) Gateway is a managed service that allows your private subnets to access the internet. It does this by routing internet traffic to another subnet that has access to the internet via an Internet Gateway.
A little unintuitivly, you will add a NAT Gateway to the **public** subnet. More on this later.
### Internet Gateway
An Internet Gateway is an AWS service that allows resources in public subnets access the internet.
### Route tables
A route table is a collection of routes. Route tables can be associated with zero or more subnets.
Each route in the table has a destination and a target.
The destination is the range of IP address the route applies to, and the target is where the data is sent, e.g. a NAT Gateway, or Internet Gateway.
### Security Groups
A security group is a set of rules controlling what traffic is allowed to enter or leave a resource. As mentioned in the assumptions section, your default security group needs to allow all egress traffic, and all internal traffic within that security group.
## 1 - Create the AWS RDS SQL Server database
The first thing you will do is create the database. Each AWS region has different SQL Server versions available.
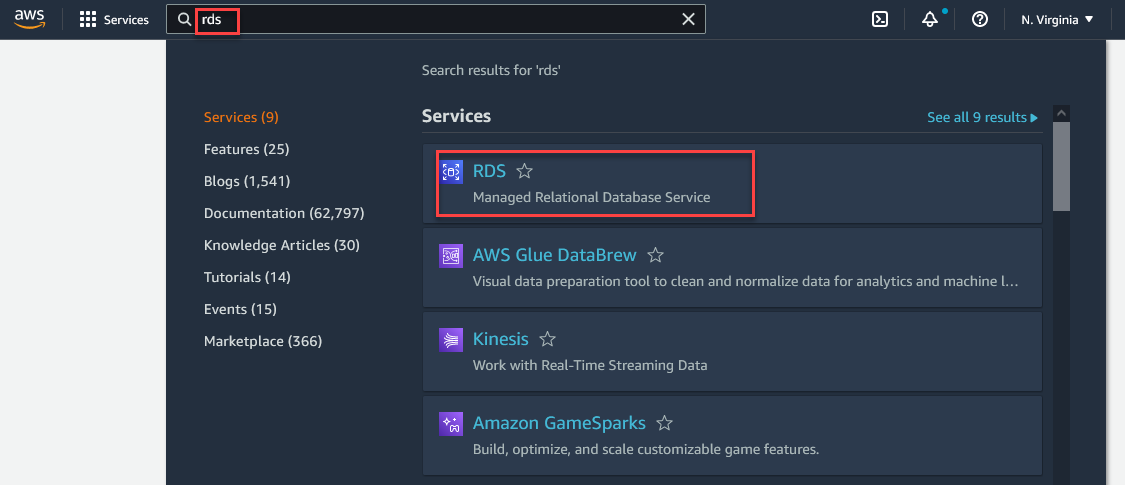
Log into the AWS Console and search for the [RDS service](https://console.aws.amazon.com/rds/home).
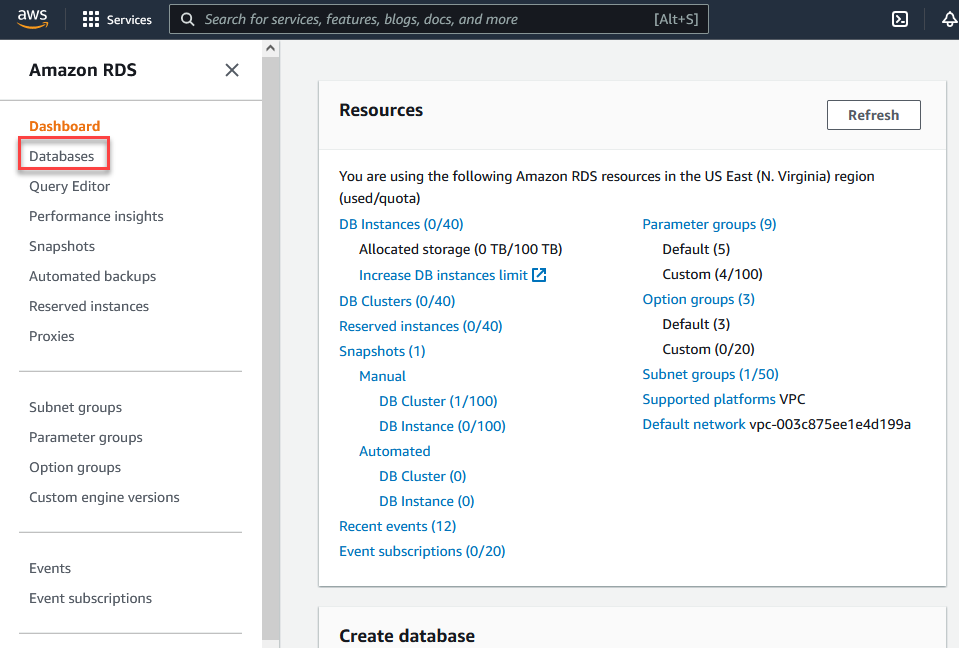
Select Databases from the menu on the left.
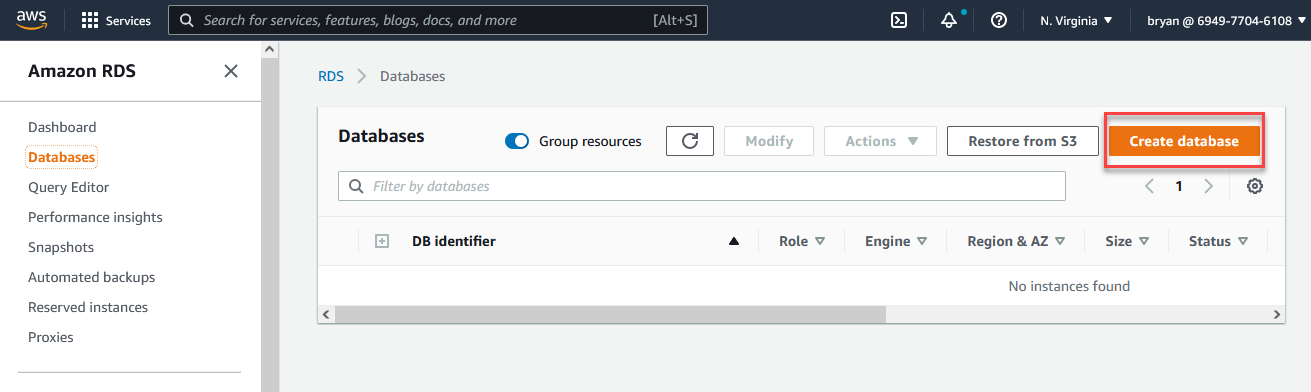
Select Create database.
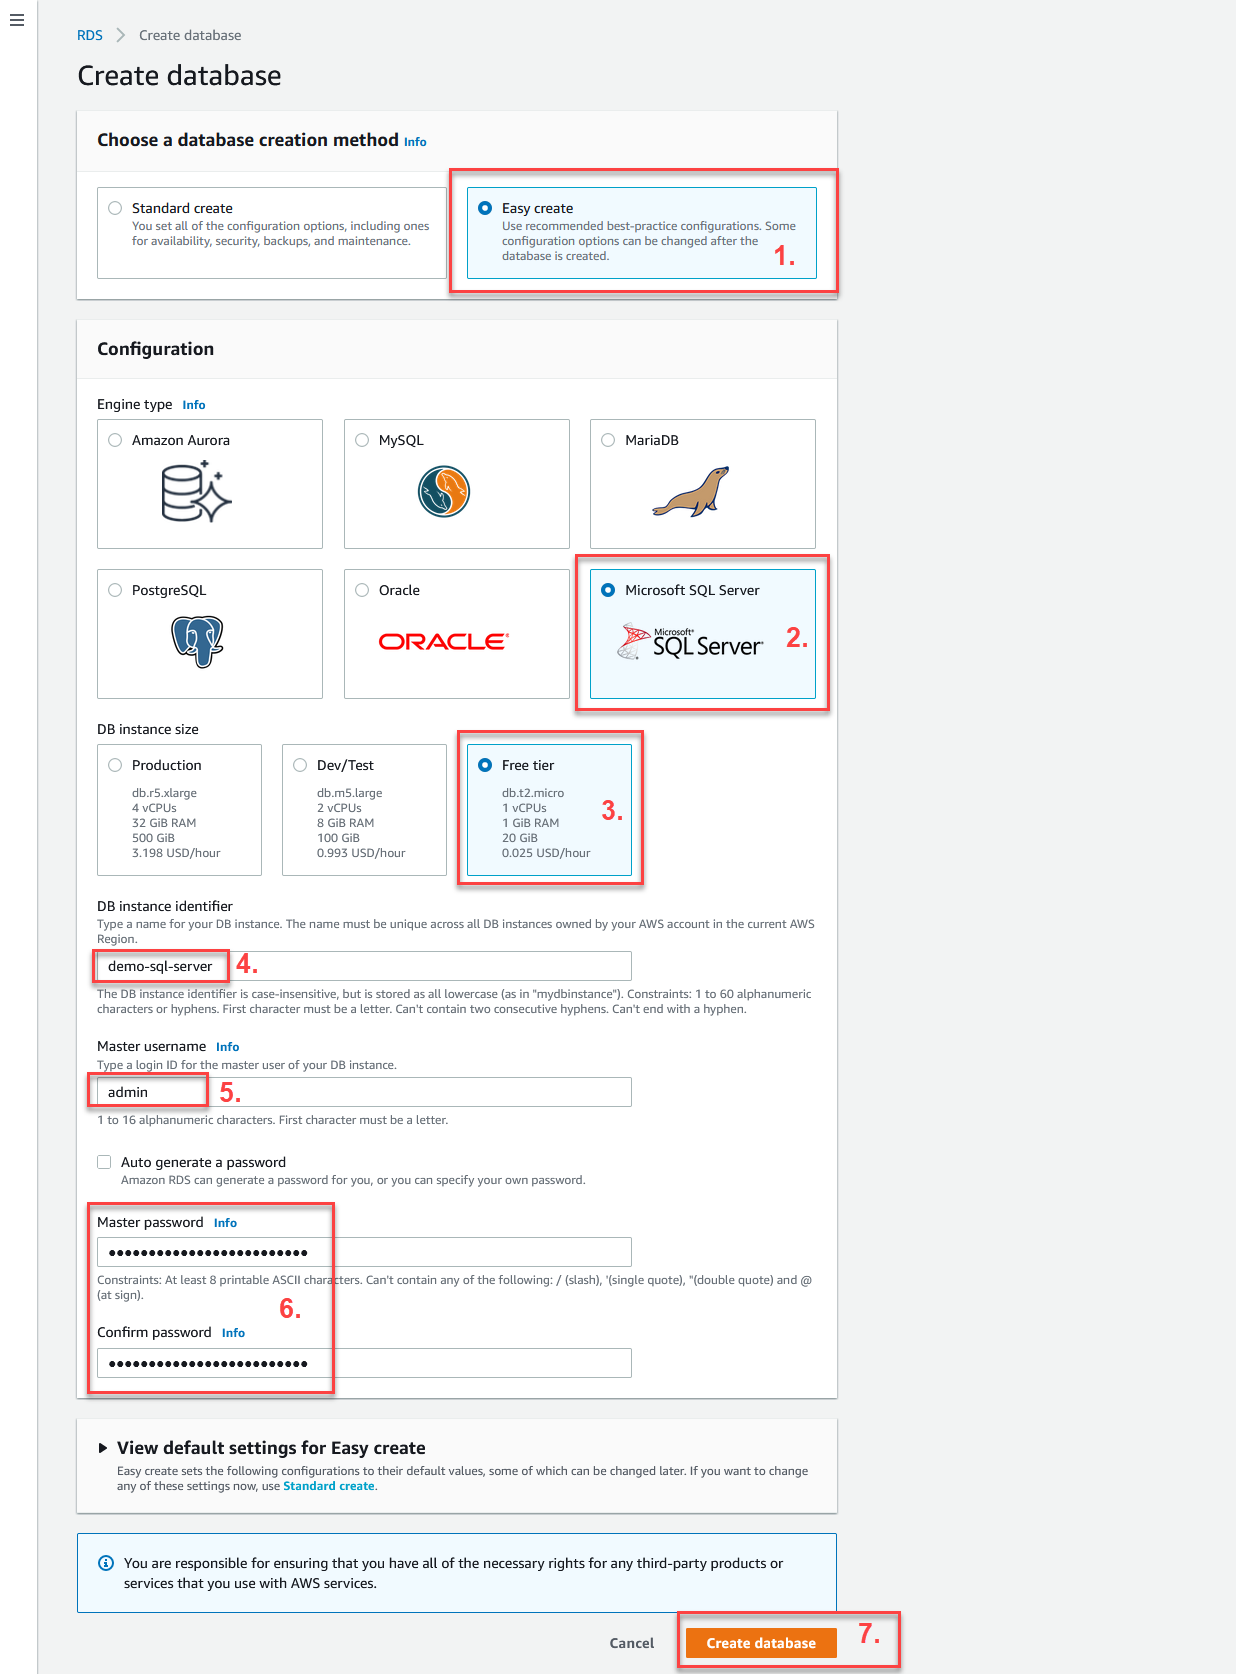
On this page you can create a database in a few steps.
1. Choose Easy Create
2. Select Microsoft SQL Server
3. Stay on the Free tier unless you want to pay for a larger database
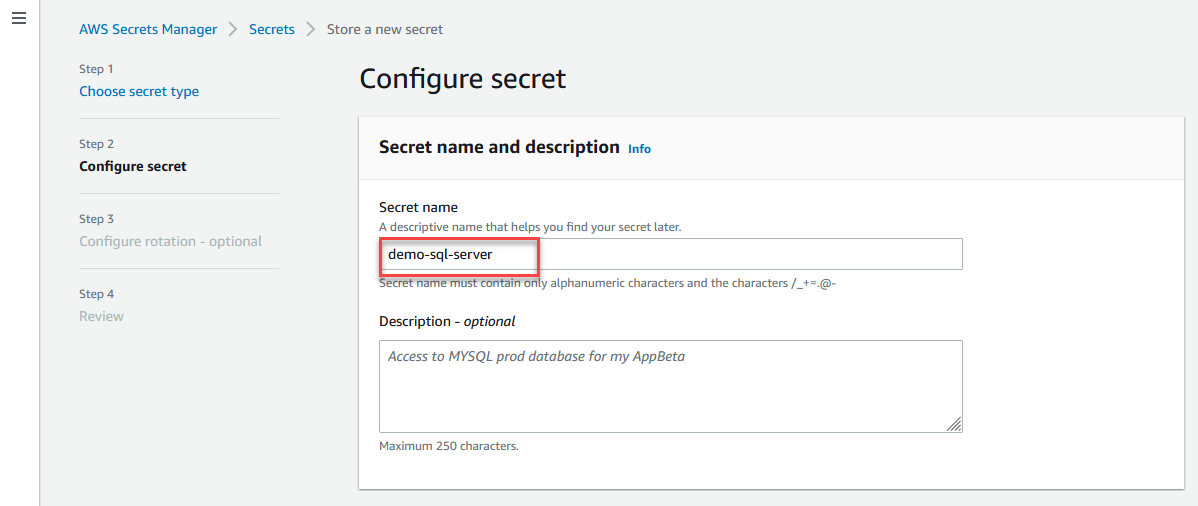
4. Give the server the name `demo-sql-server`
5. Leave the admin username as `admin`
6. Use `SOME_COMPLEX_PASSWORD123!` as the password
7. Click Create database
It will take a while for the database to be created. You can check the status of the database in the AWS Console.
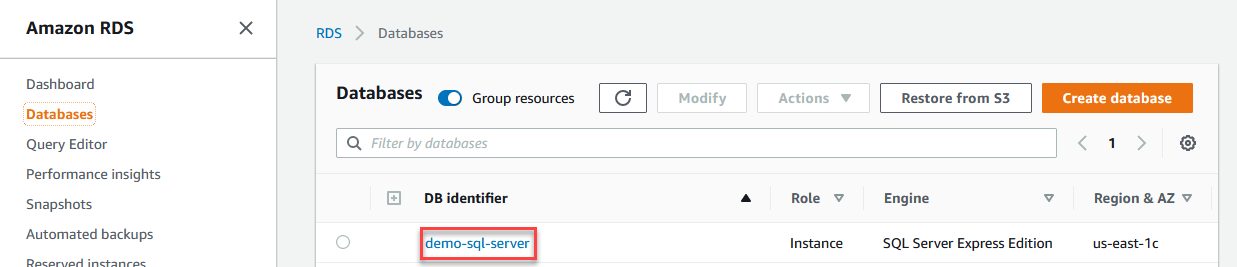
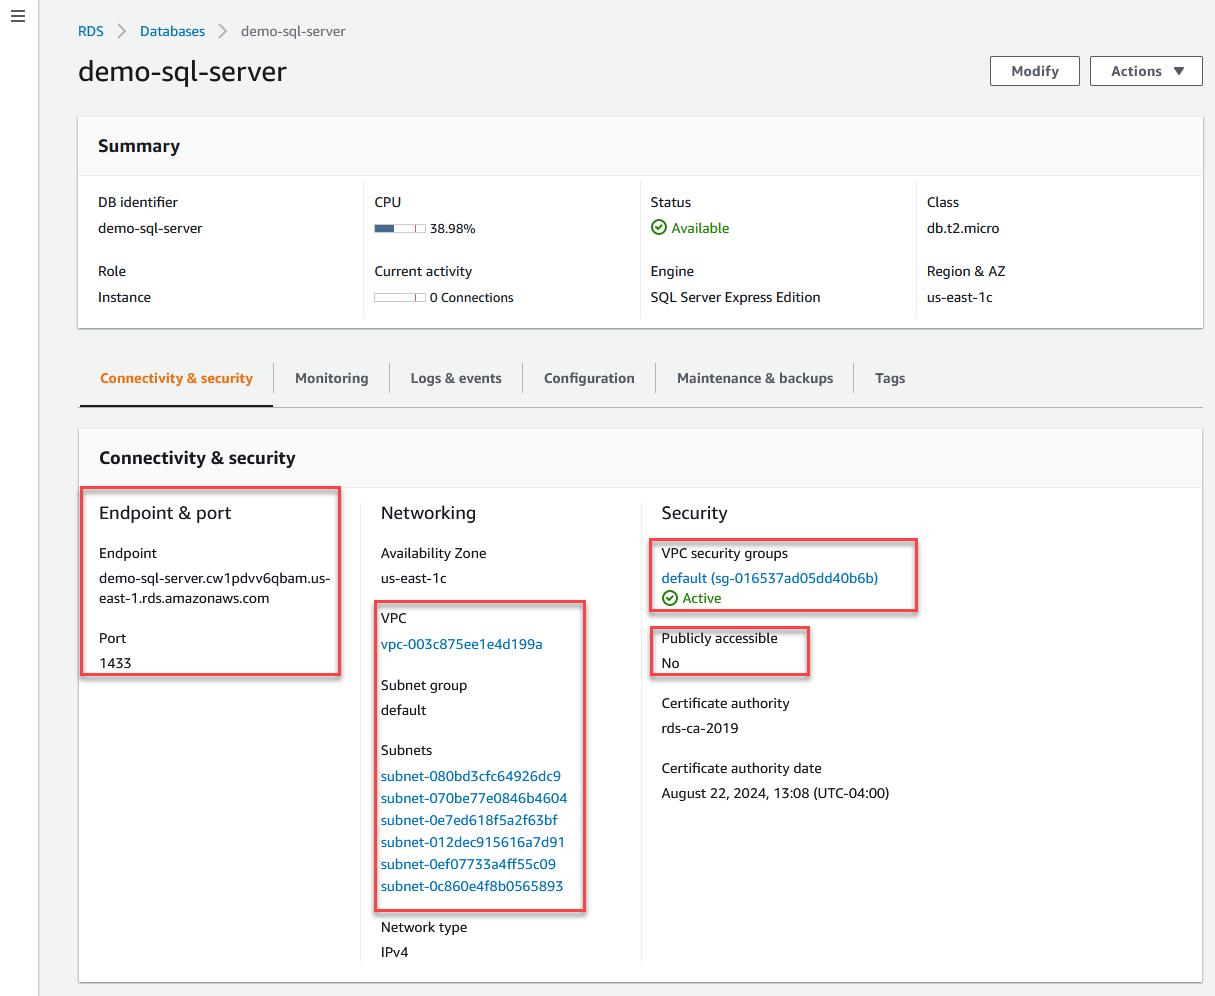
Once it is created, click on the database name.
Here you will see the endpoint and port, the VPC it is on, subnets it is connected to, and the security group it is using.
You can't connect to the database from your computer, because it is not publicly accessible.
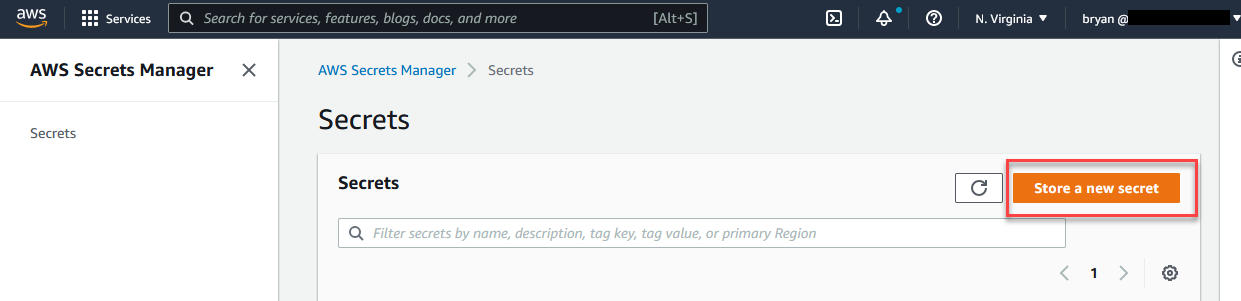
## 2 - Add the credentials to Secrets Manager
Open [Secrets Manager](https://console.aws.amazon.com/secretsmanager/) in the AWS Console, and click on Store a new secret.
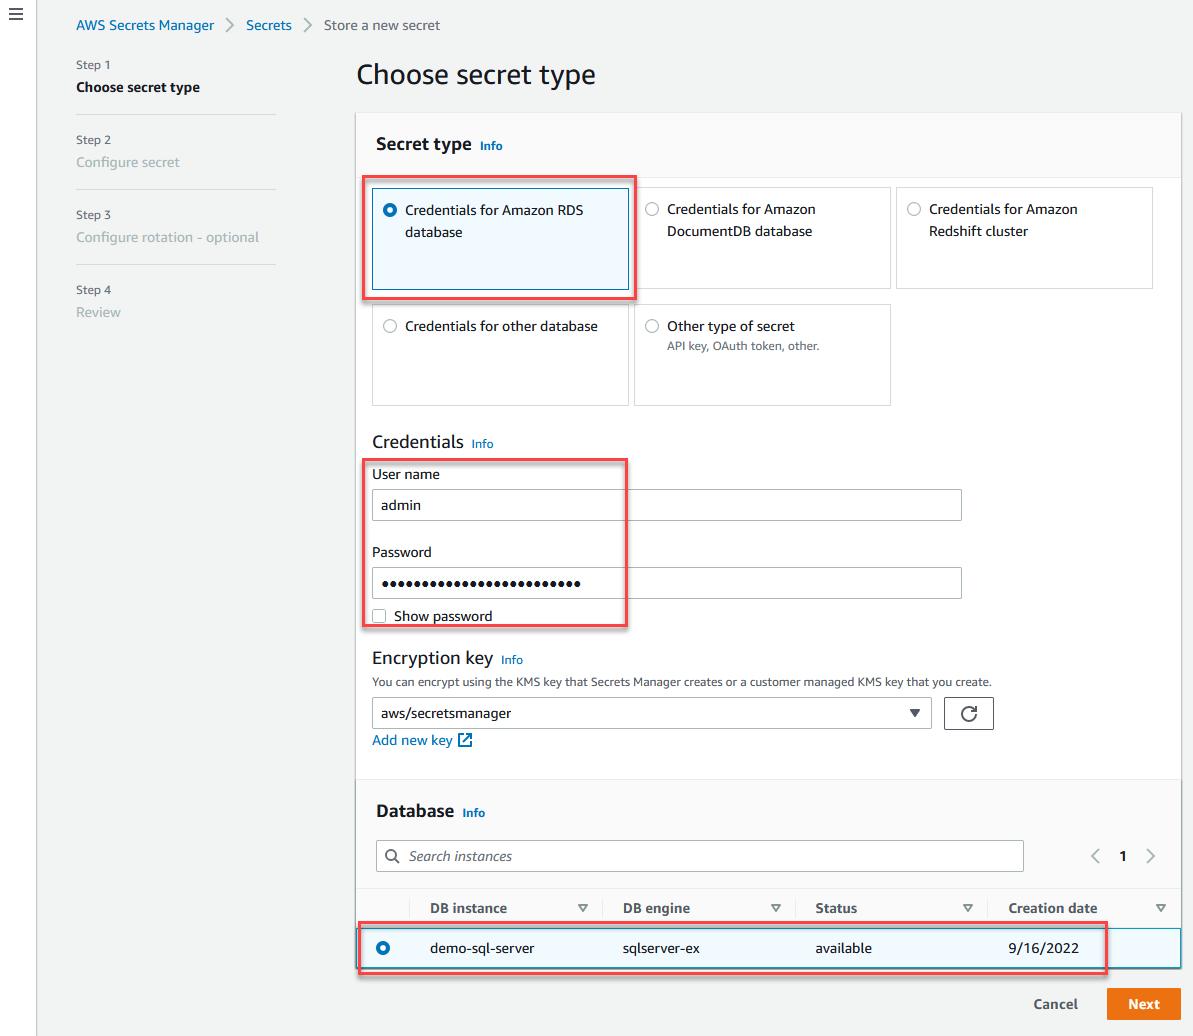
Enter the username, password, and select the database you created in the previous step. Click Next.
Enter the name of the secret, `demo-sql-server` and click Next.
Don't change anything on the Configure rotation page and click Next.
On the review page, click Store.
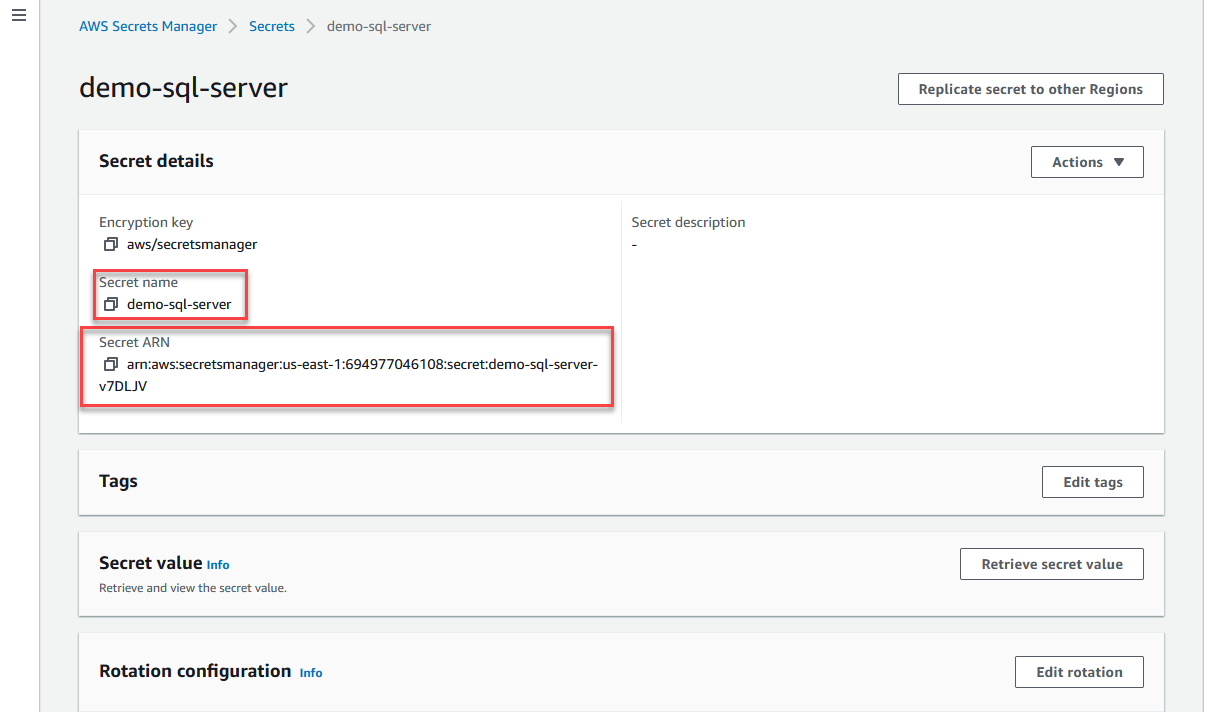
When you view your secret, you will ARM of the secret, you will need this later.
Now you have a database and the credentials to access it. Next you will create the Lambda function that tries to access both Secrets Manager and the database.
## 3 - Create an S3 bucket
Before you can deploy the Lambda function, you need to create an S3 bucket to store the CloudFormation stack that will be created.
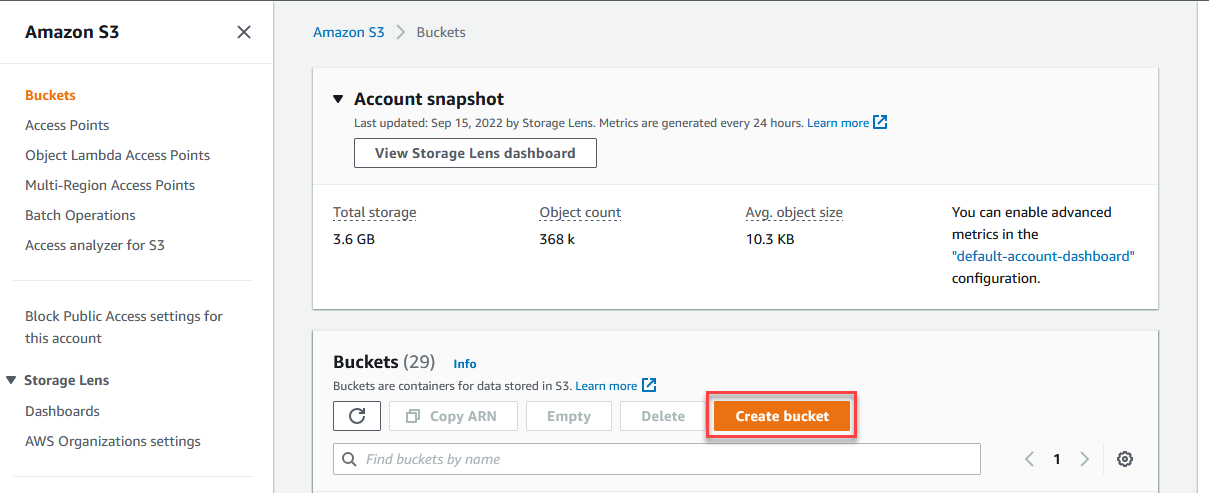
Open S3 in the AWS Console [https://s3.console.aws.amazon.com/s3/buckets](https://s3.console.aws.amazon.com/s3/buckets).
Click on Create bucket.
Enter a name for the bucket, Click Create bucket.
*Note, you must use a [unique name](https://docs.aws.amazon.com/AmazonS3/latest/userguide/bucketnamingrules.html) for the bucket, you can’t use the one shown here.*
## 4 - Deploy the Lambda function
*For this, you are going to use the command line as it is easier and consistent across all operating systems*
At the end of this step you will have a Lambda function that partially works, it will be able to access Secrets Manager, but not the database.
This is because the Lambda function will not be connected to the VPC yet, that is for later step. Then, when the Lambda function is connected to the VPC, it will be able to access the database, but not Secrets Manager!
I'm not going to guide you through each step in creating the Lambda function code, because it is available as part of this repository. The project was created using the [AWS Lambda Templates](https://github.com/aws/aws-lambda-dotnet/#dotnet-cli-templates), specifically using the `serverless.AspNetCoreWebAPI` template.
Open the accompanying directory, `src`, in your favorite IDE.
Open the `Startup.cs` file. The `ConfigureServices(..)` does three things
1. loads configuration settings from the `appsettings.json` file
2. creates the database connection string by getting the credentials from Secrets Manager
3. creates an Entity Framework database context
The `Configure(..)` method configures makes sure that the database is created, and seeded.
Open the `SecretsService.cs` file, it uses the configuration settings to load the appropriate secret from Secrets Manager, and returns a connection string for the database.
Open the `Data` directory, it contains the invoice model, the database context, and the database seeder.
Open the `Controllers` directory, it contains an `InvoicesController`, its `Get(..)` method returns a list of invoices.
Open the file `appsettings.json`, the `Region` blank, if you need to deploy your Lambda function to a different region than where your secret is stored, set the region of the secret here.
You don't need to make any changes to the code.
To deploy the function, run the following from the `src` directory:
`dotnet lambda deploy-serverless --stack-name AspNetCoreWebApiRds --s3-bucket cloudformation-templates-2022`
This will take a few minutes to complete the deployment, and will return output that ends like this:
```
//snip..
9/7/2022 3:56 PM ServerlessRestApiProdStage CREATE_COMPLETE
9/7/2022 3:56 PM AspNetCoreFunctionRootResourcePermissionProd CREATE_COMPLETE
9/7/2022 3:56 PM AspNetCoreFunctionProxyResourcePermissionProd CREATE_COMPLETE
9/7/2022 3:56 PM AspNetCoreWebApiRdsTestForArticle CREATE_COMPLETE
Stack finished updating with status: CREATE_COMPLETE
Output Name Value
------------------------------ --------------------------------------------------
ApiURL https://xxxxxxxx.execute-api.us-east-1.amazonaws.com/Prod/
```
That last line is the URL of your API.
If you try to access it now, you will get an internal server error, because the Lambda function attempts to access the Secret Manager secret, but does NOT have permission to do so.
## 5 - Grant the Lambda function role access to the secret in Secrets Manager
Before the function can access the secret it needs to be granted permission to do so. You do this by adding a policy to the role that the Lambda function uses.
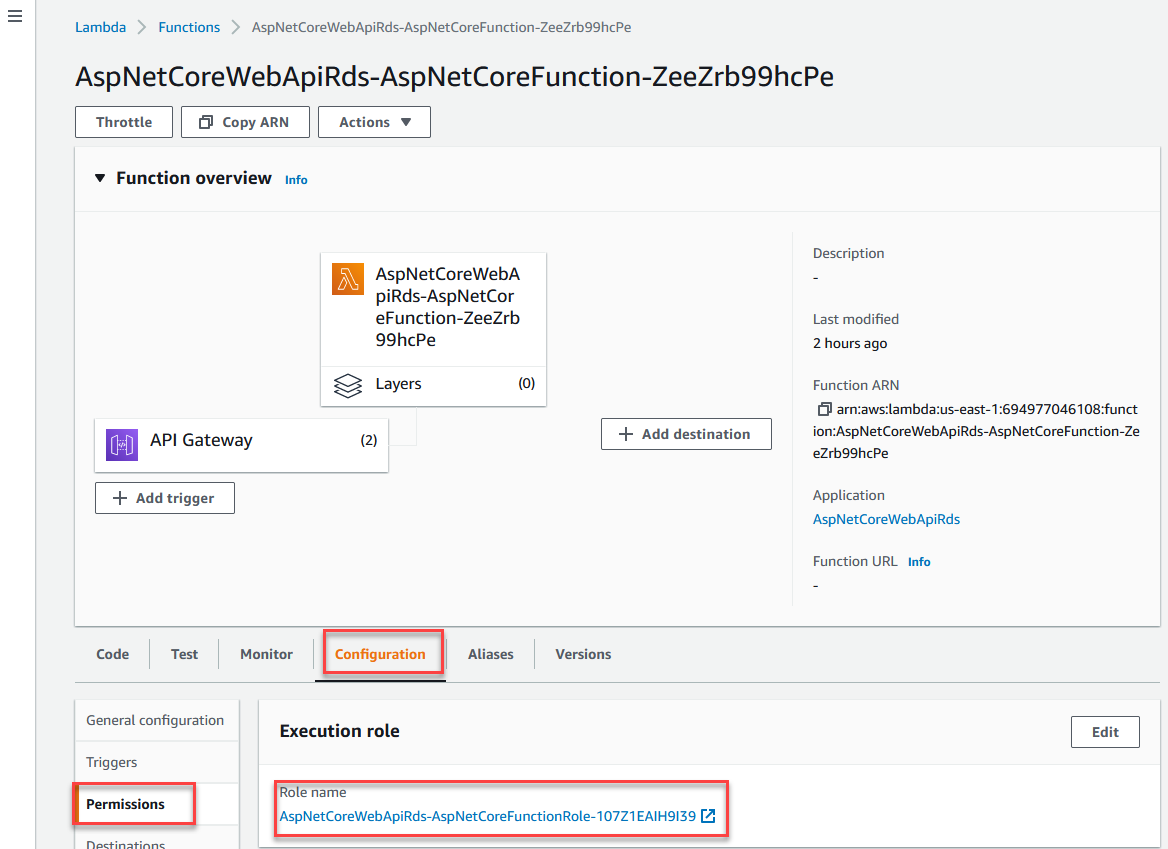
Open the [Lambda service](https://console.aws.amazon.com/lambda/home) in the AWS Console. Look for your function, its name will look something like `AspNetCoreWebApiRds-AspNetCoreFunction-?????????????`.
Select the Configuration tab. On the left select the Permissions section. Click on the role. This will open a new page where you can add the necessary policy to access the secret.
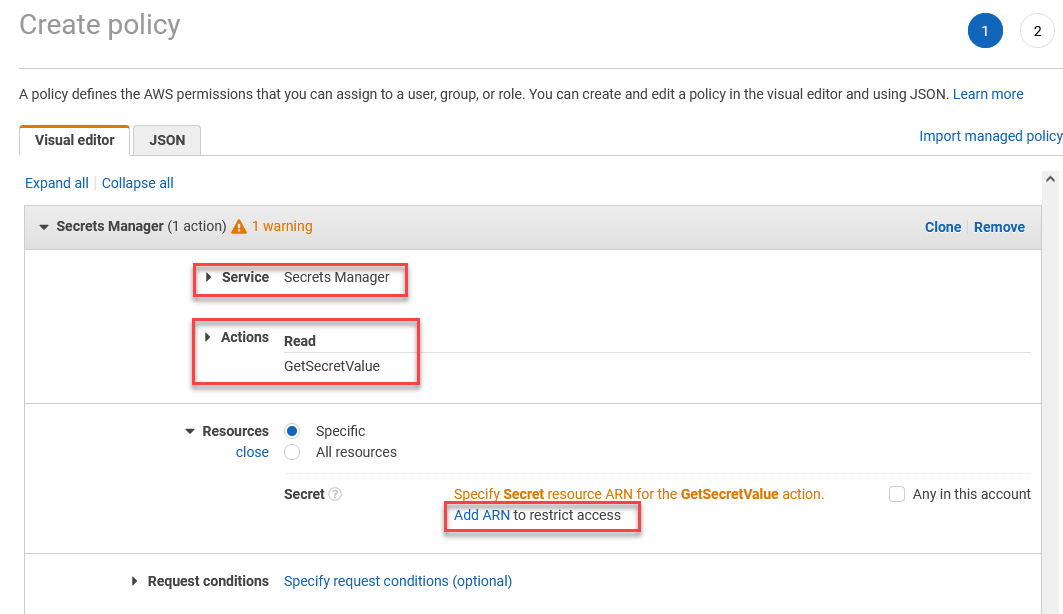
Click Add permissions, and choose Create inline policy.
On the new screen, search for and choose "Secrets Manager"from the Service list. For the action, search for and choose GetSecretValue.
The click on Add ARN.
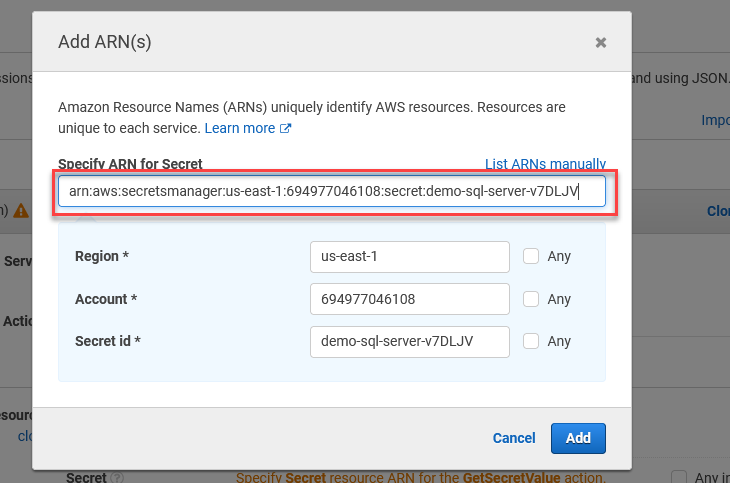
Add in the ARN of the secret you created earlier. It will look something like: `arn:aws:secretsmanager:us-east-1:?????????????:secret:demo-sql-server-??????????????`.
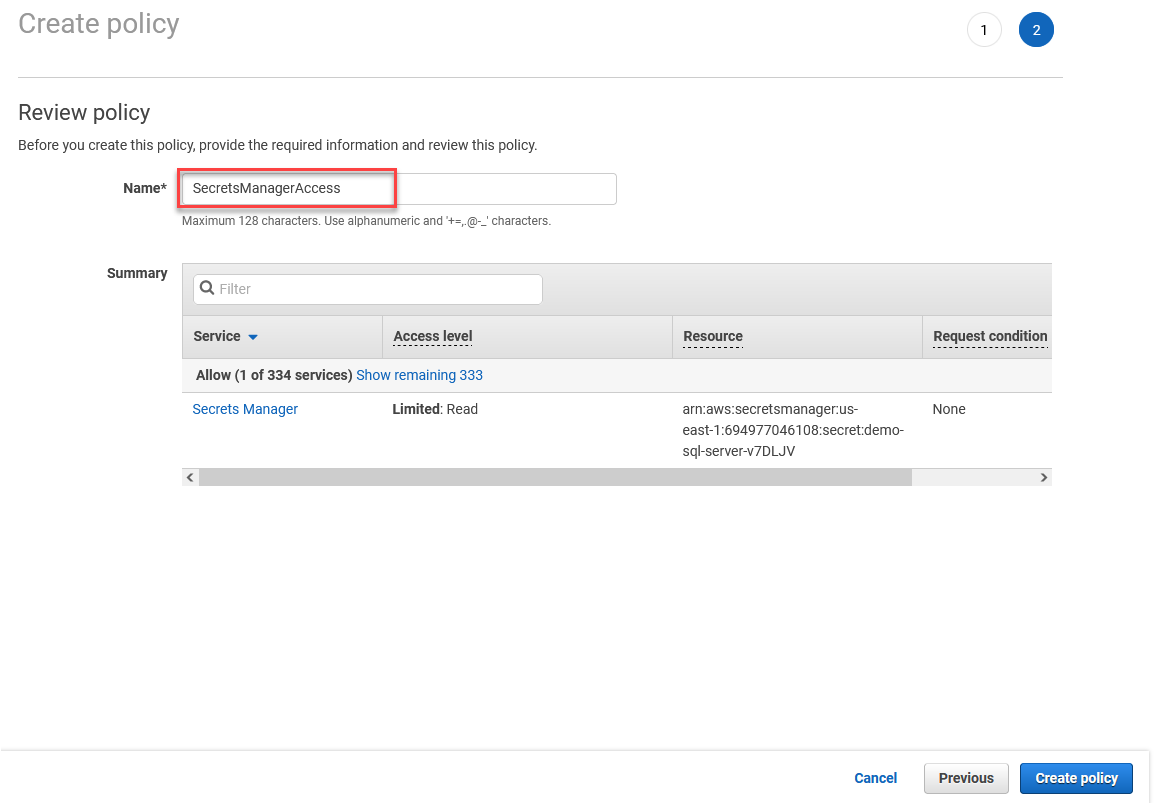
Click Review policy.
Enter a name for the policy, and click Create policy.
At this point, your function can access the secret in Secrets Manager, but not the database. If you invoked the Lambda now, it would fail when it tries to connect to the database, but you would see a message in the log with the database name on port.
Lambda function has access to Secrets Manager, but not the database
## 6 - Connect the Lambda function the VPC
Now you are going to connect the Lambda function to the VPC. This will allow the Lambda function to access the database, but you will lose access to Secrets Manager!
For simplicity, you are going to connect the Lambda function to a single subnet in the VPC. If you want more resiliency, you can connect the Lambda function to multiple subnets in different availability zones. If you do connect the Lambda function to multiple subnets, you should to make the VPC endpoint available on those subnets too (keep in mind that you pay more for VPC endpoints connected to multiple subnets).
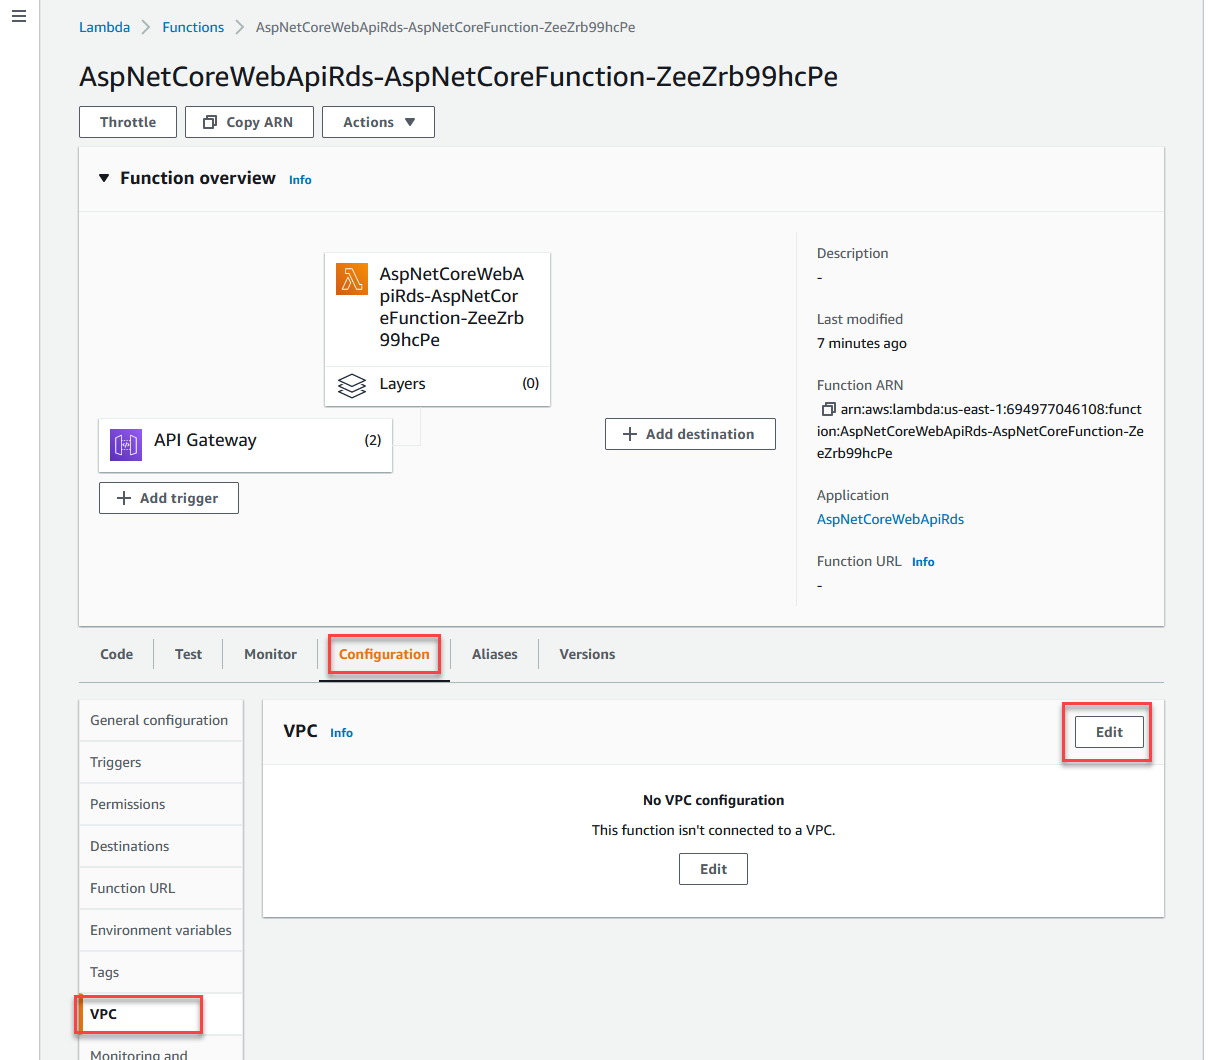
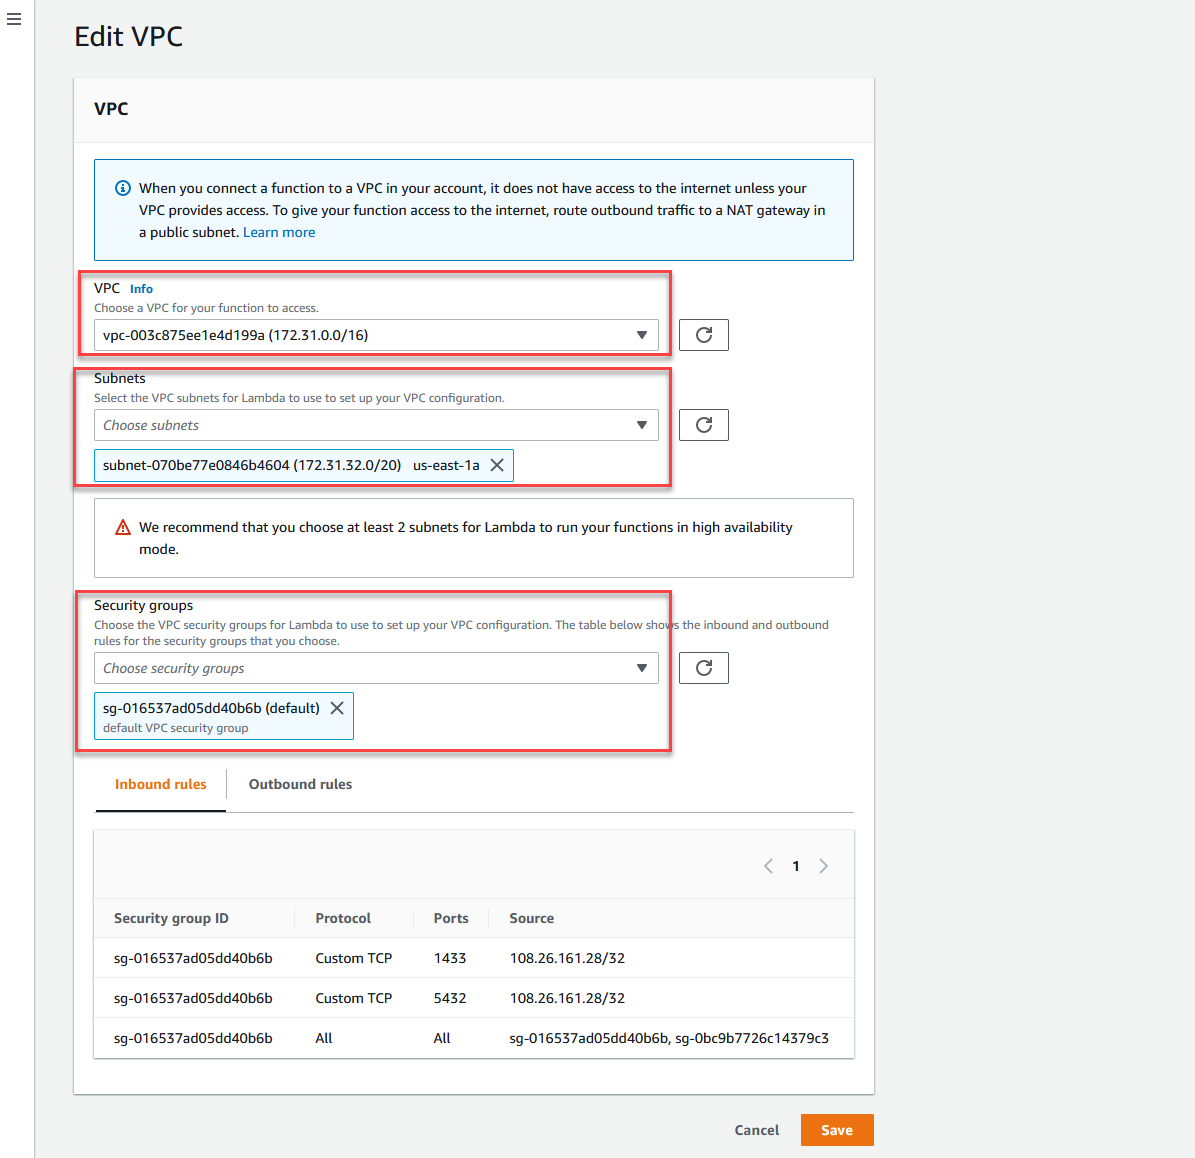
Open your Lambda function, select the Configuration tab. On the left select the VPC section. Click Edit.
Choose the default VPC, select a single subnet (note which one you pick), select the default security group. Click Save.
This will take a few minutes to complete.
Once complete, the Lambda function will have access to the database, but not Secrets Manager! If you attempt to invoke the function, it will fail again!
Lambda function has access to the database, but not Secrets Manager
### Permissions to connect the Lambda function to the VPC
If you are wondering how the Lambda function was able to connect to the VPC, it's because the Lambda function role has a policy that allows it to do so.
Open the `serverless.template` file in the root of the project, there is a section that looks like this:
```
"Policies": [
"AWSLambda_FullAccess",
"AWSLambdaVPCAccessExecutionRole"
]
```
These are the polices that are attached to the role that the Lambda function uses. The policy `AWSLambdaVPCAccessExecutionRole` allows the role to create the required network interfaces to connect to the VPC.
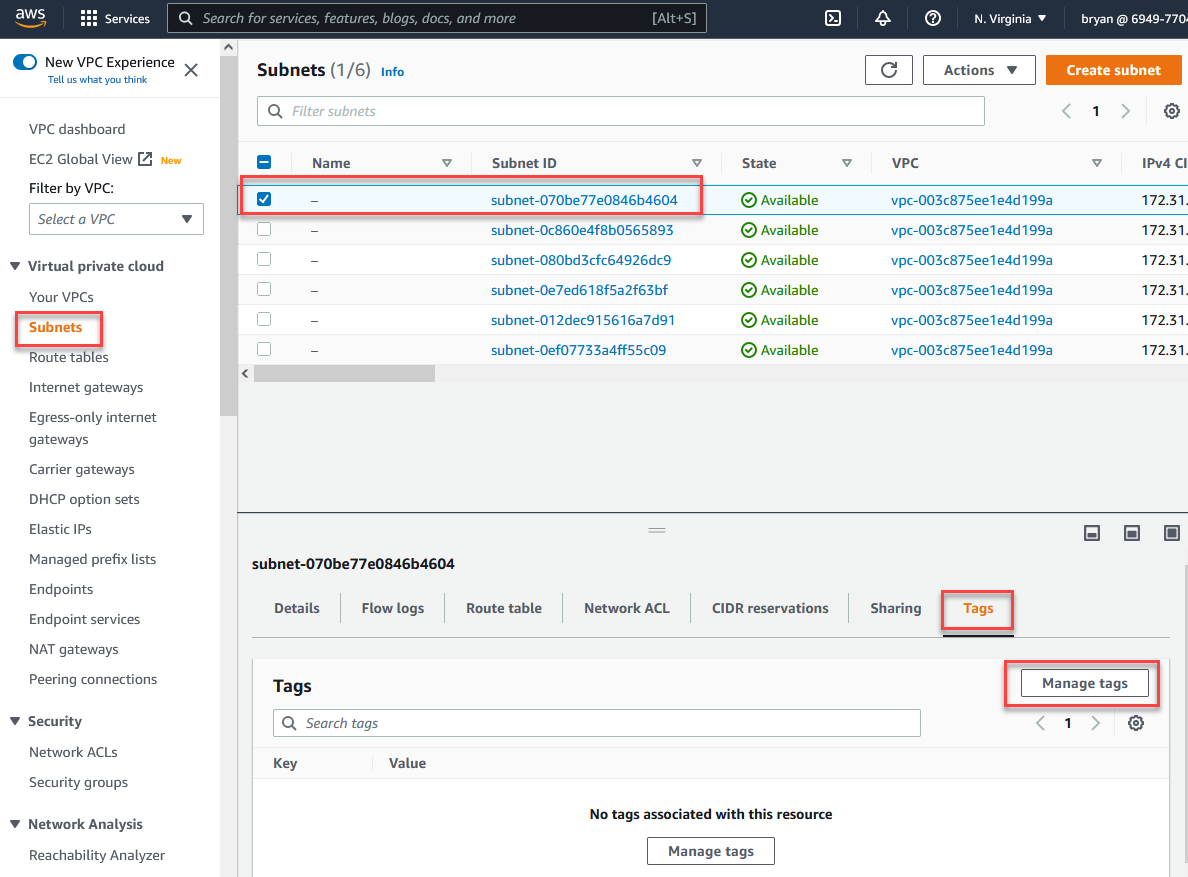
## Optional - Designate public and private subnets
This step is optional, but will help you when you are creating the NAT Gateway.
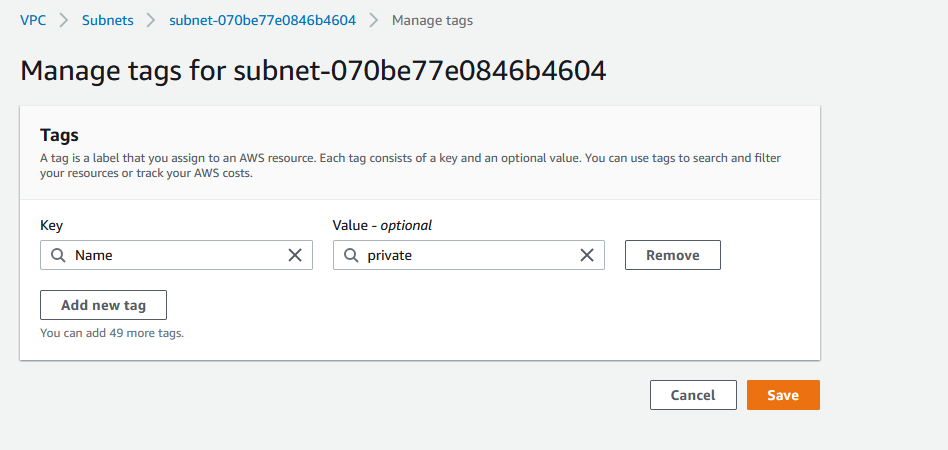
Open the [VPC service](https://console.aws.amazon.com/vpc/home) in the AWS Console. Click Subnets on the left. Choose the subnet you connected the Lambda function to VPC with. Open the Tags tab, click Manage tags.
Add a new tag. Put "Name" in the Key field, and "private" in the Value field.
Repeat the process with another subnet, but this time name it "public".
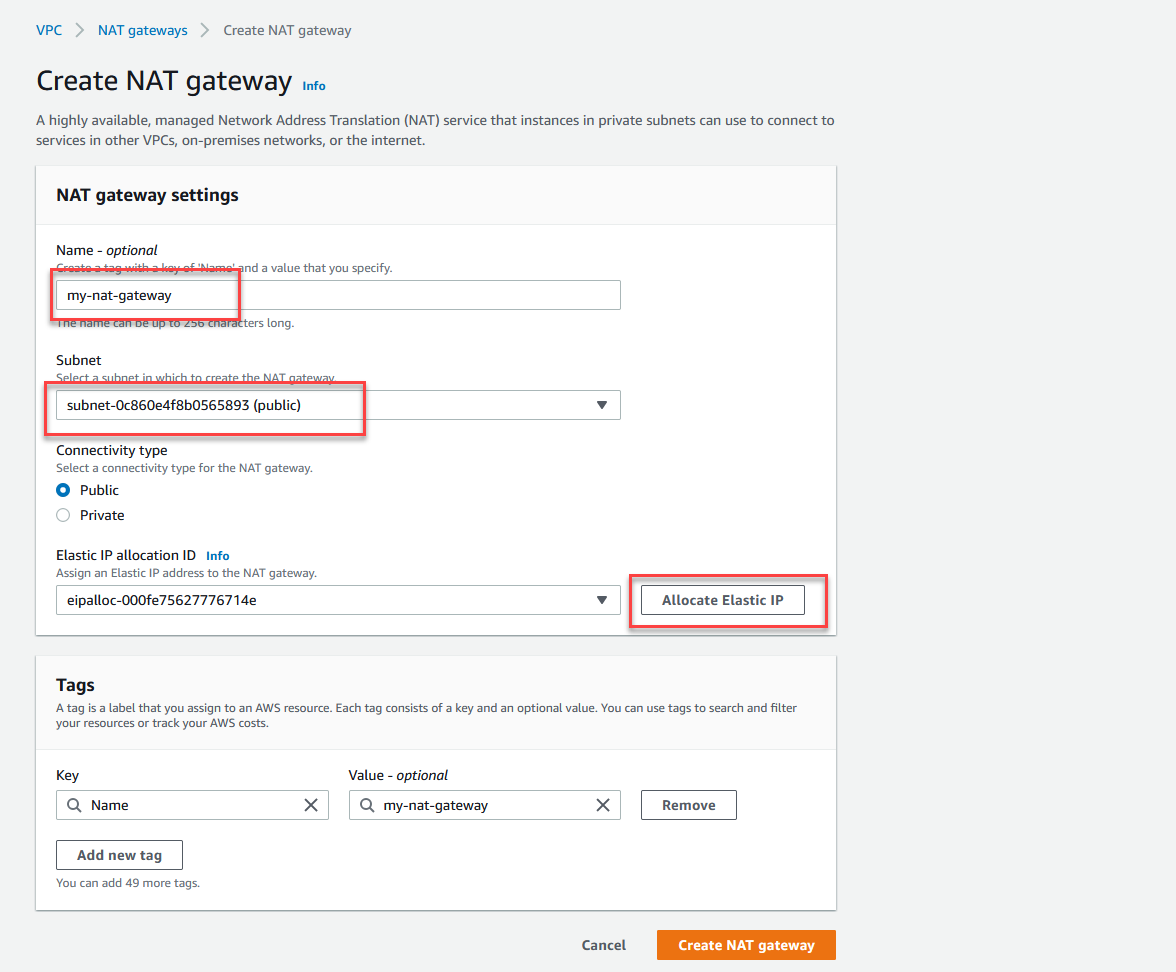
## 7 - Create a NAT gateway in the public subnet
The NAT Gateway will allow the Lambda function to access the internet, and therefore access Secrets Manager.
Open the [VPC service](https://console.aws.amazon.com/vpc/home) in the AWS Console. Click NAT gateways on the left. Click Create NAT Gateway.
Give the gateway a name, and choose the **public** subnet you designated earlier.
Click Allocate Elastic IP.
Click Create NAT Gateway.
Almost there, now you need to route internet traffic from the private subnet to the NAT gateway. On to the last step and routing tables!
Lambda function sending internet traffic to private subnet, but no route to NAT Gateway
## 8 - Route internet traffic from the private subnet to the NAT Gateway
To route internet traffic from the private subnet to the NAT gateway, you need to create a route table, associate it with the private subnet, and add a route to it directing internet traffic to the NAT Gateway.
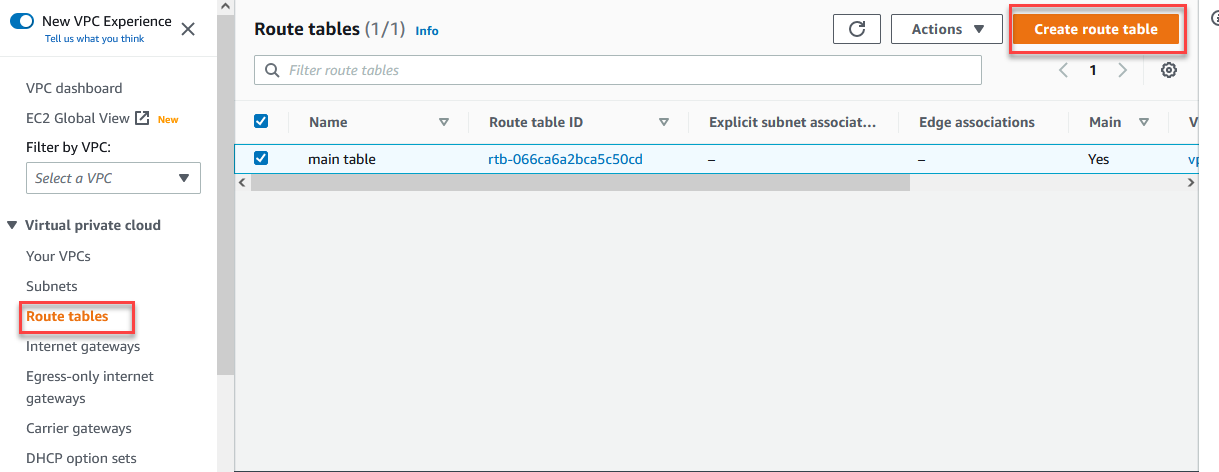
Open the [VPC service](https://console.aws.amazon.com/vpc/home) in the AWS Console. Click Route tables on the left. Click Create route table.
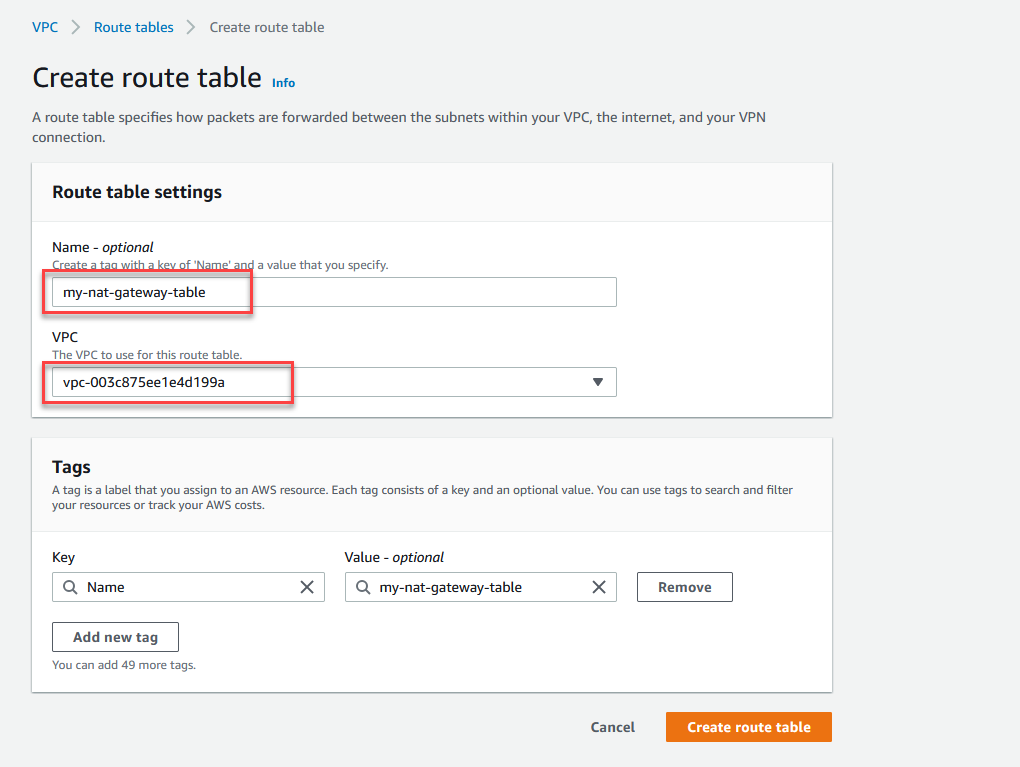
Give the route table a name, and choose the default VPC. Click Create route table.
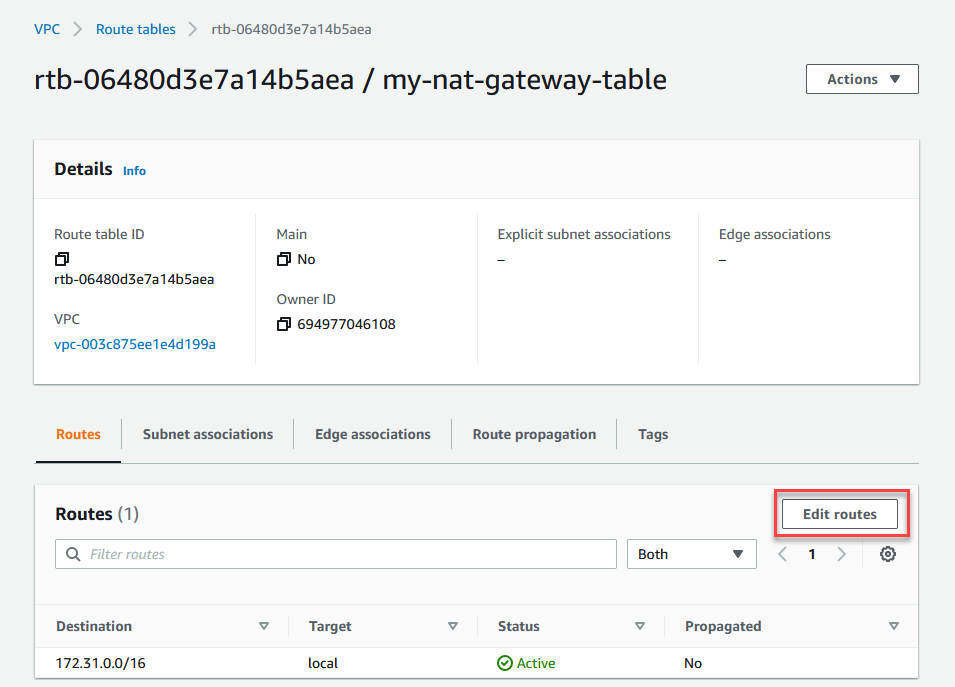
Click Edit routes.
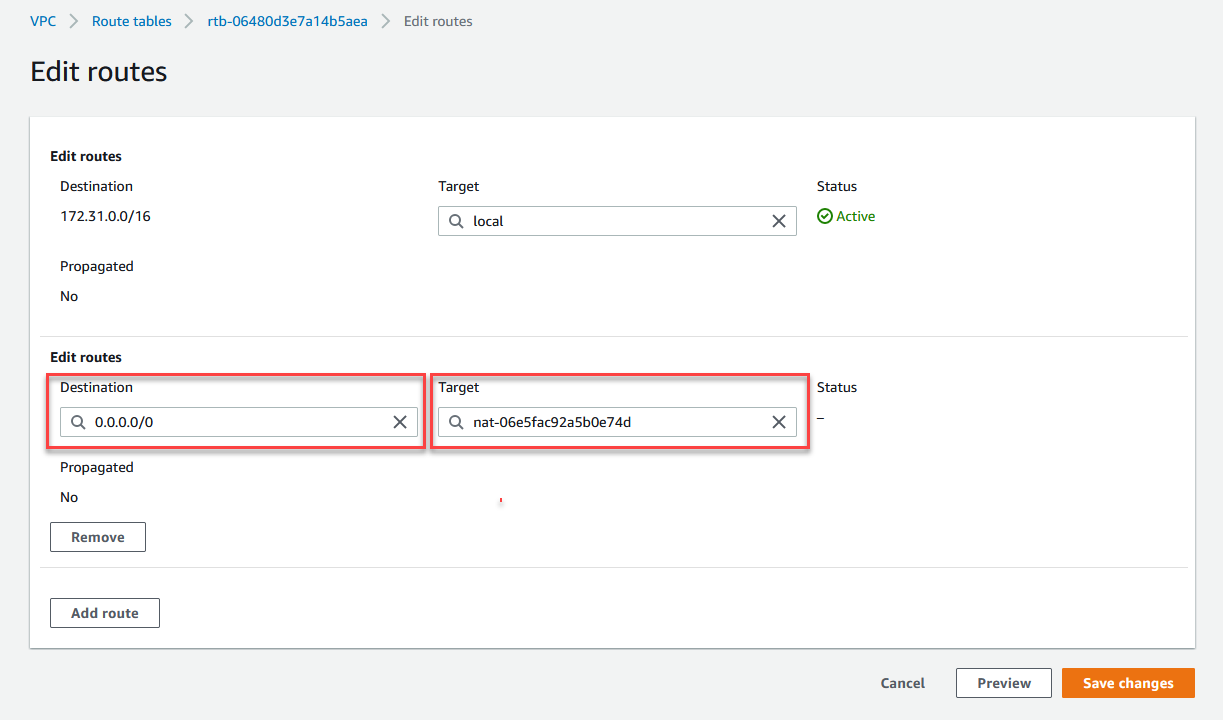
Click Add route. Choose the destination 0.0.0.0/0 (all internet traffic), and for the target choose the NAT Gateway you created earlier. Click Save routes.
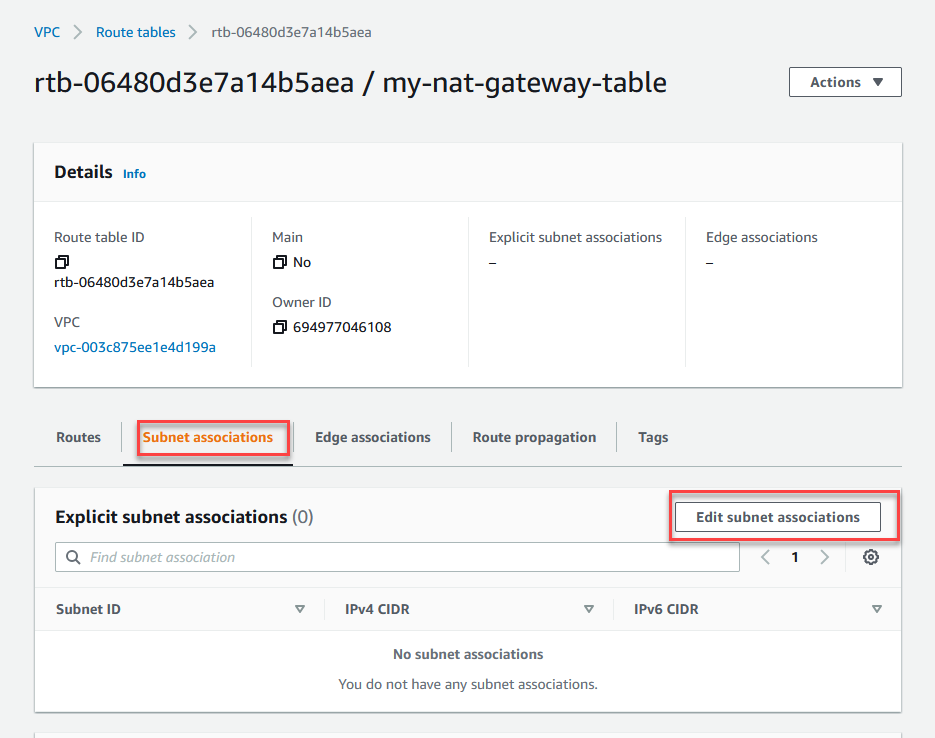
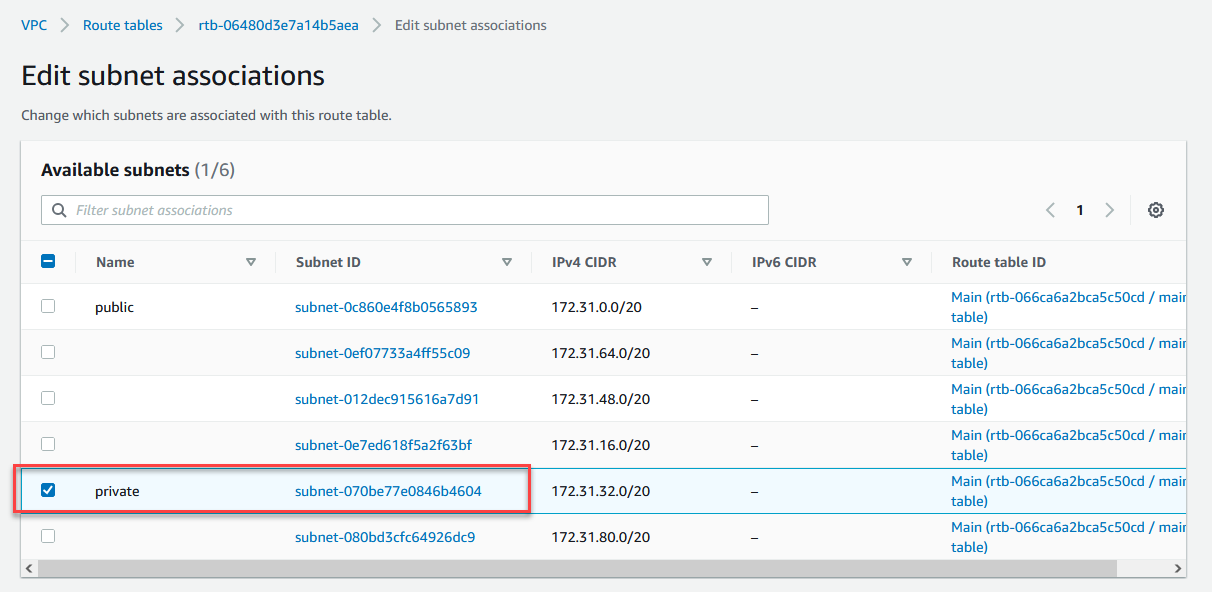
Open the Subnet associations tab. Click Edit subnet associations.
Choose your private subnet (the one you connected the Lambda function to), and click Save subnet associations.
Now your Lambda function can access the internet to reach Secrets Manager, and access the database!
All done! Lambda has access to database, and internet
## 9 - Invoke the Lambda function
Back in your browser, go to the URL from step 4, https://xxxxxxxx.execute-api.us-east-1.amazonaws.com/Prod/Invoices.
You should see a list of invoices displayed in the browser.
There you go, a Lambda function that accesses a non public database, and Secrets Manager.
If you want to create more Lambda functions that do the same, the process is much easier now that you have the subnets, routes, and NAT gateway set up. All you need to do is connect the Lambda function to the VPC, using the same subnet and security group as you did for this function.
## Clean up
It's always a good idea to delete resources after you are finished with them.
### 1 - Delete the database
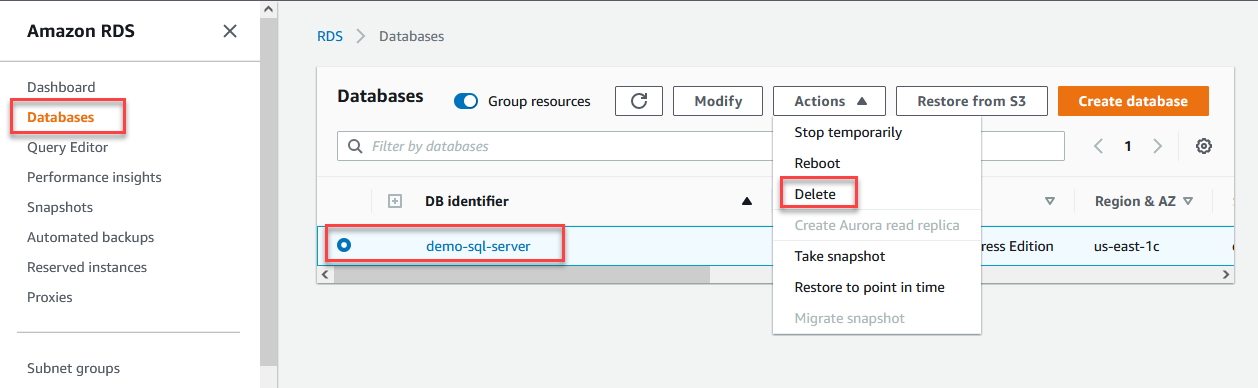
Open the [RDS service](https://console.aws.amazon.com/rds/home) in the AWS Console. Select the Databases on the left.
Select the database you created earlier. Click the Action button, choose Delete.
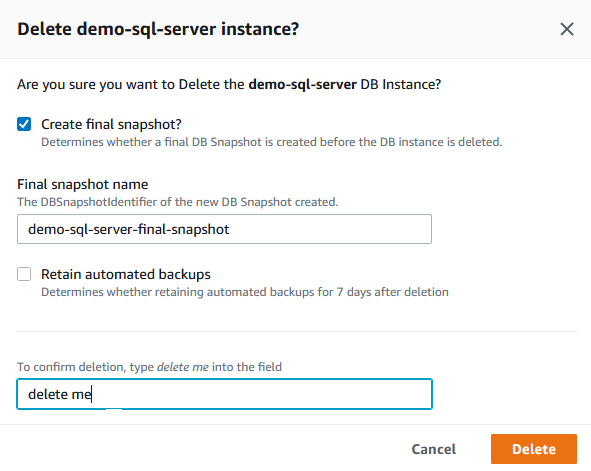
Choose the options you want around snapshots and backups. Type "delete me" in the text box and click Delete.
### 2 - Delete the Secrets Manager secret
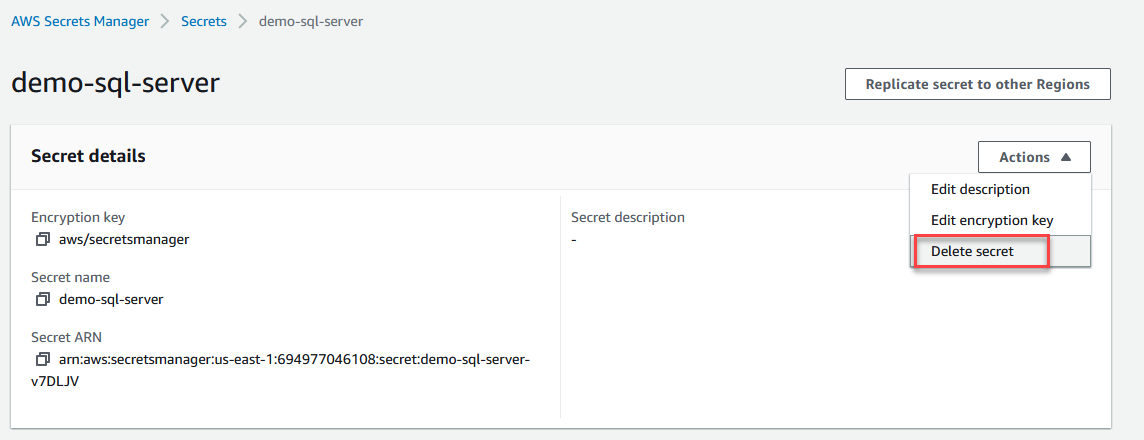
Open the [Secrets Manager service](https://console.aws.amazon.com/secretsmanager/home) in the AWS Console. Click the demo-sql-server secret.
Open the Actions menu, click Delete secret.
Choose waiting period you want, and click Schedule deletion.
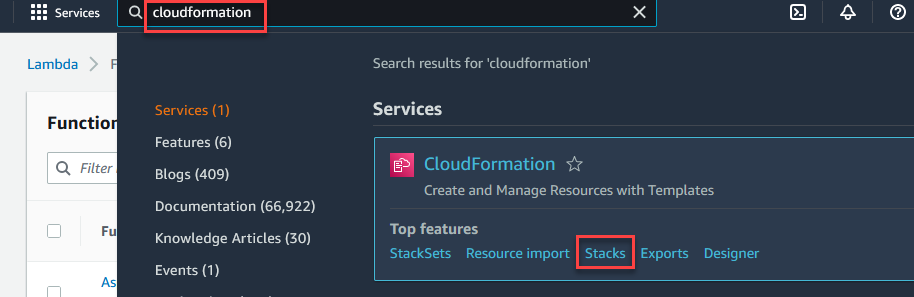
### 3 - Delete the Lambda function
In the search bar at the of the AWS Console, type in "cloudformation". Then click Stacks.
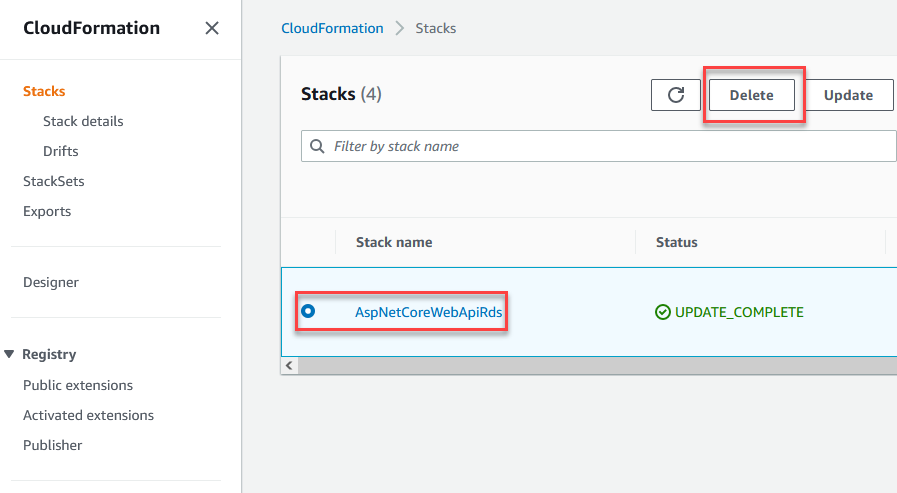
Select the stack named AspNetCoreWebApiRds, click Delete.
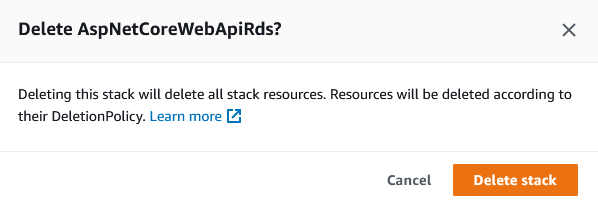
Confirm deletion in the popup.
It will delete the Lambda function, its associated role and permissions, and the API Gateway (this was created when you deployed the Lambda function).
This will take a few minutes to complete.
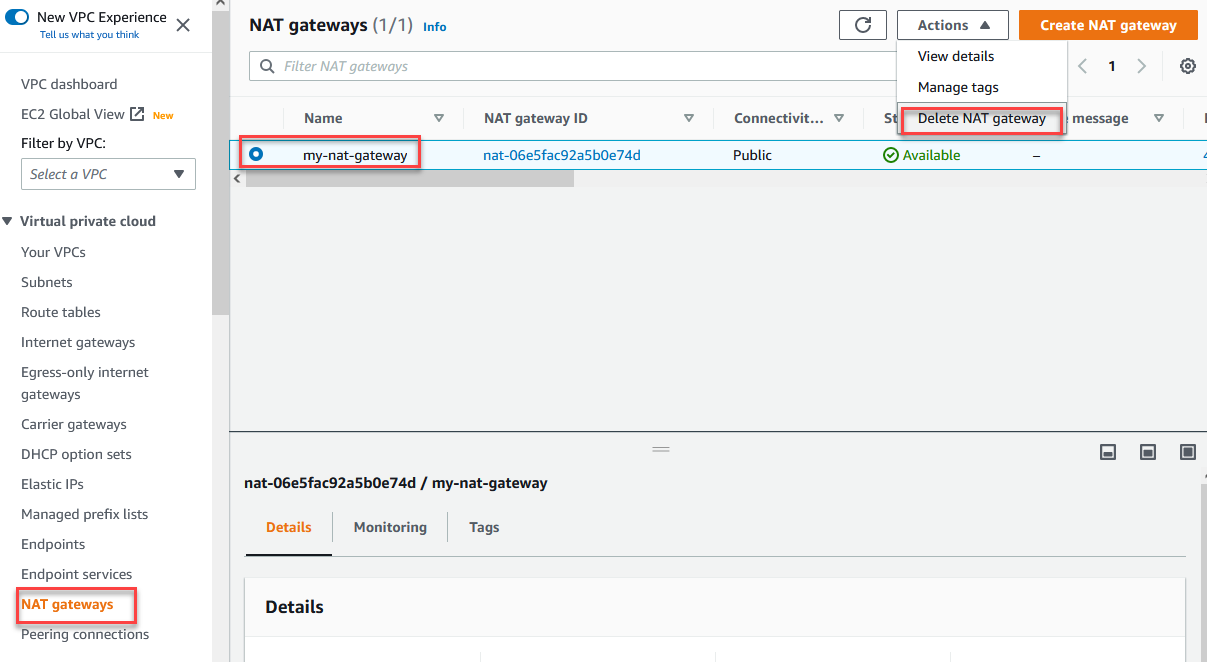
### 4 - Delete the NAT Gateway
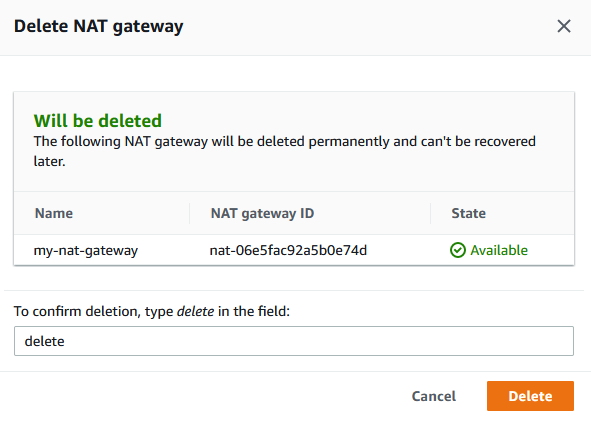
Open the [VPC service](https://console.aws.amazon.com/vpc/home) in the AWS Console. Click NAT Gateways on the left. Choose the NAT Gateway you created earlier, open the Actions menu, and click Delete NAT Gateway.
Confirm deletion in the popup.
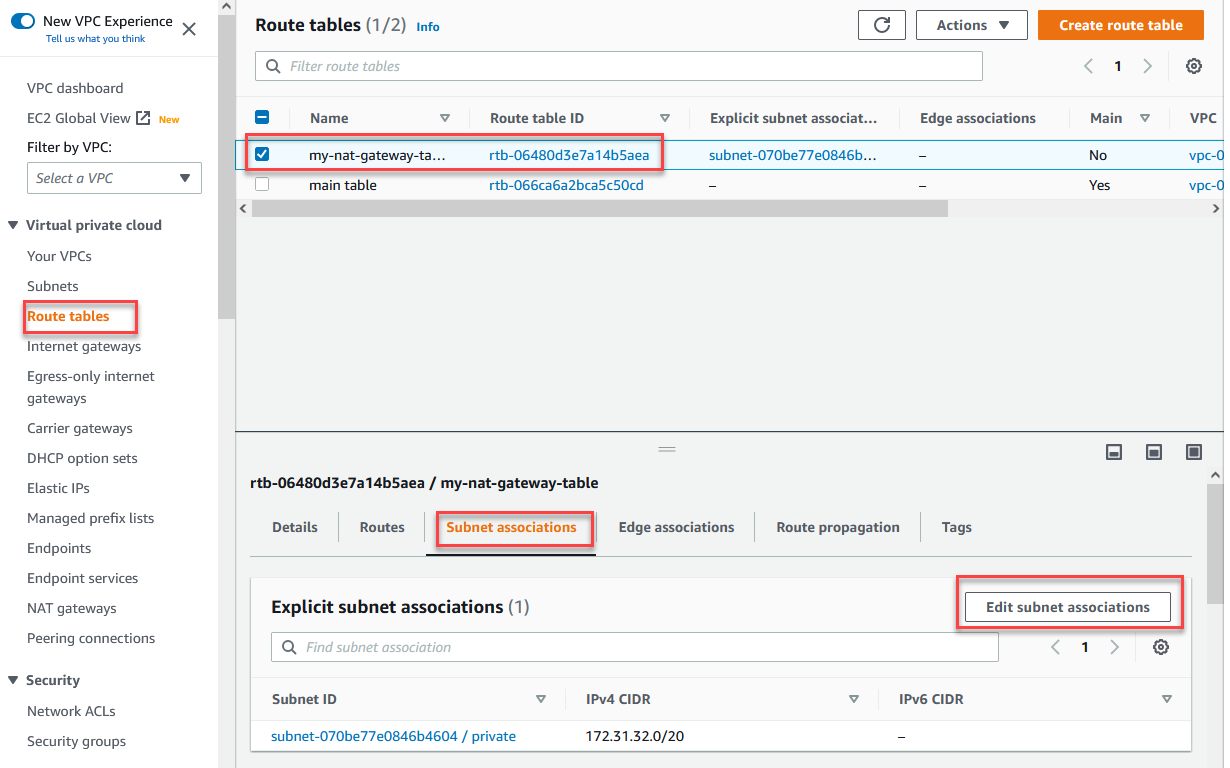
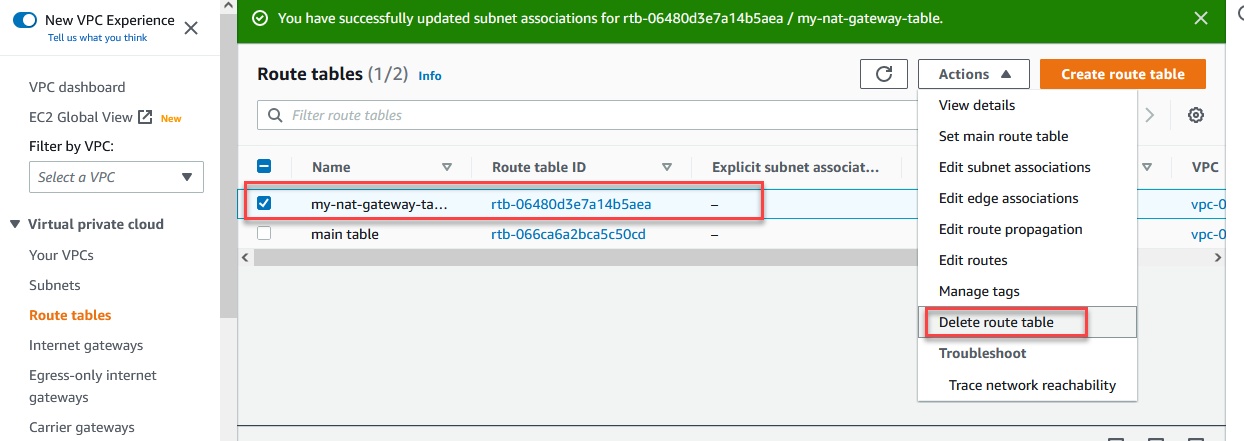
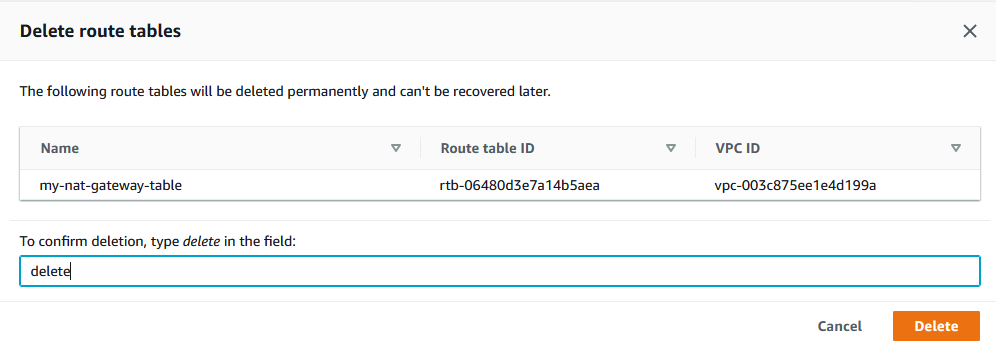
### 5 - Delete the route table
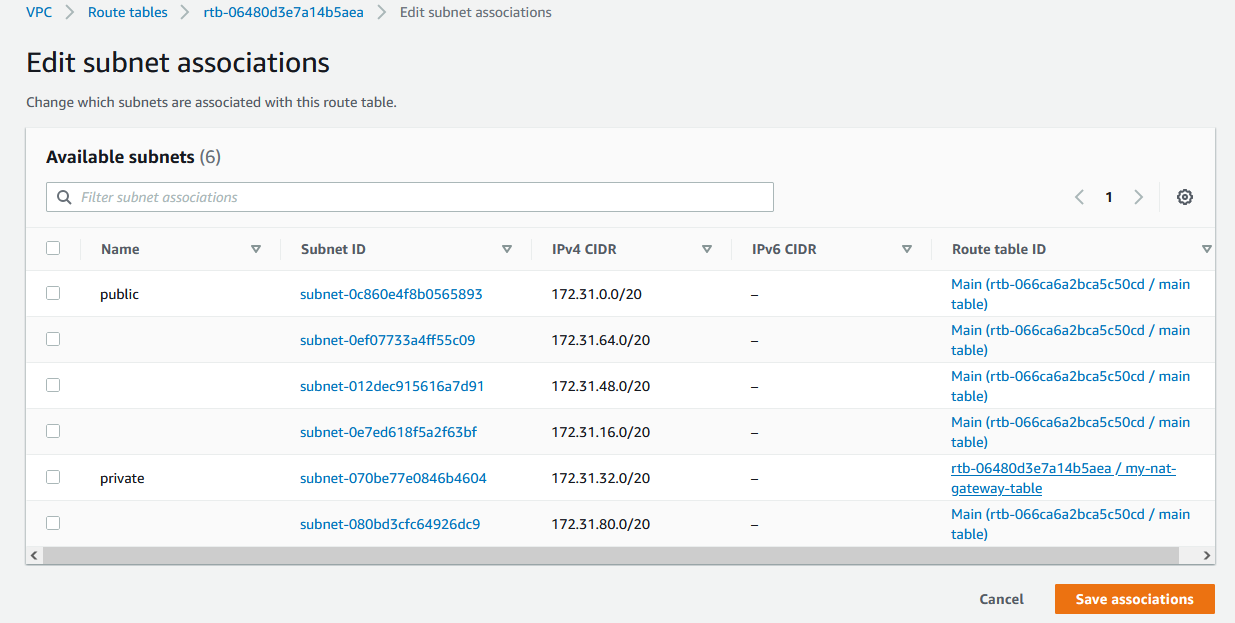
Open the [VPC service](https://console.aws.amazon.com/vpc/home) in the AWS Console. Click Route tables on the left. Choose the route table you created earlier. Click the Subnet associations tab. Click Edit subnet associations.
Clear all associations, and click Save associations.
Select the route table, open the Actions menu, and click Delete route table.
Confirm deletion in the popup.