## Develop & Deploy AWS Lambda Layers using Serverless Framework
[](https://travis-ci.org/joemccann/dillinger)
[](https://gitpod.io/#https://github.com/aws/aws-cdk)
[](https://badge.fury.io/js/aws-cdk)
[](https://badge.fury.io/py/aws-cdk.core)
[](https://badge.fury.io/nu/Amazon.CDK)
## Table of contents
1. [Install Serverless Framework](#install)
2. [Create a Serverless project](#create)
3. [Create a Lambda Function](#function)
4. [Deploy the Lambda Function](#deploy)
5. [Test the Lambda Function](#test)
6. [Exclude the node_modules from Lambda Function](#exclude)
7. [Deploy Lambda Function again](#deployagain)
8. [Create Lambda Layer Serverless Project](#layer)
9. [Modify Lambda Function to use Lambda Layer](#modify)
10. [Cleanup](#cleanup)
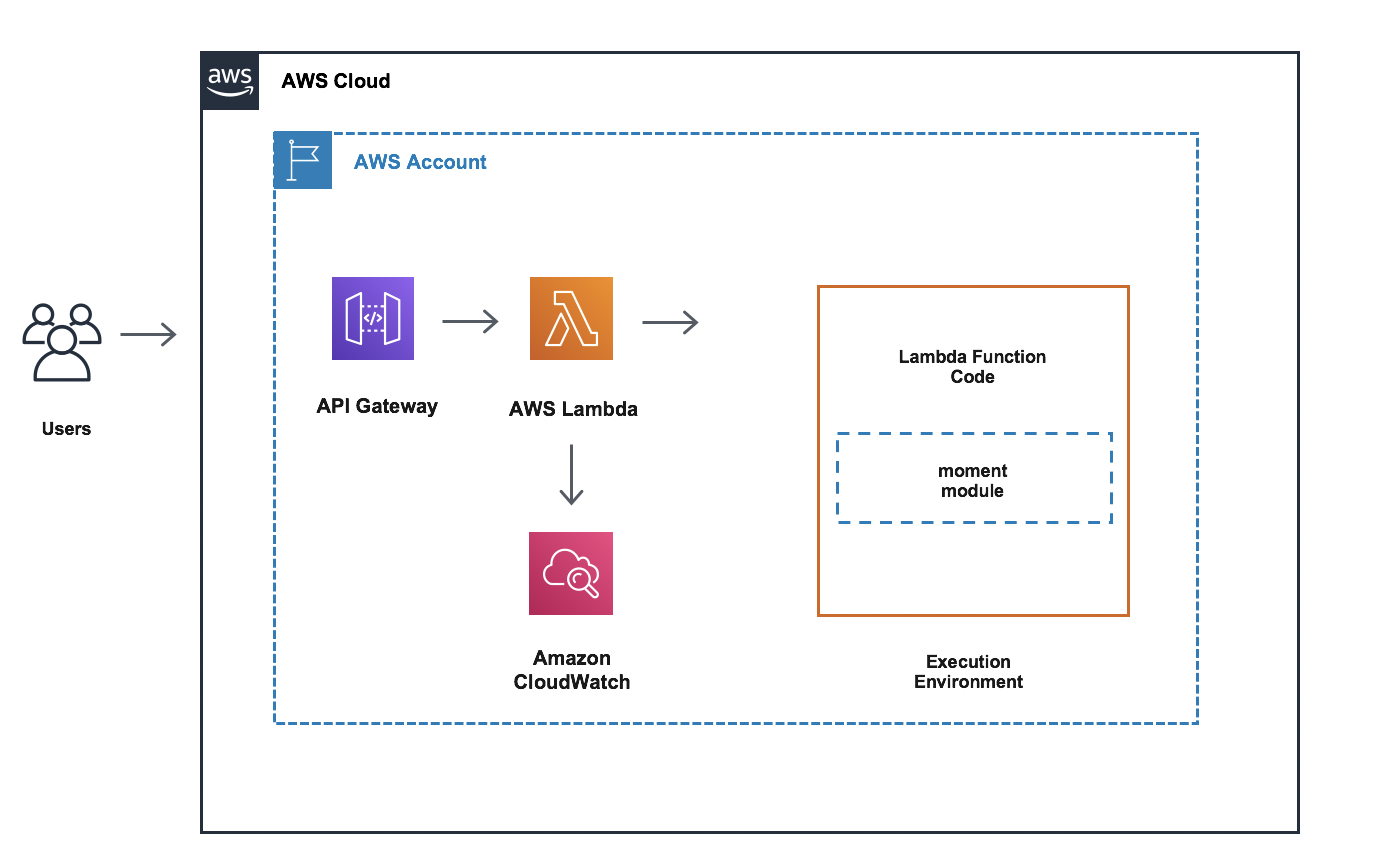
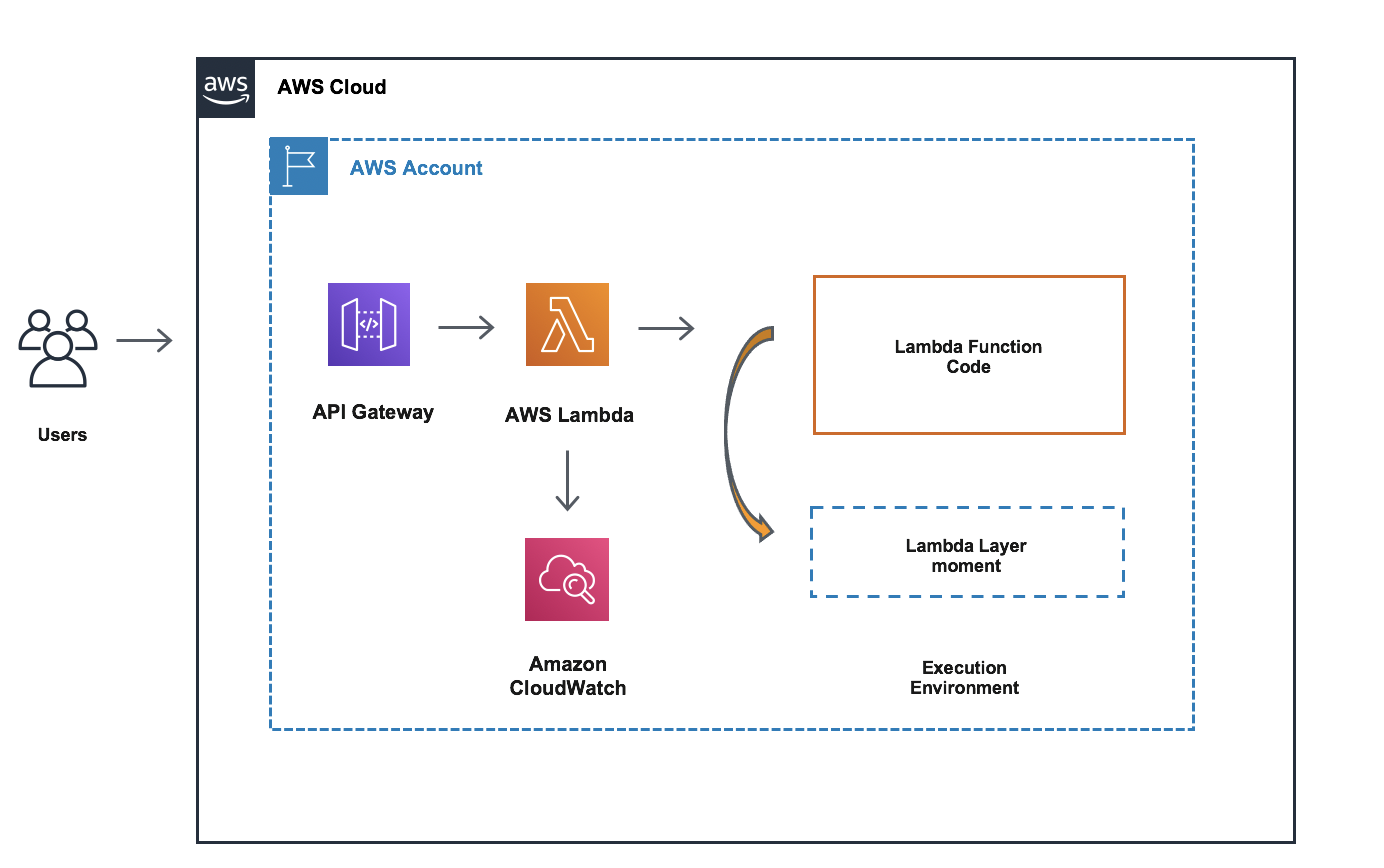
[**AWS Lambda Layers**](https://docs.aws.amazon.com/lambda/latest/dg/configuration-layers.html) let you keep your deployment package small, which makes development easier. You can avoid errors that can occur when you install and package dependencies with your function code. A Lambda layer is an archive containing additional code, such as libraries, dependencies, or even custom runtimes. When you include a layer in a function, the contents are extracted to the /opt directory in the execution environment. You can include up to five layers per function, which count towards the standard Lambda deployment size limits.
[**Serverless Framework**](https://www.serverless.com/open-source/) Open Source lets you develop and deploy serverless applications to AWS. The Serverless Framework CLI is the simplest way to develop infinitely scalable, pay-per-execution serverless applications. Following the AWS best practices, we will handle our application and the layers into two independent Serverless projects called:
* lambda-service (will contain the Node function source code)
* lambda-layer (will contain the lambda layers)
### 1. Install Serverless Framework
Install AWS Cloud9 Environment using the instructions [here.](https://docs.aws.amazon.com/cloud9/latest/user-guide/create-environment-main.html)
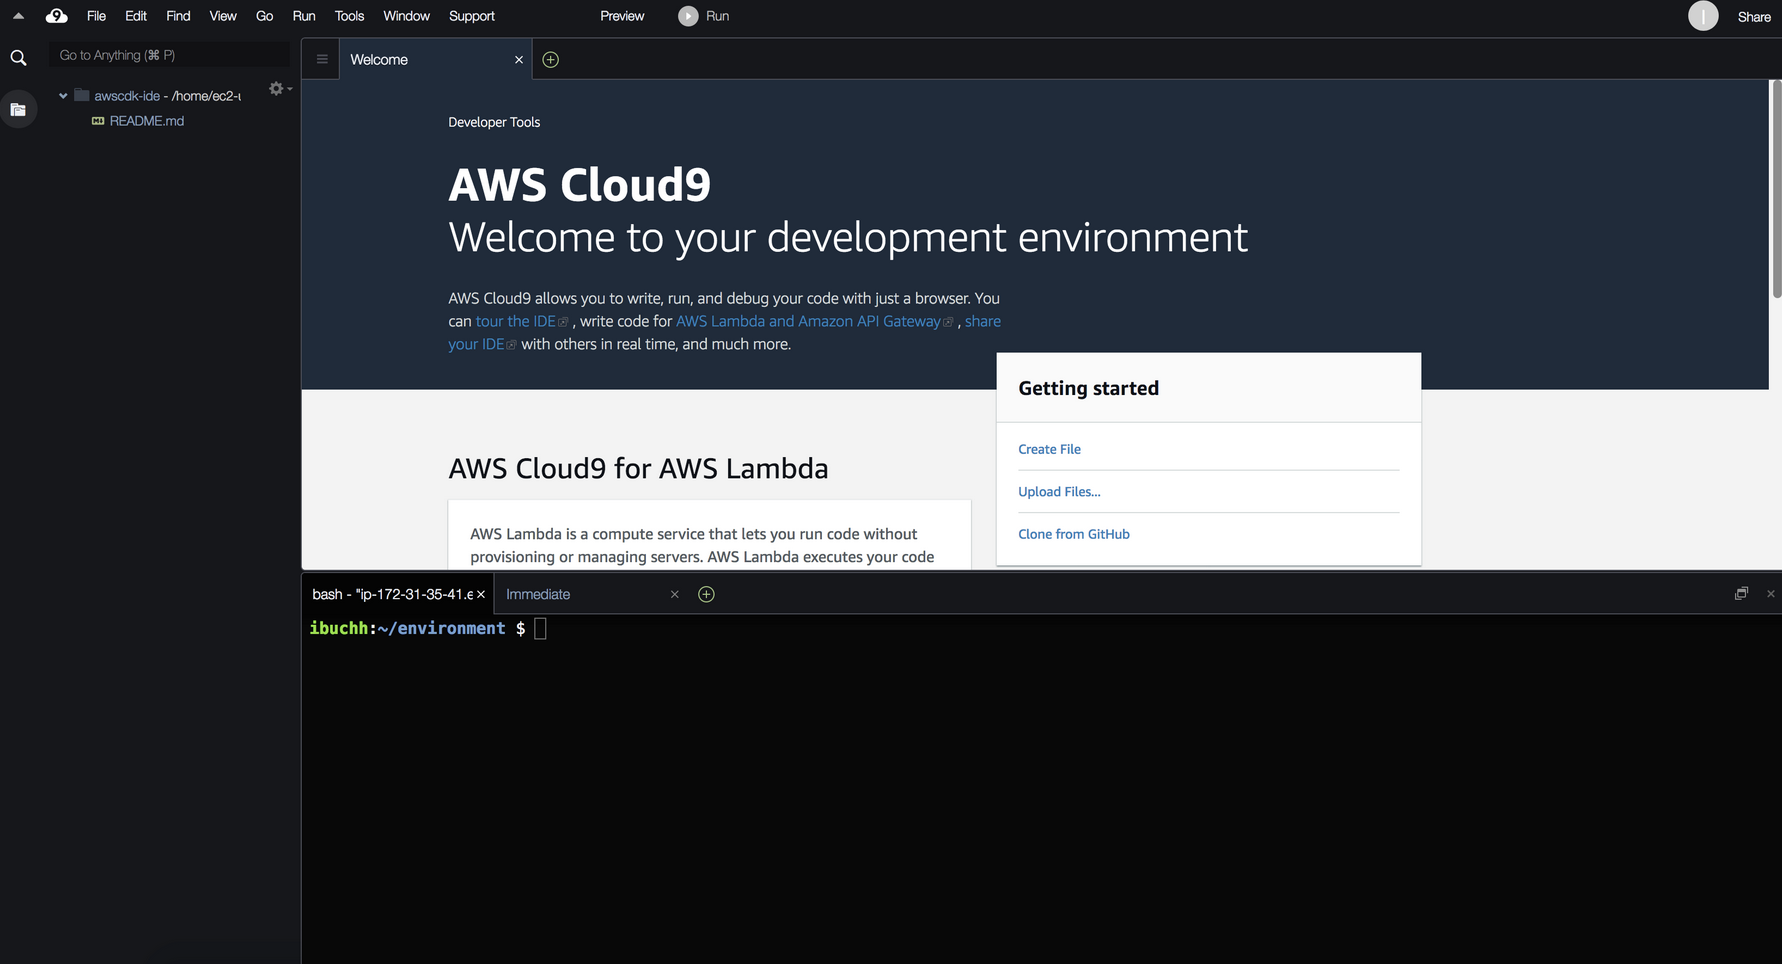
Inside AWS Cloud9 environment, open a shell terminal and run the following:
```yaml
npm install -g npm
npm i -g serverless
sls create --help
```
### 2. Create a Serverless project
```yaml
mkdir serverless
cd serverless
sls create -t aws-nodejs -n lambda-service -p lambda-service
```
### 3. Create a Lambda Function
Replace handler.js with:
```js
'use strict';
const moment = require("moment");
const dateNow = moment().format("MMM Do YY");
module.exports.hello = async event => {
return {
statusCode: 200,
body: JSON.stringify(
{
message: dateNow
}),
};
};
```
Install the moment module.
```yaml
cd lambda-service
npm init -y
npm i moment --save
```
Open serverless.yml under lambda-service and replace it with:
```yaml
service: lambda-service
provider:
name: aws
apiGateway:
shouldStartNameWithService: true
runtime: nodejs12.x
stage: dev
region: us-east-1
profile: default
functions:
hello:
handler: handler.hello
events:
- http:
method: get
path: hello
```
### 4. Deploy the Lambda Function
Inside the lambda-service directory, run the following commands:
```yaml
sls package
sls deploy
```
### 5. Test the Lambda Function
Open the http api gateway endpoint in the browser, and the REST Api will return the current date in the `MMM Do YY` format.
### 6. Exclude the node_modules from Lambda Function
Replace the `service: lambda-service` with the following code inside serverless.yml file:
```yaml
service: lambda-service
package:
exclude:
- node_modules/**
```
### 7. Deploy Lambda Function again
```yaml
sls package
sls deploy
```
### 8. Test the Lambda Function again
Open the http api gateway endpoint in the browser, and this time you will get `internal error`.
### 9. Create Lambda Layer Serverless Project
Inside the `serverless` directory, run the following commands:
```yaml
sls create -t aws-nodejs -n lambda-layer -p lambda-layer
```
Replace the contents of serverless.yml under lambda-layer as:
```yaml
service: lambda-layer
provider:
name: aws
runtime: nodejs12.x
stage: dev
region: us-east-1
profile : default
layers:
MomentLayer:
path: moment_layer
description: "Moment Dependencies"
```
### 10. Create and deploy Lambda Layer
Open a shell prompt under lambda-layer directory
```yaml
mkdir moment_layer && cd moment_layer
npm init -y
npm i moment --save
cd ../
sls package
sls deploy
```
Note down the AWS urn of the lambda layer that gets created.
### 11. Modify Lambda Function to use Lambda Layer
Open serverless.yml under lambda-service directory.
Replace it with:
```yaml
service: lambda-service
package:
exclude:
- node_modules/**
provider:
name: aws
apiGateway:
shouldStartNameWithService: true
runtime: nodejs12.x
stage: dev
region: us-east-1
profile: default
functions:
hello:
handler: handler.hello
events:
- http:
method: get
path: hello
environment:
NODE_PATH: "./:/opt/node_modules"
layers:
- arn:aws:lambda:us-east-1:xxxxxxxxxxx:layer:MomentLayer:1
```
Replace the ARN of lambda layer created in previous step.
### 12. Redeploy the Lambda Function
Open shell prompt in `lambda-service` directory
```yaml
sls package
sls deploy
```
### 13. Retest the Lambda Fucntion
Open the http api gateway endpoint in the browser, and the REST Api will return the current date in the `MMM Do YY` format.
### 14. Cleanup
Inside the `lambda-service` directory, run:
```yaml
sls remove
```
Inside the `lambda-layer` directory, run:
```yaml
sls remove
```
Finally using the AWS Management Console, remove the AWS Cloud9 environment.
## Security
See [CONTRIBUTING](CONTRIBUTING.md#security-issue-notifications) for more information.
## License
This library is licensed under the MIT-0 License. See the LICENSE file.