#### é…ç½®kubeflow dashboard 检查kubeflow dashboardçŠ¶æ€ ```bash kubectl get service istio-ingressgateway -n istio-system NAME TYPE CLUSTER-IP EXTERNAL-IP PORT(S) AGE istio-ingressgateway NodePort 10.100.239.93 <none> 15020:31062/TCP,80:31380/TCP,443:31390/TCP,31400:31400/TCP,15029:32662/TCP,15030:31314/TCP,15031:32088/TCP,15032:30973/TCP,15443:30713/TCP 27h ``` 通过kubectl port-forward端å£è½¬å‘æ˜ å°„æœ¬åœ°ç«¯å£åˆ°æŒ‡å®šçš„kubeflow dashboard 80ç«¯å£ ```bash kubectl port-forward svc/istio-ingressgateway -n istio-system 8080:80 ``` #### 访问Kubeflowç”¨æˆ·ç•Œé¢ ä»Žæœ¬åœ°ç½‘ç»œæµè§ˆå™¨è¾“å…¥http://127.0.0.1:8080/,您就å¯ä»¥è¿›å…¥åˆ°Kubeflow UIç•Œé¢ï¼ŒKubeflow dashboardé»˜è®¤ä¸ºæ— èº«ä»½éªŒè¯ã€‚点击dashboardä¸ **Start Setup**,设置namespace 得值为 **eksworkshop** 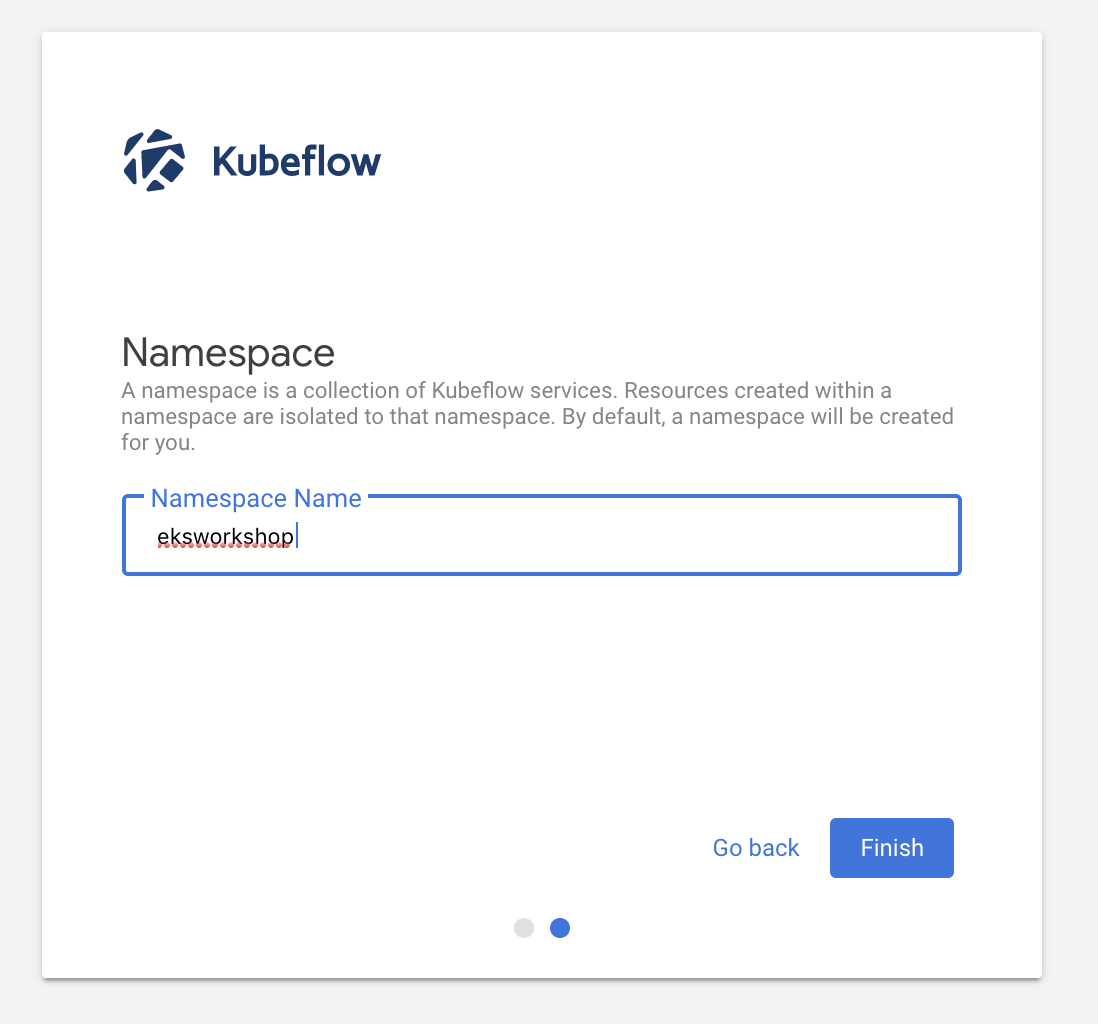 点击 **Finish** æµè§ˆkubeflow dashboard 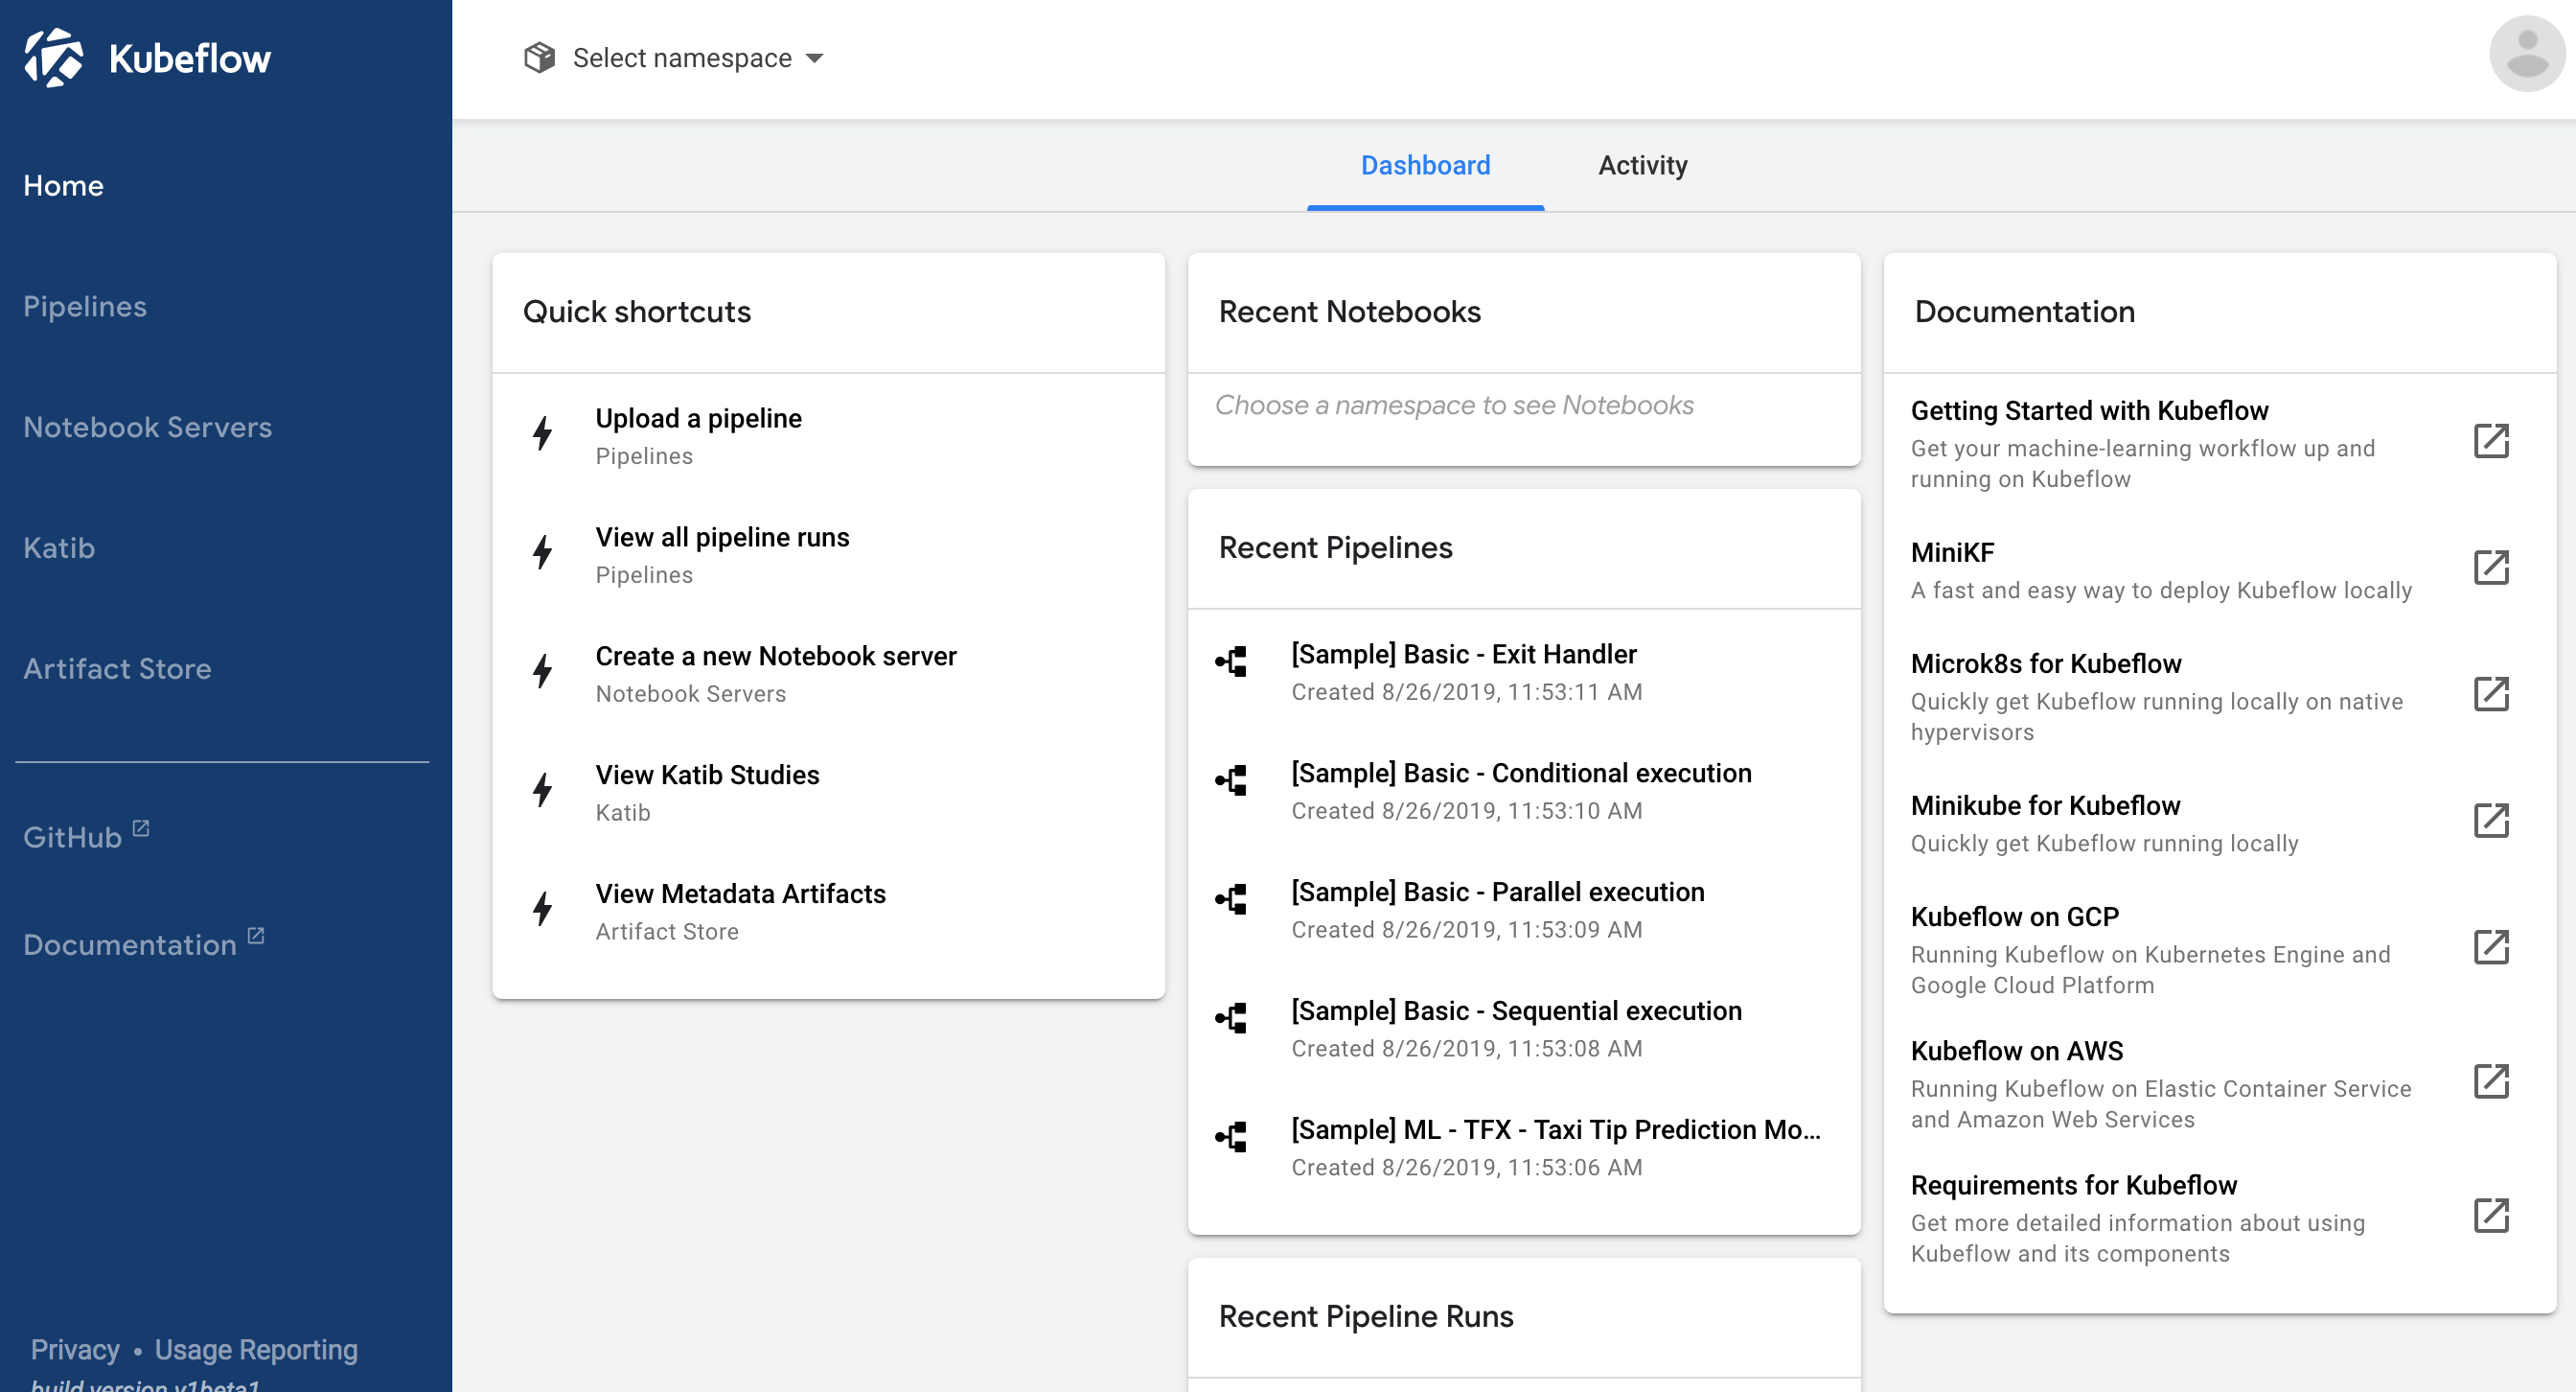 #### 创建和使用jupter notebook Jupyter notebook 通常用于数æ®æ¸…洗和转æ¢ã€æ•°å€¼æ¨¡æ‹Ÿã€ç»Ÿè®¡å»ºæ¨¡ã€æ•°æ®å¯è§†åŒ–ã€æœºå™¨å¦ä¹ ç‰ã€‚在Kubeflow dashboardä¸, 点击 **Create a new Notebook server**: 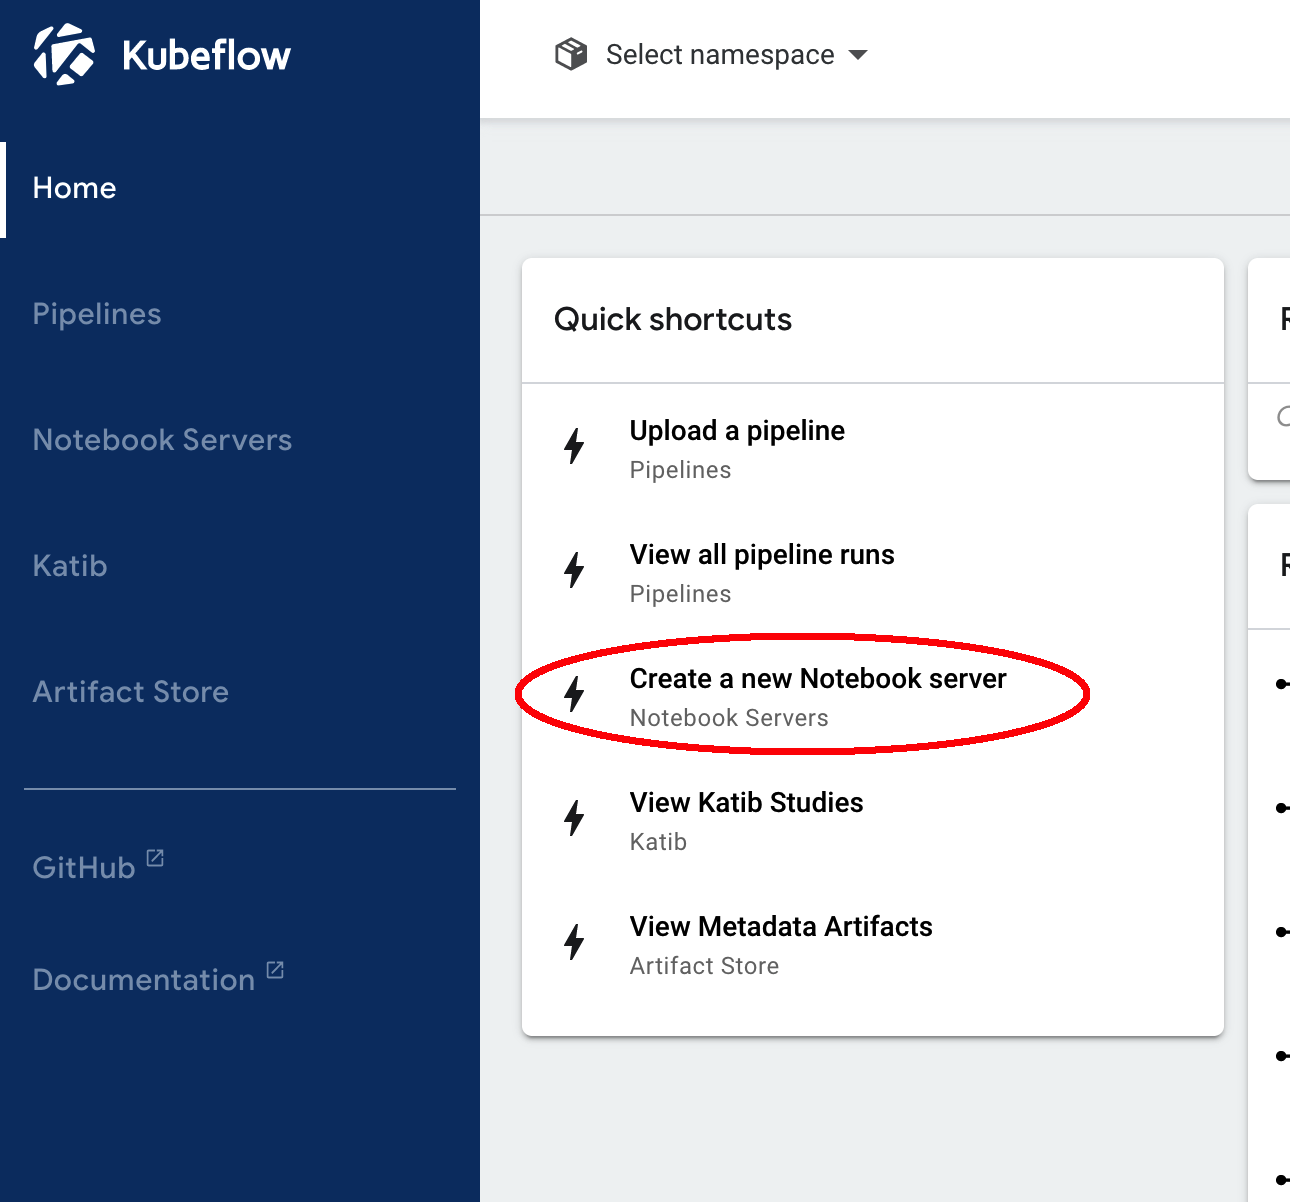 选择您在上一个部æ¥éª¤ä¸åˆ›å»ºçš„ namespace : 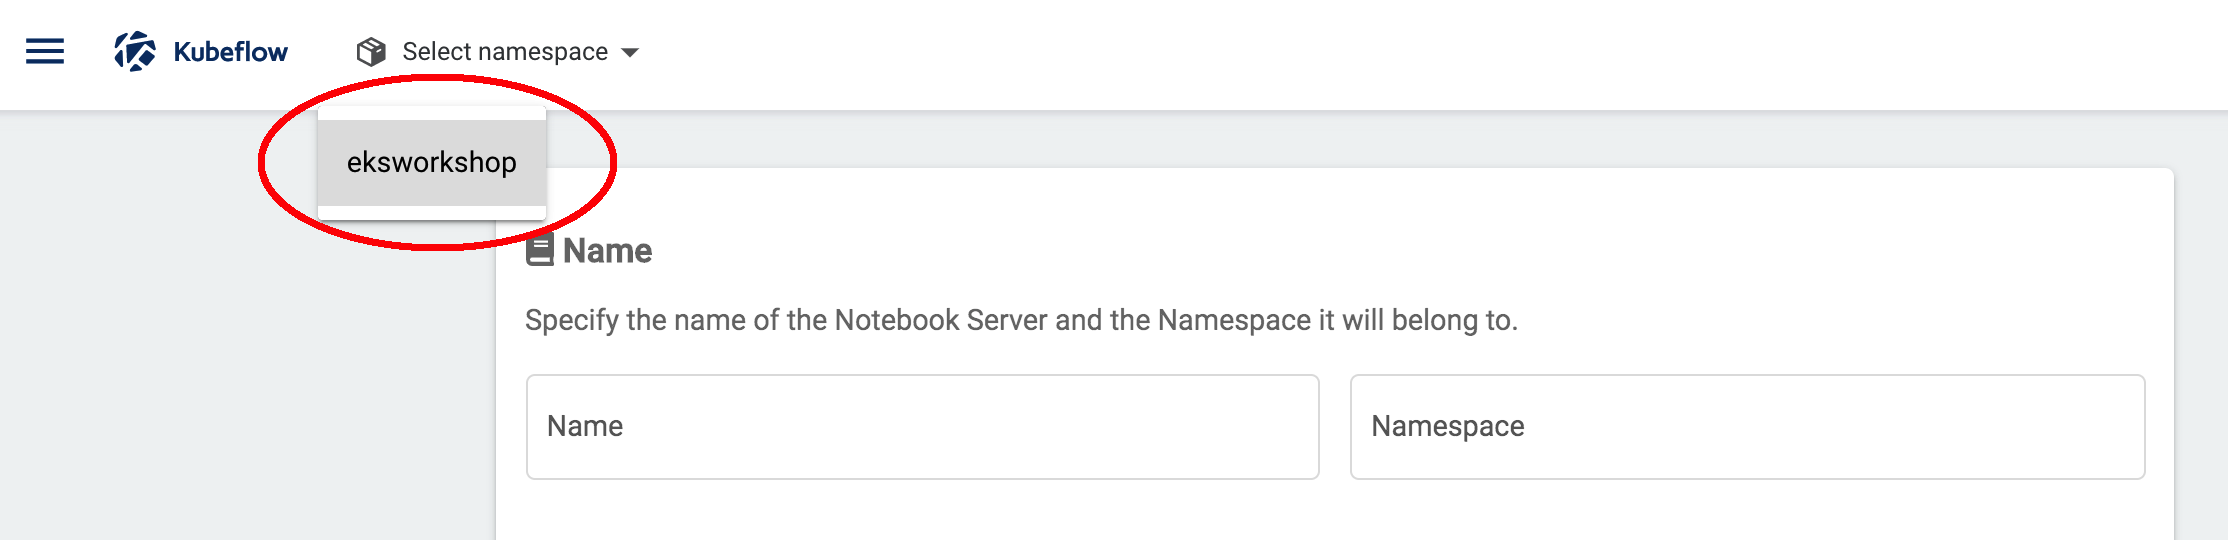 为jupter notebook指定一个å称: 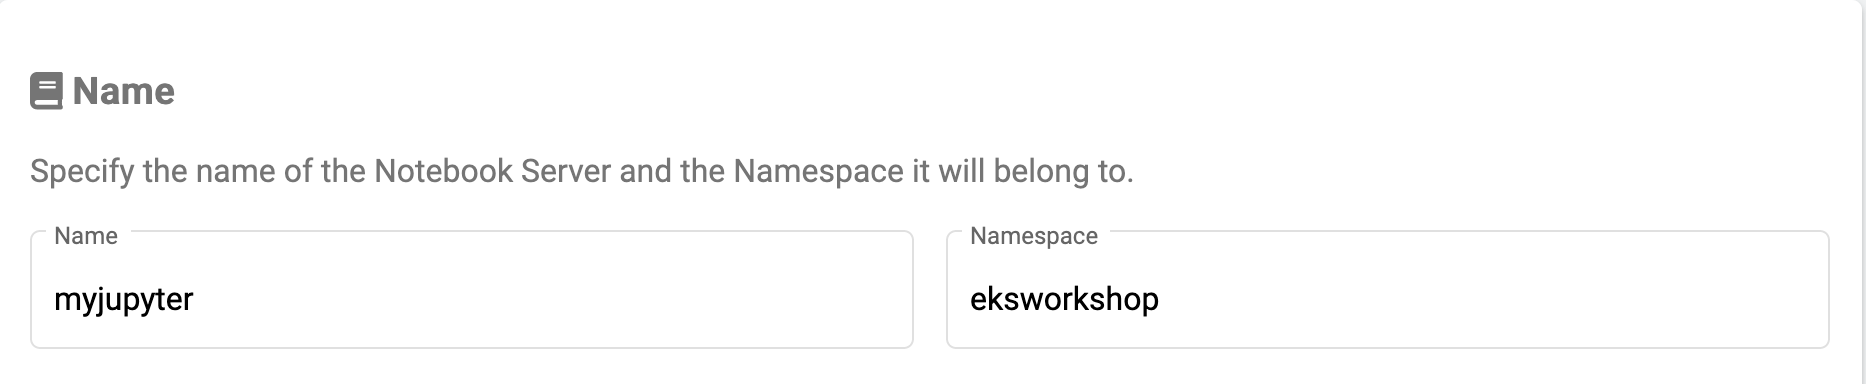 选择Image如下: 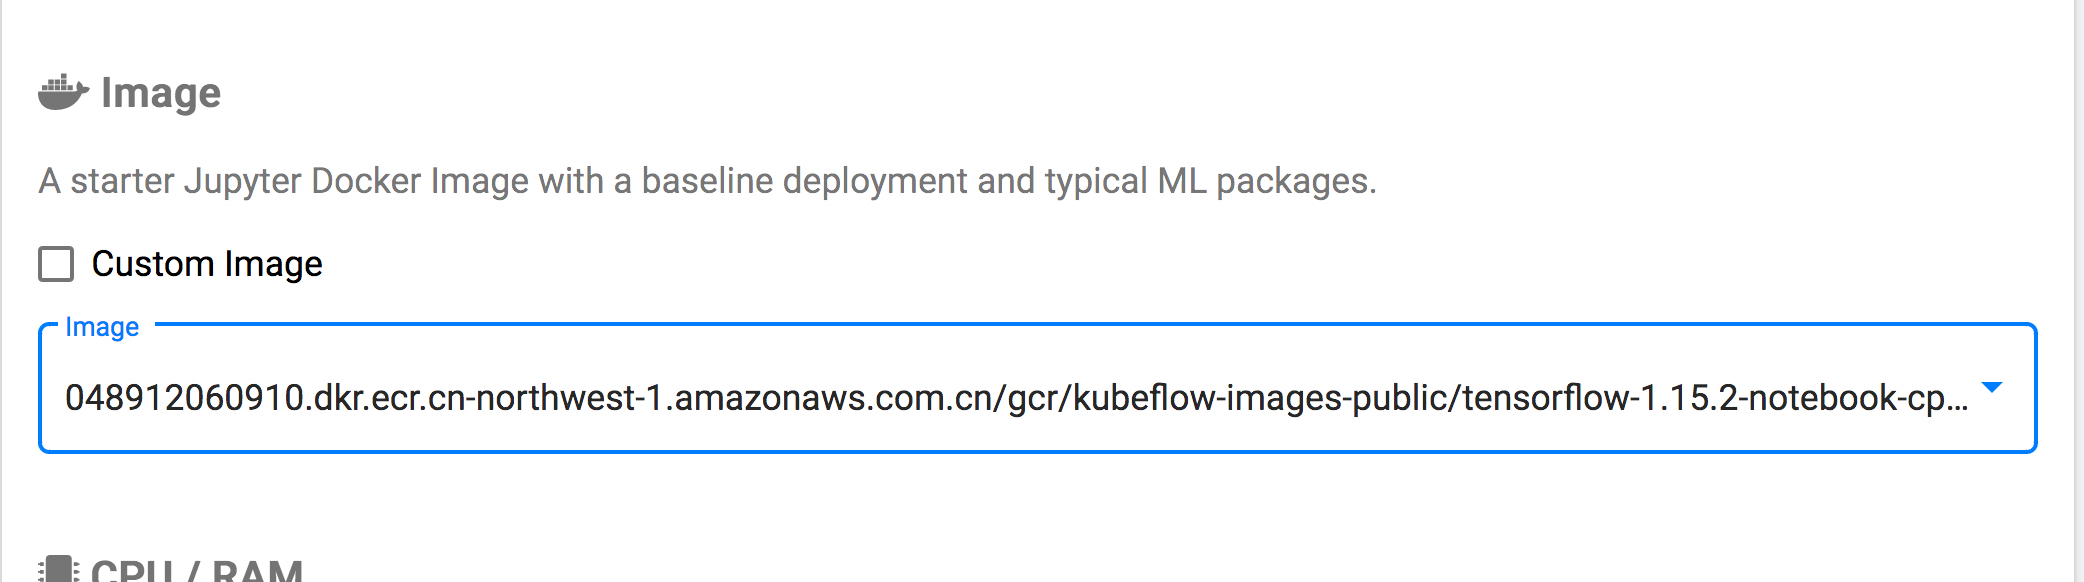 为创建jupter notebook设置CPU值为 **1.0**:  滚动到底部,接å—所有其他默认设置,然åŽå•å‡»LAUNCH。ç‰å¾…jupter notebookå¯åŠ¨ã€‚点击**CONNECT** 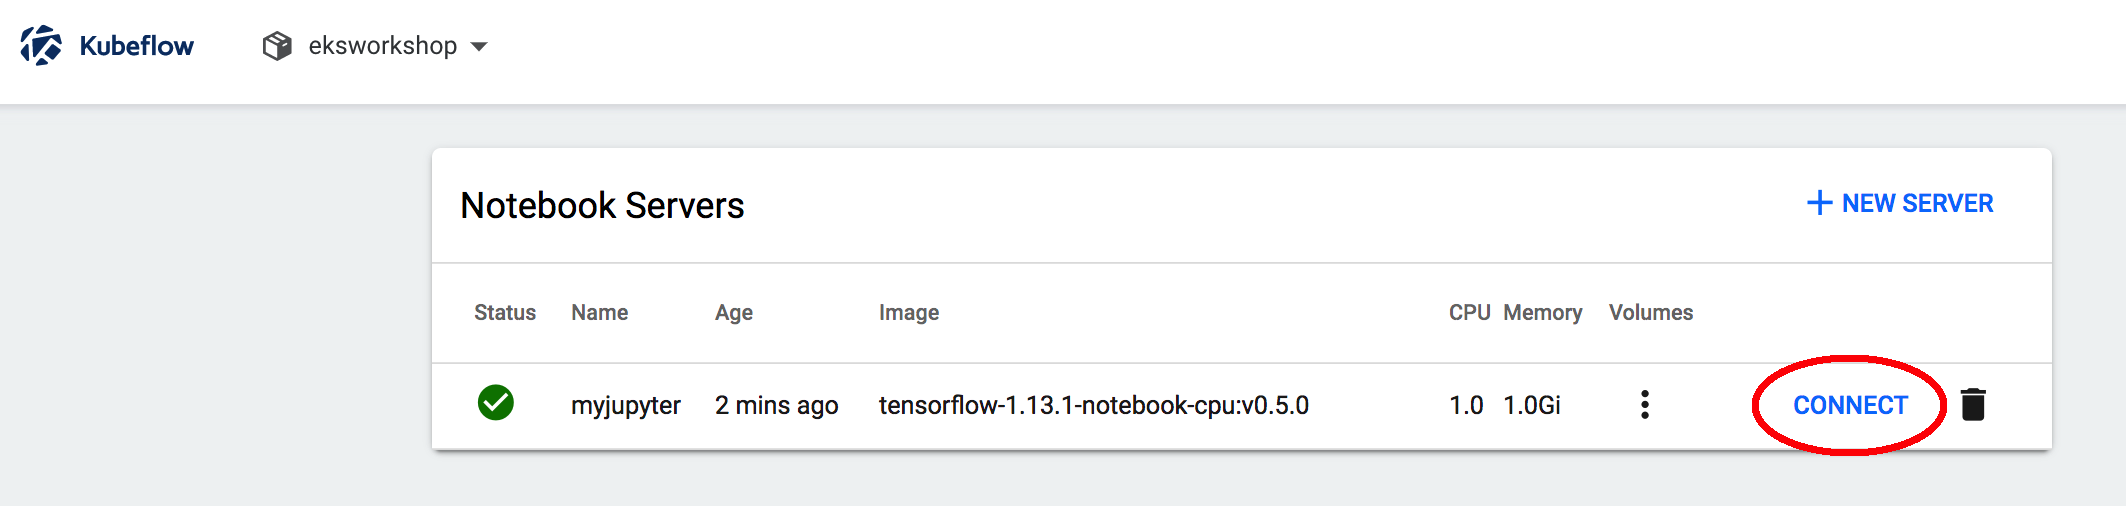 在jupter notebookç•Œé¢é‡Œç‚¹å‡» **New**, 选择 **Python3**,创建一个空 Python 3 Jupyter notebook 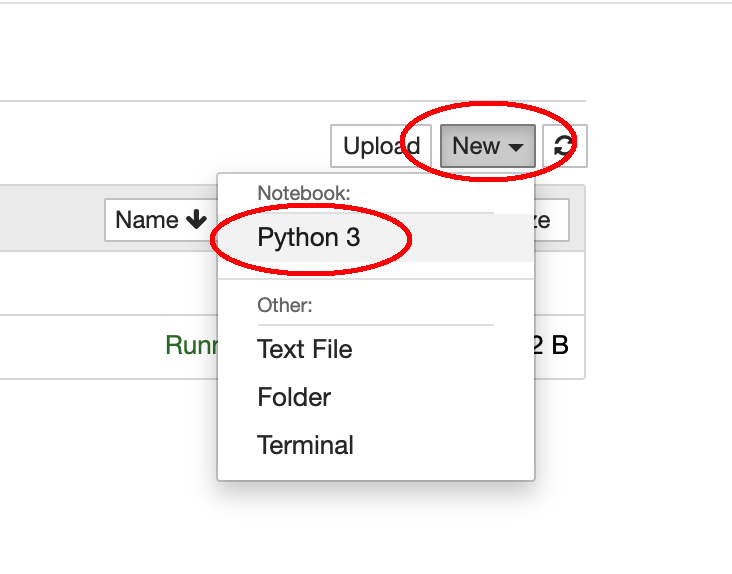 #### è®ç»ƒæ¨¡åž‹ 打开 resouce/mnist-tensorflow-jupyter.py并把代ç 粘贴到notebookä¸. 这段Pythonæ ·ä¾‹ä»£ç 会使用TensorFlow基于MNISTæ•°æ®é›†è®ç»ƒæ¨¡åž‹ï¼Œç‚¹å‡»Runè¿è¡Œè®ç»ƒä»£ç 。 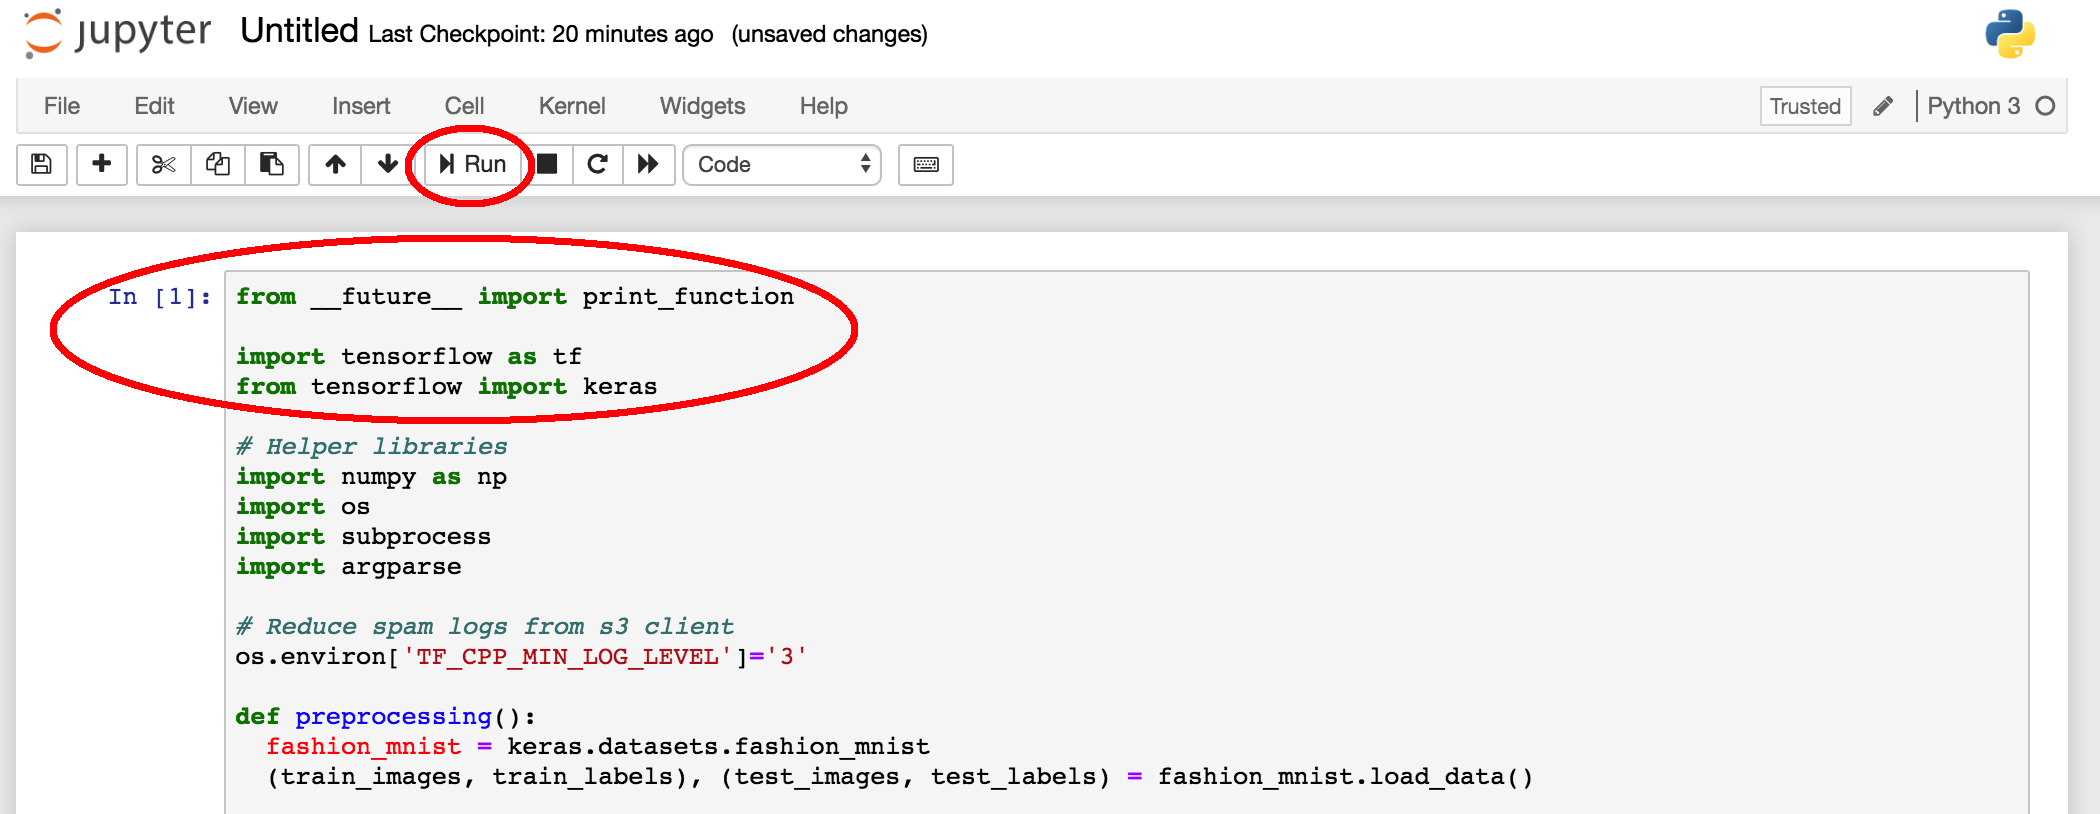 è¿è¡ŒåŽä¼šåˆ›å»ºä¸€ä¸ªæ–°çš„代ç å—,在这个新代ç å—ä¸è¾“å…¥main(),然åŽå•å‡»Run 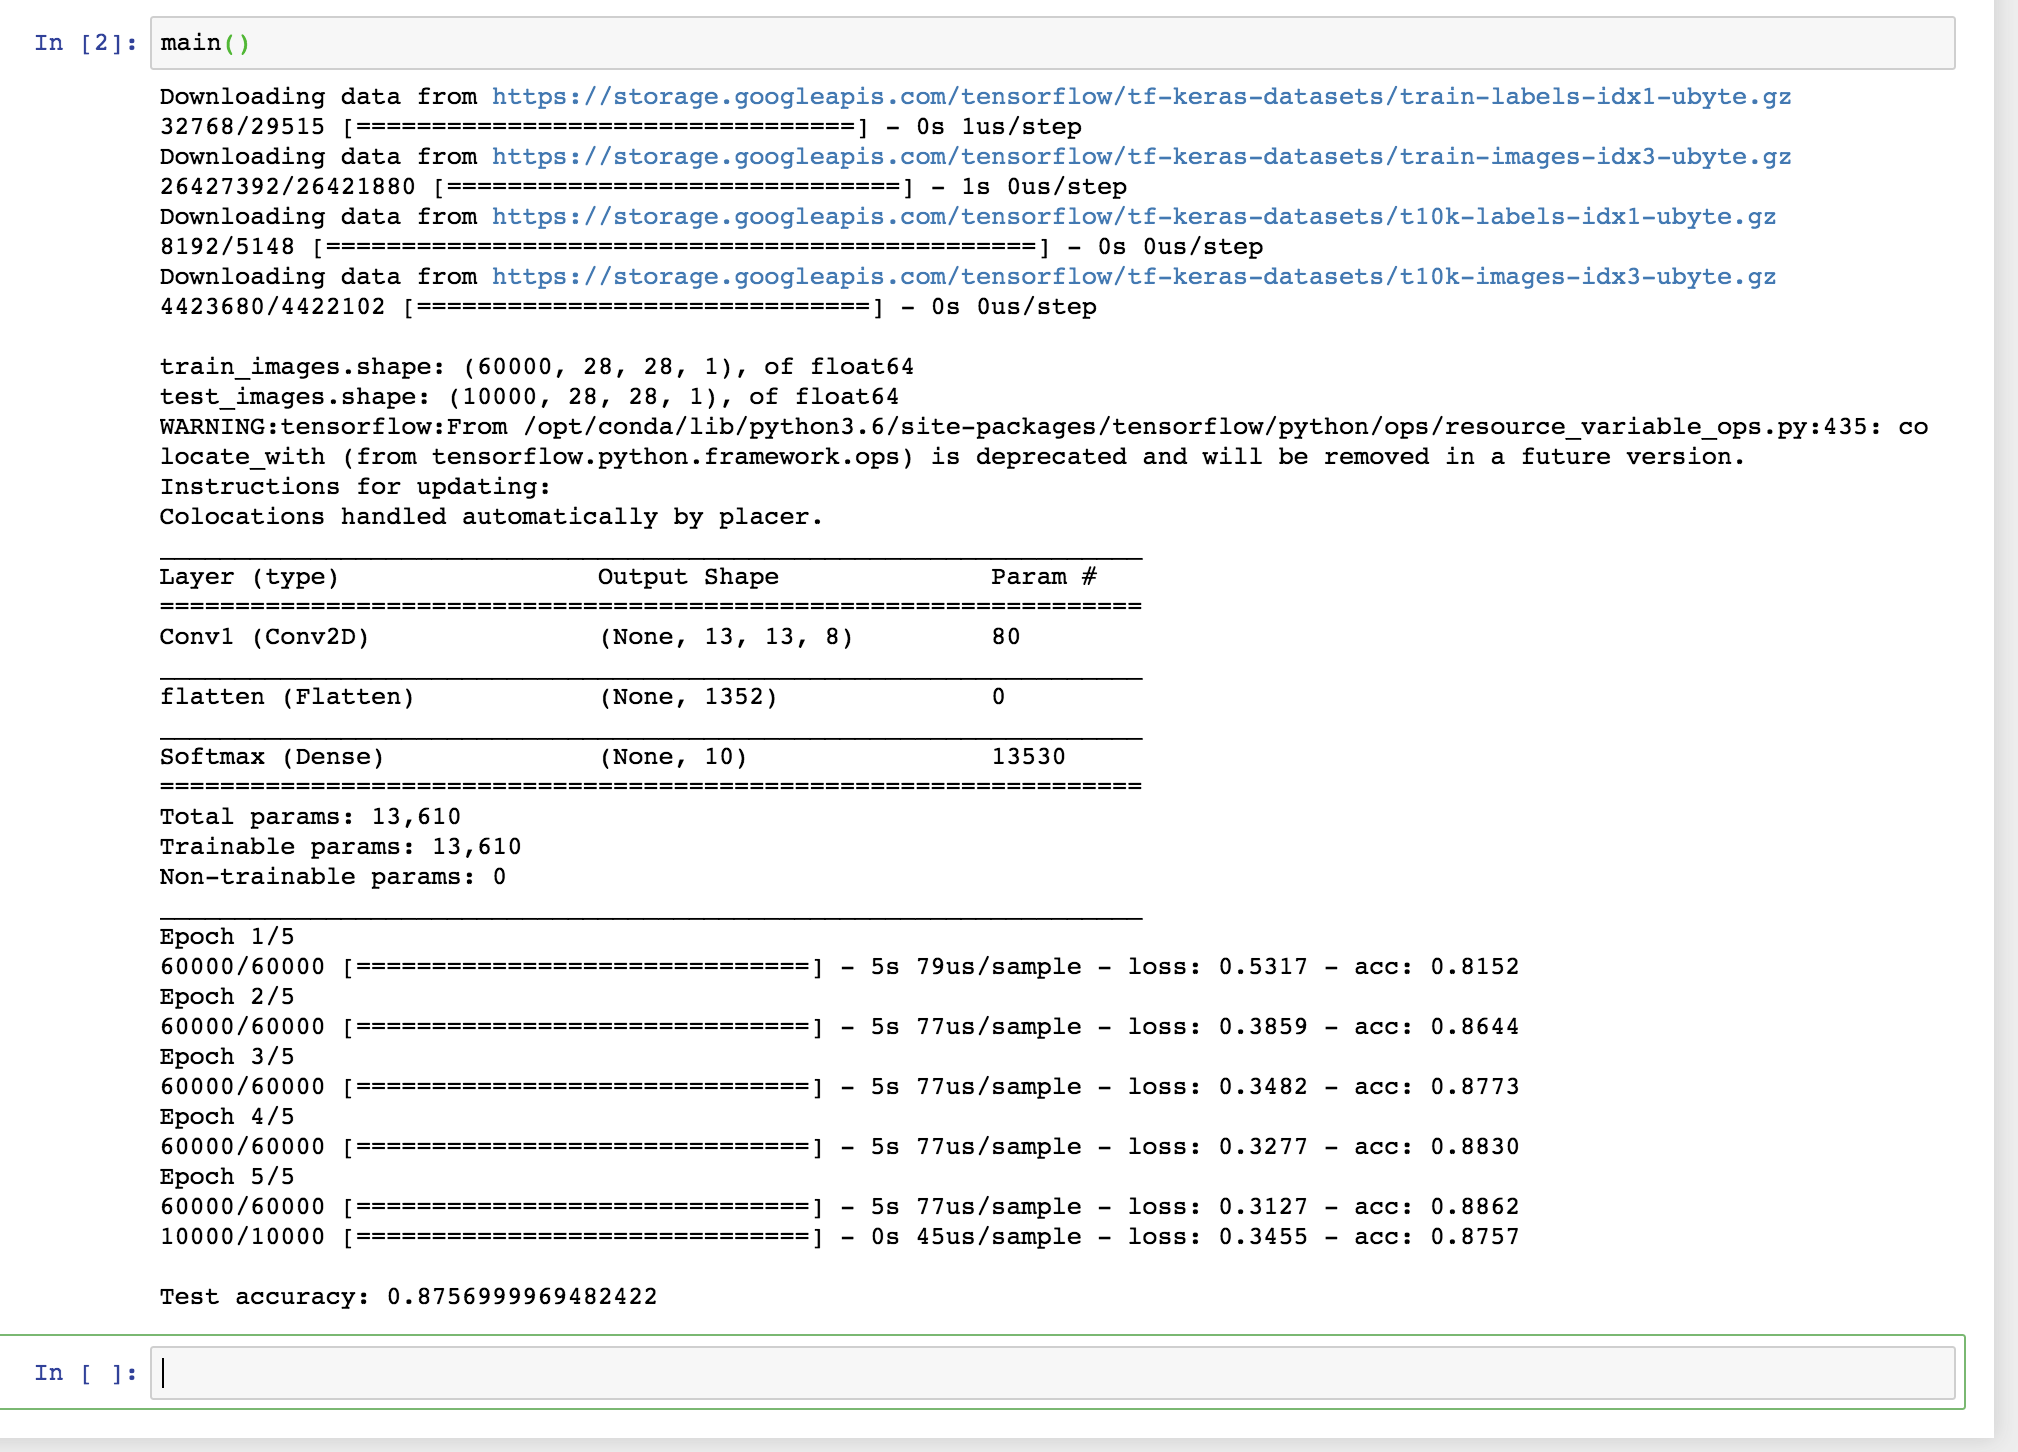 è®ç»ƒå®ŒæˆåŽï¼Œå‰å‡ 行显示下载了TensorFlowå’ŒKerasæ•°æ®é›†ã€‚è®ç»ƒæ•°æ®é›†æ˜¯60k图åƒï¼Œæµ‹è¯•æ•°æ®é›†ä¸º10k图åƒï¼Œå¹¶ç»™å‡ºäº†ç”¨äºŽè®ç»ƒçš„超å‚数,五次Epoch的输出,è®ç»ƒå®ŒæˆåŽè¾“出了模型的精度。