+++
title = "Creating AppRegistry application with Proton"
weight = 5
+++
#### What are we going to do?
#### We are going to perform the following steps:
* Update environment template and deploy new version so resources will be auto-registered and metadata collected
* Validate that environment resources and metadata are associated with the AppRegistry application
#### Step-by-step guide
Here are the steps you need to follow to "Create Proton environment template for AppRegistry application".
---
AWS Service Catalog AppRegistry allows you to create a repository of your applications and associated resources.
You can then define and manage your application metadata. This allows you to understand the context of your
applications and resources across your environments.
AppRegistry provides a way to group your applications and application resources. You define applications within the
AppRegistry by providing a name, description, associations to CloudFormation stacks, and associations to
application metadata. We'll start by associating Proton environment resources and it's metadata, and then
continue with the Proton services.
## Update AWS Proton environment template and deploy the new version
Prepare folder to update Proton templates.
```shell
cd ~/environment/moving-up-stack-workshop/resources/code/
cp -r scenario2/loadbalanced-fargate-redis-mysql scenario3/loadbalanced-fargate-redis-mysql
```
Navigate to `environment/infrastructure` and open `cloudformation.yaml` by running the command below.
```shell
cd ~/environment/moving-up-stack-workshop/resources/code/scenario3/loadbalanced-fargate-redis-mysql/environment/infrastructure
# open file in Cloud9 editor
c9 cloudformation.yaml
```
Add new AWS resources under `Resources`.
{{% notice tip %}}
Please verify the indentation is correct when pasting into the yaml file.
Also, please make sure you save the file before moving to the next step.
{{% /notice %}}
```yaml
AppRegistryApp:
Type: AWS::ServiceCatalogAppRegistry::Application
Properties:
Description: "AppRegistry application created with CloudFormation"
Name: "{{ environment.inputs.application_name }}"
AppRegistryResourceAssociation:
Type: AWS::ServiceCatalogAppRegistry::ResourceAssociation
Properties:
Application: !GetAtt AppRegistryApp.Id
Resource: !Ref AWS::StackName
ResourceType: CFN_STACK
DependsOn:
- AppRegistryApp
AppRegistryAttributeGroup:
Type: AWS::ServiceCatalogAppRegistry::AttributeGroup
Properties:
Attributes: {
"ApplicationName": "{{ environment.inputs.application_name }}",
"CostCenter": "{{ environment.inputs.cost_center }}",
"LOB_Owner": "{{ environment.inputs.lob_owner }}"
}
Description: "{{ environment.inputs.application_name }}-{{ environment.name }}"
Name: "{{ environment.inputs.application_name }}-{{ environment.name }}"
AppRegistryAttributeGroupAssociation:
Type: AWS::ServiceCatalogAppRegistry::AttributeGroupAssociation
Properties:
Application: !GetAtt AppRegistryApp.Id
AttributeGroup: "{{ environment.inputs.application_name }}-{{ environment.name }}"
DependsOn:
- AppRegistryApp
- AppRegistryAttributeGroup
```
In `Outputs`, add the new output variables.
```yaml
ApplicationName:
Value: "{{ environment.inputs.application_name }}"
CostCenter:
Value: "{{ environment.inputs.cost_center }}"
LobOwner:
Value: "{{ environment.inputs.lob_owner }}"
StackName:
Value: !Ref AWS::StackName
```
Navigate to `environment/schema` and open `schema.yaml` by running the command below.
```shell
cd ~/environment/moving-up-stack-workshop/resources/code/scenario3/loadbalanced-fargate-redis-mysql/environment/schema
# open file in Cloud9 editor
c9 schema.yaml
```
Add the new input attributes under `properties`.
```yaml
application_name:
type: string
description: "AWS ServiceCatalog AppRegistry application name."
cost_center:
type: string
description: "Application cost center."
lob_owner:
type: string
description: "Line of business (LOB) owner."
```
Declare those inputs as required under `PublicEnvironmentInput`.
```yaml
required:
- application_name
- cost_center
- lob_owner
```
{{% notice tip %}}
The final schema in `schema.yaml` should look as below in the example.
Please make sure you save the file before moving to the next step.
{{% /notice %}}
```yaml
# Other attributes
...
types:
PublicEnvironmentInput:
# Other attributes
...
required:
- application_name
- cost_center
- lob_owner
properties:
# Other attributes
...
application_name:
type: string
description: "AWS ServiceCatalog AppRegistry application name."
cost_center:
type: string
description: "cost_center"
lob_owner:
type: string
description: "lob_owner"
```
Create environment template bundle by zipping the `environment` folder, and upload the bundle to your S3 bucket.
```shell
cd ~/environment/moving-up-stack-workshop/resources/code/scenario3/loadbalanced-fargate-redis-mysql
tar -czf far-pubpriv-env-template-v2.tar.gz environment/
aws s3 cp \
far-pubpriv-env-template-v2.tar.gz \
s3://proton-cli-templates-${ACCOUNT_ID}-${AWS_DEFAULT_REGION}/far-pubpriv-env-template-v2.tar.gz
rm far-pubpriv-env-template-v2.tar.gz
```
Now that the new bundle is uploaded to your S3 bucket, create new version of the existing environment template.
```shell
aws proton create-environment-template-version \
--template-name "Fargate-Public-Private-VPC" \
--source s3="{bucket=proton-cli-templates-${ACCOUNT_ID}-${AWS_DEFAULT_REGION},key=far-pubpriv-env-template-v2.tar.gz}"
```
You can now publish the new environment template version, making it available for users in your AWS account to
either create Proton environments or update existing that are created from previous version.
```shell
aws proton update-environment-template-version \
--template-name "Fargate-Public-Private-VPC" \
--major-version "2" \
--minor-version "0" \
--status "PUBLISHED"
```
{{% notice tip %}}
***What did we just do?***
We just updated an existing Proton environment template and published it, making this version available for deployment.
[Open the Proton Environment Templates console](https://console.aws.amazon.com/proton/home#/templates/environments)
and check that your new template has the recommended and published version `2.0`.
{{% /notice %}}


Now let's update the environment to the new version.
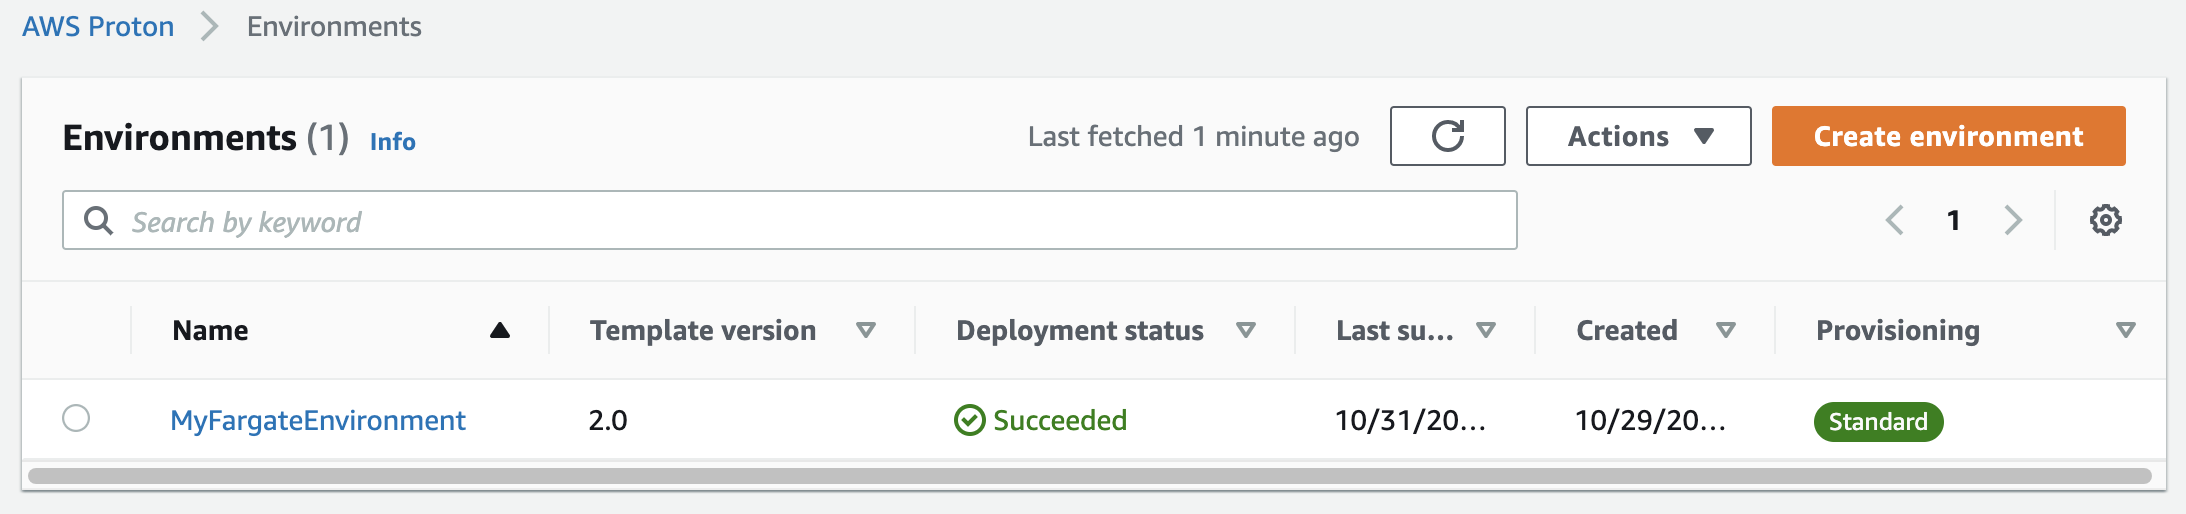
[Open the Proton Environments console](https://console.aws.amazon.com/proton/home#/environments)
select the deployed environment. Open the environment `MyFargateEnvironment`, click `Actions` and choose `Update major`.
On the `Configure Environment` screen, click `Edit`.
On the `Configure custom settings` screen:
- For `Application name` enter *EcsApp*
- For `Cost center` enter *123456*
- For `Lob owner` enter *Shirley Rodriguez*
- Click `Next`
Finally, on the `Review` screen, click `Update`. Wait a few minutes for your environment to be updated.
{{% notice tip %}}
***What did we just do?***
We just updated an existing Proton environment using the new version of the environment template.
[Open the Proton console](https://console.aws.amazon.com/proton/home#/environments)
and check that your environment is deployed using the new template version.
{{% /notice %}}
Now that new version is deployed, let’s see what changes have been applied to the AppRegistry application.
Navigate to the [AWS Service Catalog AppRegistry application](https://console.aws.amazon.com/servicecatalog/home#applications/)
and observe that a new application has been created.
Select the application `EcsApp`, and observe that:
- In `Resources` tab we know which AWS resources are part of the application
- In `Attribute groups` tab we have one attribute group associated.
In `Attribute groups` tab, click on the attribute group name and observe that the `Metadata` is a JSON object with the values
we entered when updating the Proton environment.
```json
{
"ApplicationName": "EcsApp",
"CostCenter": "123456",
"LOB_Owner": "Shirley Rodriguez"
}
```
{{% notice tip %}}
***What did we just do?***
We made the first step in mapping application resources and metadata in AppRegistry.
We create an application and associated the environment resources with It. When updating the Proton environment,
using the new version, we entered information about the application. This information is not stored in
the AppRegistry attribute group that is also associated with the application.
{{% /notice %}}
Now let's see how we can map all the services to the AppRegistry application and further enrich the
application metadata.