# Bill of Material (BOM)
## Overview of the items used to build TSA bot
| Item | Description |
| ----------- | ----------- |
| 
| The Bot is currently based on the [STEM Robot-Building Kit made by Meccano®](https://www.amazon.com/Meccano-Meccanoid-Robot-Building-Education-Exclusive/dp/B019K8KMHS/ref=asc_df_B019K8KMHS/) and we customized it by using our own servo motors and LEDs |
| 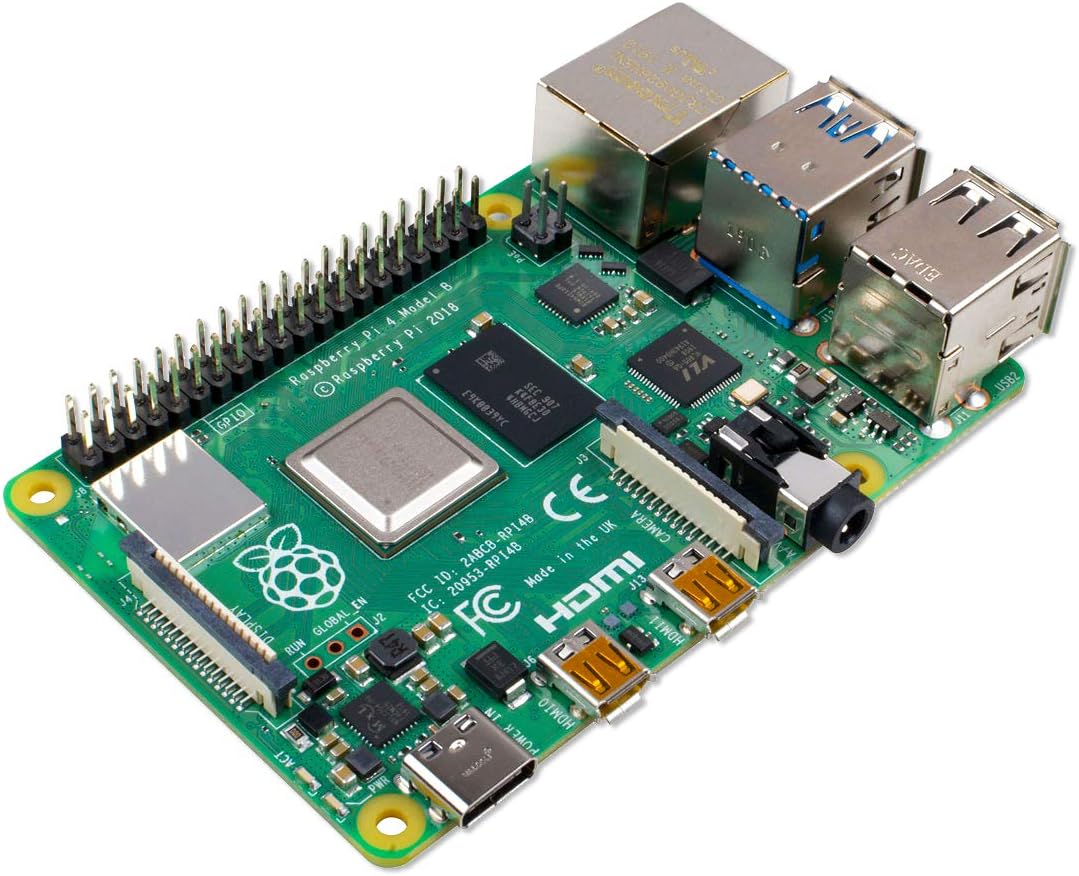
| We use a [Raspberry Pi 4](https://chicagodist.com/products/raspberry-pi-4-model-b-4gb?src=raspberrypi) that will be our edge compute resource to control the robot and scripts, and will communicate back to the AWS cloud for text to speech, speech to text, computer vision, and the QnA solution. |
- USB serial for lidar sensor: [https://www.amazon.com/gp/product/B00LODGRV8/ref=ppx\_yo\_dt\_b\_asin\_title\_o02\_s00?ie=UTF8&psc=1](https://www.amazon.com/gp/product/B00LODGRV8/ref=ppx\_yo\_dt\_b\_asin\_title\_o02\_s00?ie=UTF8&psc=1)
- Microphone (support Cardioid for directional use case): [https://www.amazon.com/Blue-Yeti-USB-Microphone-Blackout/dp/B00N1YPXW2/ref=sr\_1\_26?keywords=microphone+directional&qid=1637296149&sr=8-26](https://www.amazon.com/Blue-Yeti-USB-Microphone-Blackout/dp/B00N1YPXW2/ref=sr\_1\_26?keywords=microphone+directional&qid=1637296149&sr=8-26)
- Speaker: [https://www.amazon.com/JBL-Waterproof-Portable-Bluetooth-Speaker/dp/B07Q6ZWMLR/ref=sr\_1\_14?keywords=speaker+with+jack+jbl&qid=1637296361&sr=8-14](https://www.amazon.com/JBL-Waterproof-Portable-Bluetooth-Speaker/dp/B07Q6ZWMLR/ref=sr\_1\_14?keywords=speaker+with+jack+jbl&qid=1637296361&sr=8-14)
- LidaR sensor: [https://www.amazon.com/gp/product/B075V5TZRY/ref=ppx_yo_dt_b_asin_title_o03_s00?ie=UTF8&psc=1](https://www.amazon.com/gp/product/B075V5TZRY/ref=ppx\_yo\_dt\_b\_asin\_title\_o03\_s00?ie=UTF8&psc=1)
- Raspberry cam: [https://www.amazon.com/Raspberry-Pi-NoIR-Camera-Module/dp/B01ER2SMHY/ref=sr_1_3?keywords=raspberry+cam+noir&qid=1637296656&sr=8-3](https://www.amazon.com/Raspberry-Pi-NoIR-Camera-Module/dp/B01ER2SMHY/ref=sr_1_3?keywords=raspberry+cam+noir&qid=1637296656&sr=8-3)
- The servo used for eye, neck and hand movement is the [ANNIMOS 20KG Digital Servo High Torque Full Metal Gear, DS3218MG, Angle 270°](https://www.amazon.com/gp/product/B076CNKQX4/). You can use any similar servos.
- Since we have 8 servos, we cannot connect directly to raspi, as raspi don’t have enough GPIO pins. That’s why we are using I2C serial connector (- I2C https://learn.adafruit.com/adafruits-raspberry-pi-lesson-4-gpio-setup/configuring-i2c](https://learn.adafruit.com/adafruits-raspberry-pi-lesson-4-gpio-setup/configuring-i2c) I2C is used to connect 8 servo motors to move hands and neck
) where in we can use 16 channel to connect 16 servos. More details [here](https://learn.adafruit.com/adafruits-raspberry-pi-lesson-4-gpio-setup/configuring-i2c)
- We are using 8 servos in total and below is an example of the pins(channel) from I2C and the angles. You might need to find your own starting position and the channel
- 1 for neck movement (channel 10) -- Initial position at angle 90
- 1 for eye movement (channel 8) -- Initial position at angle 90
- Left shoulder-1 movement (channel 3) -- Initial position at angle 180
- Left elbow movement (channel 2) -- Initial position at angle 0
- Left shoulder-2 movement (channel 0) ---Initial position at angle 0
- Right shoulder-1 movement (channel 15) -- Initial position at angle 40
- Right elbow movement (channel 12) -- Initial position at angle 180
- Right shoulder-2 movement (channel 13) ---Initial position at angle 160
- We will be setting it to 7.5 voltage for free movement **If voltage is below, you might have slow movements. If voltage is too high, you might have fast movements that we recommend to break into smaller movements with pauses between these)**