1. From AWS console, click on Services and type in EC2 in the search bar and press enter.  2. Click on **Volumes** on the left menu under Elastic Block Store. 3. Click on **Create Volume**. 4. Click on **Add Tag**, enter the key/value 'ta-ebs' : 'true' . 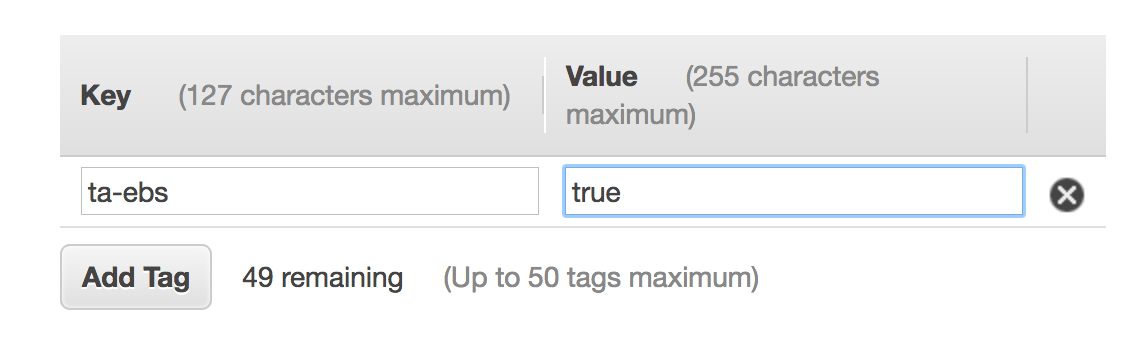 5. You can keep all the other default values. 6. Click on **Create Volume**, write down the newly created volume id.
1. From AWS console, click on Services and type in Lambda in the search bar and press enter. 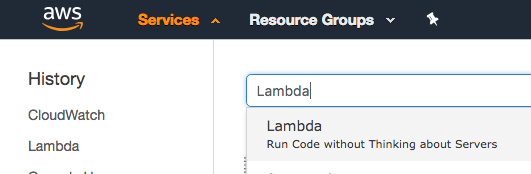
2. Click on **Create Function**
3. Type in your function name. **Example:** *ta-ebs-snapshot*
4. Set Runtime to **Python3.6**
5. Select Create custom role, on the newly opened page input a **Role Name**. **Example:** *ta-ebs-role*
6. On the newly opened page, click on **View Policy Document** and then **Edit**
7. Copy and paste below IAM Role and click **Allow**
IAM Role
```
{
"Version": "2012-10-17",
"Statement": [
{
"Sid": "Stmt1477516473539",
"Action": [
"logs:CreateLogGroup",
"logs:CreateLogStream",
"logs:PutLogEvents"
],
"Effect": "Allow",
"Resource": "arn:aws:logs:*:*:*"
},
{
"Sid": "Stmt1477680111144",
"Action": [
"ec2:CreateSnapshot",
"ec2:DescribeTags",
"ec2:CreateTags"
],
"Effect": "Allow",
"Resource": "*"
}
]
}
```
8. Click on **Create Function**.
9. Copy Paste below Lambda Function Code and click **Save**.
Lambda Function Code
```
import json
import boto3
def create_snapshot(volume_id, region):
ec2 = boto3.client('ec2', region_name=region)
# the function will only consider volumes with the tag 'ta-ebs'
allowed_tag = 'ta-ebs'
describe_tags_params = [
{
'Name' : 'resource-id',
'Values': [volume_id],
},
{
'Name': 'key',
'Values': [allowed_tag]
}
]
# we check if the volume has the tag 'ta-ebs'
print ('Checking tags for volume: %s' % volume_id)
describe_response = ec2.describe_tags(Filters=describe_tags_params)
print (describe_response)
if len(describe_response['Tags']) >0:
snapshot_description = 'Automated Snapshot by TA automation for volume %s' % volume_id
response = ec2.create_snapshot(Description=snapshot_description, VolumeId=volume_id )
print (response)
# tag the volume with the tag used by Data Lifecycle Manager
resources=[
volume_id
]
tags = [
{
'Key': 'ta-snapshot',
'Value': 'true'
}
]
response = ec2.create_tags(Resources=resources, Tags=tags)
print (response)
print ('Snapshot initiated and volume tagged for snapshot lifecycle management')
else:
print ('Volume %s in region %s did not match tag, skipping.' % (volume_id, region))
def lambda_handler(event, context):
print(json.dumps(event))
check_name = event['detail']['check-name'];
region = event['detail']["check-item-detail"]["Region"];
volume_id = event['detail']['check-item-detail']['Volume ID']
ta_success_msg = 'Successfully got details from Trusted Advisor check, %s and executed automated action.' % check_name
print (ta_success_msg)
create_snapshot(volume_id, region)
return None
```
10. You can test the lambda function with this payload to see if it triggers the automation document
```
{
"detail": {
"check-name": "Amazon EBS Snapshots",
"check-item-detail": {
"Volume ID": "
1. From AWS console, click on Services and type in EC2 in the search bar and press enter.  2. Click on **Lifecyle Manager** on the left menu under Elastic Block Store. 3. Click on **Create Snapshot Lifecycle Policy**. 4. In the **Description** field enter the value 'TA snapshot lifecycle'. 5. In the **Target volumes with tags** field enter the value 'ta-snapshot : true' 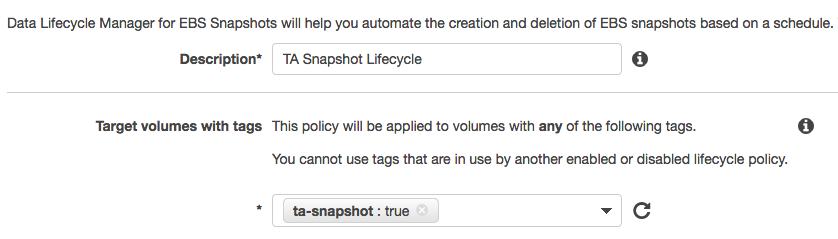 6. In the **Retention rule** field enter the value '3', this will retain up to three snapshots for the volume. 7. Adjust the other values **Create snapshots every**, **Snapshot creation start time**, **Tag created snapshots** as desired. 8. Click on **Create Policy**.
1. From AWS console, click on Services and type in CloudWatch in the search bar and press enter. 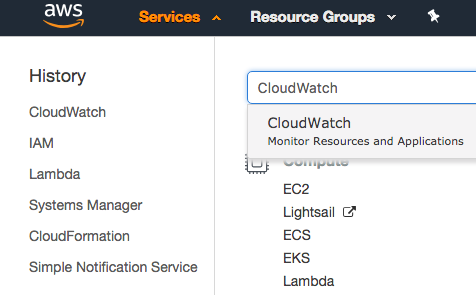
2. Click on **Rules** under Events on the left side of the menu screen.
3. Click **Create Rule**
4. Click **Edit** on the event source pattern and copy and paste the event pattern below.
```
{
"source": [
"aws.trustedadvisor"
],
"detail-type": [
"Trusted Advisor Check Item Refresh Notification"
],
"detail": {
"status": [
"ERROR"
],
"check-name": [
"Amazon EBS Snapshots"
]
}
}
```
5. Click **Add target**
6. Select Function you created on step 1.
7. Keep everything else default.
8. Click **Configure Details**.
9. Input a **Name** for the rule. **Example**: *ta-ebs-rule*.
10. Click **Create Rule**.
**Mock Events**
Trusted Advisor might not detect immediately an EBS volume lacking a snapshot. For the purpose of this event you can trigger a mock event by creating this rule below, follow the same step above but change the Event Pattern to this:
```
{
"source": [
"awsmock.trustedadvisor"
],
"detail-type": [
"Trusted Advisor Check Item Refresh Notification"
],
"detail": {
"status": [
"ERROR"
],
"check-name": [
"Amazon EBS Snapshots"
]
}
}
```
To trigger mock event run below command. ( Require AWS CLI )
`aws events put-events --entries file://mockpayload.json`
**mockpayload.json**
```
[
{
"DetailType": "Trusted Advisor Check Item Refresh Notification",
"Source": "awsmock.trustedadvisor",
"Time": "2018-11-05T14:46:52Z",
"Resources": [],
"Detail": "{ \"check-name\": \"Amazon EBS Snapshots\", \"check-item-detail\": { \"Status\": \"Red\", \"Volume Attachment\": \"\", \"Volume ID\": \"