### DbVisualizer
Before proceeding, ensure you have [configured your environment](../setup/configuration.md).
Download the latest version of [DbVisualizer](https://www.dbvis.com/) to use the Driver in DbVisualizer.
#### Adding the Amazon Neptune JDBC Driver to DbVisualizer
1. [Download](https://github.com/aws/amazon-neptune-jdbc-driver/releases) the Neptune JDBC driver `JAR` file and note the directory it is saved/located in.
2. Launch the DbVisualizer application.
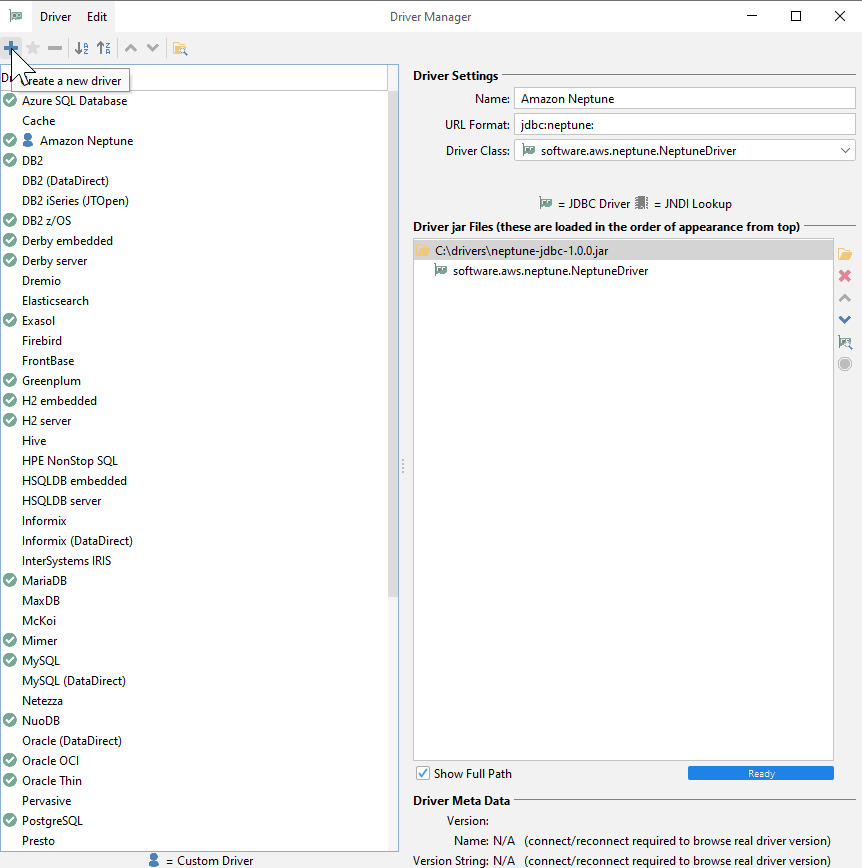
3. Navigate to **Tools > Driver Manager** and click the **+** at the top left to add a new Driver.
4. Fill out the fields on the right with a `Name`, `URL Format`. Browse for the `JAR` from where it is saved and add it - the `Driver Class` should automatically populate.
#### Connecting to Amazon Neptune Using DbVisualizer - External SSH Tunnel
1. If connecting from outside the Neptune cluster's VPC, ensure you have followed the [configuration instructions](../setup/configuration.md).
2. Navigate to **Tools > Connection Wizard**.
3. Enter a name/connection alias.
4. Select the Neptune driver that was added in the previous steps.
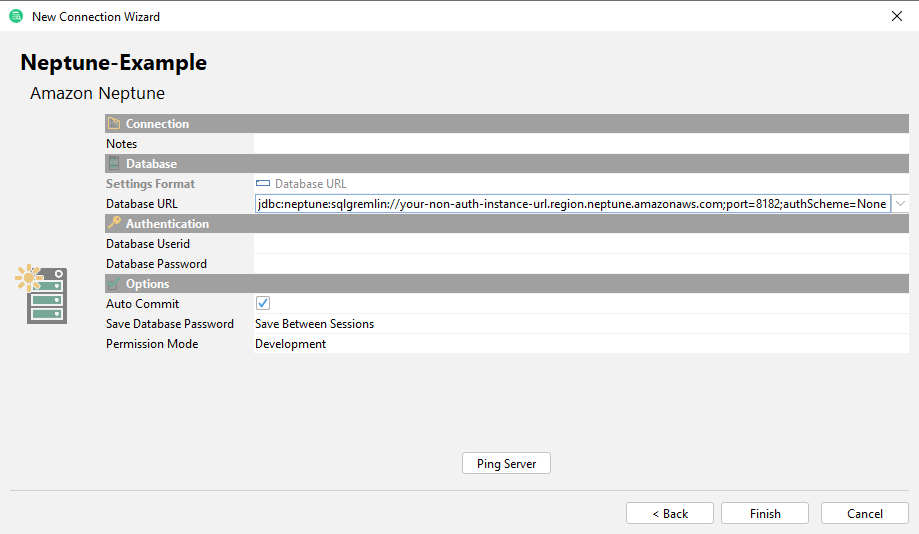
5. Enter the `Database URL`. Additional configurations can be filled in the form of `propertyKey=propertyValue`, with multiple properties separated by `;` on the connection string. Descriptions of each required and optional parameters can be found in the [SQL JDBC documentation](../sql.md).
Example for connecting to an instance without IAM authentication:
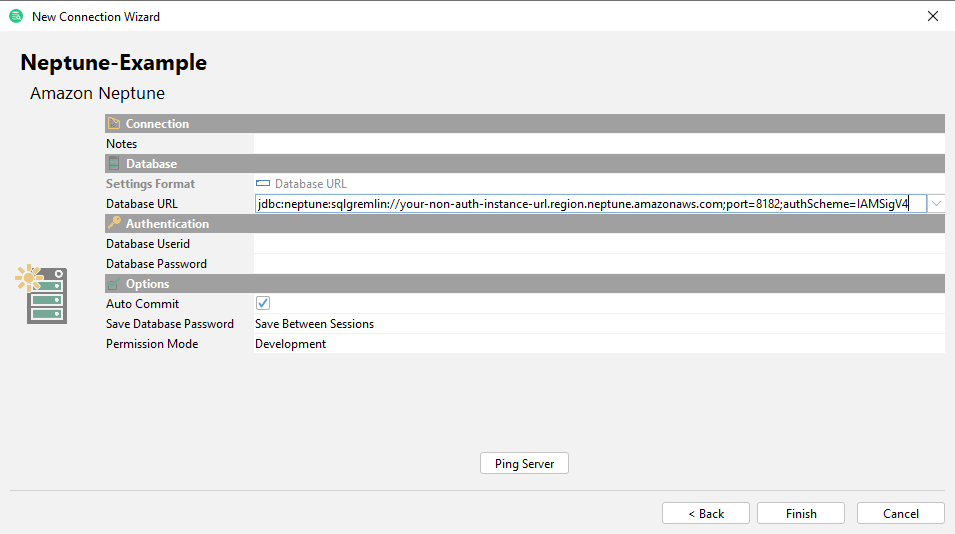
Example for connecting to an instance with IAM authentication. Note that your [AWS credentials](https://docs.aws.amazon.com/cli/latest/userguide/cli-configure-files.html) must be configured.
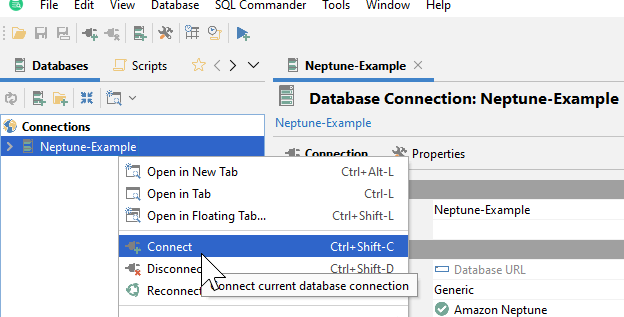
The Connection should now appear in the `Connections` list. Simply right click to Connect and get started.