Serverless Data Processing on AWS
Setup
AWS Account
In order to complete this workshop, you’ll need an AWS account and access to create AWS Identity and Access Management (IAM), Amazon Cognito, Amazon Kinesis, Amazon S3, Amazon Athena, Amazon DynamoDB, and AWS Cloud9 resources within that account.
The code and instructions in this workshop assume only one participant is using a given AWS account at a time. If you attempt sharing an account with another participant, you will encounter naming conflicts for certain resources. You can work around this by either using a suffix in your resource names or using distinct Regions, but the instructions do not provide details on the changes required to make this work.
Use a personal account or create a new AWS account for this workshop rather than using an organization’s account to ensure you have full access to the necessary services and to ensure you do not leave behind any resources from the workshop.
Region
Use US East (N. Virginia), US West (Oregon), or EU (Ireland) for this workshop. Each supports the complete set of services covered in the material. Consult the Region Table to determine which services are available in a Region.
AWS Cloud9 IDE
AWS Cloud9 is a cloud-based integrated development environment (IDE) that lets you write, run, and debug your code with just a browser. It includes a code editor, debugger, and terminal. Cloud9 comes pre-packaged with essential tools for popular programming languages and the AWS Command Line Interface (CLI) pre-installed so you don’t need to install files or configure your laptop for this workshop. Your Cloud9 environment will have access to the same AWS resources as the user with which you logged into the AWS Management Console.
Take a moment now and setup your Cloud9 development environment.
✅ Step-by-step Instructions
Go to the AWS Management Console, click Services then select Cloud9 under Developer Tools.
Click Create environment.
Enter
Developmentinto Name and optionally provide a Description.Click Next step.
You may leave Environment settings at their defaults of launching a new t2.micro EC2 instance which will be paused after 30 minutes of inactivity.
Click Next step.
Review the environment settings and click Create environment. It will take several minutes for your environment to be provisioned and prepared.
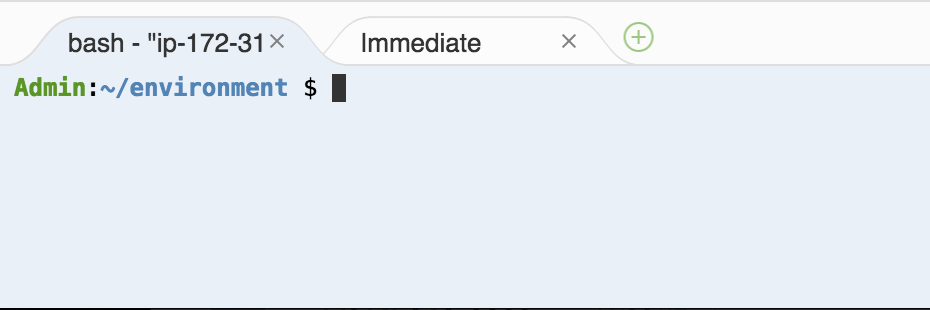
Once ready, your IDE will open to a welcome screen. Below that, you should see a terminal prompt similar to:

You can run AWS CLI commands in here just like you would on your local computer. Verify that your user is logged in by running
aws sts get-caller-identity.aws sts get-caller-identityYou’ll see output indicating your account and user information:
Admin:~/environment $ aws sts get-caller-identity
Keep your AWS Cloud9 IDE opened in a tab throughout this workshop as you’ll use it for activities like building and running a sample app in a Docker container and using the AWS CLI.
Command Line Clients
The modules utilize two command-line clients to simulate and display sensor data from the unicorns in the fleet. These are small programs written in the Go Programming Language. The below instructions in the Installation section walks through downloading pre-built binaries, but you can also download the source and build it manually:
Producer
The producer generates sensor data from a unicorn taking a passenger on a Wild Ryde. Each second, it emits the location of the unicorn as a latitude and longitude point, the distance traveled in meters in the previous second, and the unicorn’s current level of magic and health points.
Consumer
The consumer reads and displays formatted JSON messages from an Amazon Kinesis stream which allow us to monitor in real-time what’s being sent to the stream. Using the consumer, you can monitor the data the producer and your applications are sending.
Installation
Switch to the tab where you have your Cloud9 environment opened.
Download and unpack the command line clients by running the following command in the Cloud9 terminal:
curl -s https://dataprocessing.wildrydes.com/client/client.tar | tar -xv
This will unpack the consumer and producer files to your Cloud9 environment.
⭐️ Tips
💡 Keep an open scratch pad in Cloud9 or a text editor on your local computer for notes. When the step-by-step directions tell you to note something such as an ID or Amazon Resource Name (ARN), copy and paste that into the scratch pad.
⭐️ Recap
🔑 Use a unique personal or development AWS account
🔑 Use one of the US East (N. Virginia), US West (Oregon), or EU (Ireland) Regions
🔑 Keep your AWS Cloud9 IDE opened in a tab
Next
✅ Proceed to the first module, Streaming Data, wherein you’ll create a Kinesis stream, send unicorn data to that stream, and visualize unicorn positions on a live map.