5. Cloud9 Dev Environment
Objectives
This lab module will walk you through how to launch the Cloud9 IDE and download the device firmware source code. By the end of the module you will have:
- Installed the toolchain needed to compile and link the source code for the dispenser.
- Cloned the workshop repository which includes the dispenser firmware source code.
- Installed the supporting tools needed to compile.
The AWS Cloud9 Integrated Development Environment (IDE) is a service that runs on EC2 and provides a interactive and consistent development environment. You interact with it via a web browser, and it allows for command line access, a folder tree, and the ability to upload and download files between it and your local laptop.
Using Cloud9 is good because it gives a consistent compilation experience no matter the model or age of your laptop. It compiles within a couple minutes (older laptops can take 15 minutes or longer), and if compile times become too long, you can change the underlying instance size to obtain even more CPU or memory resources.
Steps to Complete
Follow each step in order and use the Click to open for detailed step-by-step instructions if required.
1. Open New Browser Tab to Cloud9 Service and Launch IDE
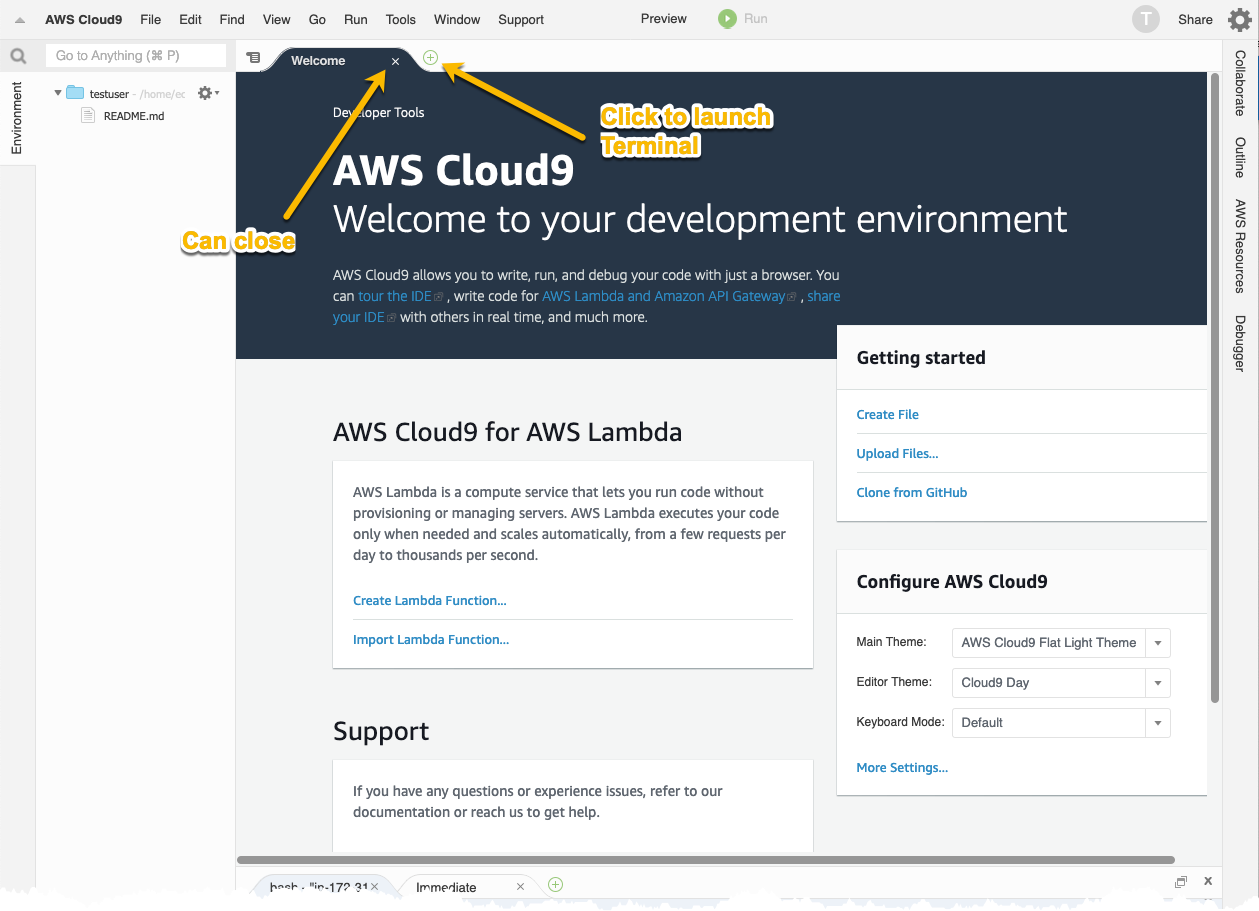
From the dispenser app, open the MY DETAILS section and open a new browser tab or window to the Sign-in URL, then login in with the credentials provided. From the AWS Console, open a new tab to the Cloud9 service. From the Your Environments menu, click on the Open IDE button for your user. This will open a new tab with the IDE and start up the EC2 instance (it may take a minute to fully launch).
2. Install Dependencies Needed For Compilation
With the IDE open, close the Welcome tab, and the click the green circled plus icon and select New terminal which will open a command line in the ~/environment directory. Copy and paste the following lines in the terminal window to install the dependencies and the Xtensa toolchain for the microcontroller (ESP32). The final commands will add the toolchain to your PATH so the build process can execute correctly.
# Install OS utilities needed by toolchain
sudo yum -y install flex gperf
# Install Python modules (also used by toolchain)
sudo pip install argparse cryptography serial pyserial cmake
# Install the 64-bit version of the Xtensa ESP32 toolchain
cd ~/environment
wget https://dl.espressif.com/dl/xtensa-esp32-elf-linux64-1.22.0-80-g6c4433a-5.2.0.tar.gz
mkdir ~/environment/esp
cd ~/environment/esp
tar xvfz ../xtensa-esp32-elf-linux64-1.22.0-80-g6c4433a-5.2.0.tar.gz
cd ~/environment
# Finally, add the toolchain path to your profile
echo 'PATH=$PATH:$HOME/environment/esp/xtensa-esp32-elf/bin' >> ~/.bash_profile
source ~/.bash_profile
# ============= Finished installation of dependencies =============
3.Clone Workshop Repository
The device firmware resides in the workshop’s GitHub repository. Copy and paste the following lines to clone the repository locally and change to the directory where the compile operations will take place.
cd ~/environment
git clone --depth 1 https://github.com/aws-samples/connected-drink-dispenser-workshop.git
cd connected-drink-dispenser-workshop/device_firmware
# ============= Finished installation of Connected Drink Dispenser repository =============
4. Verify Default Compilation
To verify that all components are in place, run the following commands to create the build environment in the device_firmware directory, then change to the build directory (it will be created in root of the repository, at ~/environment/connected-drink-dispenser-workshop/build).
Run each of these commands and verify they completed without errors (warnings are okay).
cd connected-drink-dispenser-workshop/device_firmware
cmake -DVENDOR=espressif -DBOARD=esp32_devkitc -DCOMPILER=xtensa-esp32 -S . -B ./build
This should only take a few seconds and end with no errors. Then run the make process:
cd build
make all -j4
cd ..
Again verify there were no errors. The final output of the build step should look like this:
...
[100%] Building C object CMakeFiles/aws_demos.dir/demos/wifi_provisioning/aws_wifi_connect_task.c.obj
[100%] Linking CXX executable aws_demos
[100%] Built target aws_demos
Scanning dependencies of target app
[100%] Generating ../aws_demos.bin
esptool.py v2.6
[100%] Built target app
As a result of the build process, files have been created in ~/environment/connected-drink-dispenser-workshop/build. Among these there is also the the firmware that will be flashed onto the microcontroller.
Checkpoints
Please ensure the following checkpoints are validated before moving on to the next module.
- In the Cloud9 IDE:
- There is a file named
aws_demos.binin~/environment/connected-drink-dispenser-workshop/build. - There were no errors (warnings are okay) in either the
cmakeormake allsteps.
- There is a file named
Outcomes
We used a reproducible method (all the commands above can be automated) to create a development environment and toolchain build process. By doing this, you can always recreate the environment if something gets corrupted. Having the ability to quickly iterate in changes is an important factor in developing firmware.