8. Build Dispenser
Objectives
This module provides necessary steps to build and test your drink dispenser
Steps to Complete
Follow each step in order and use the Open for detailed step-by-step instructions if required.
Bill of Materials
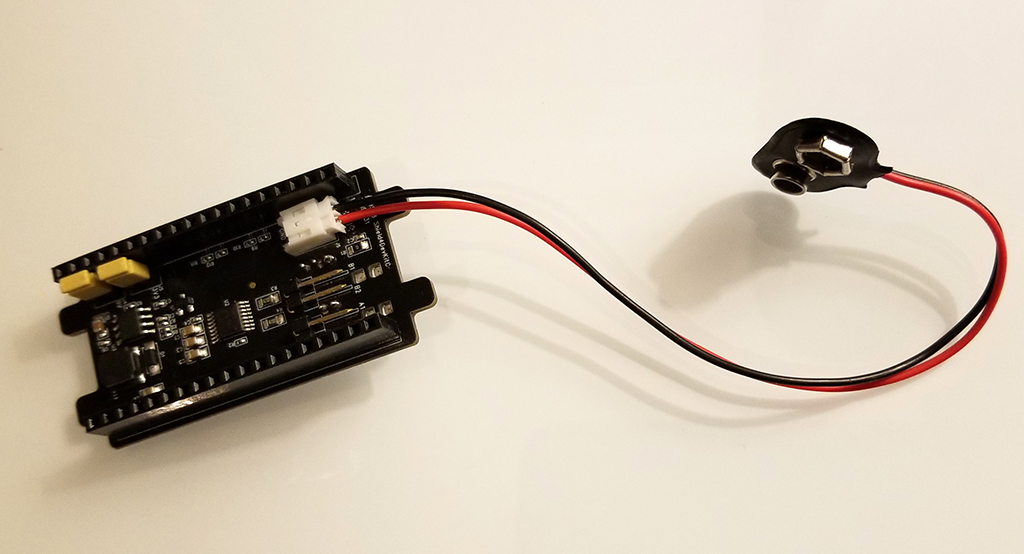
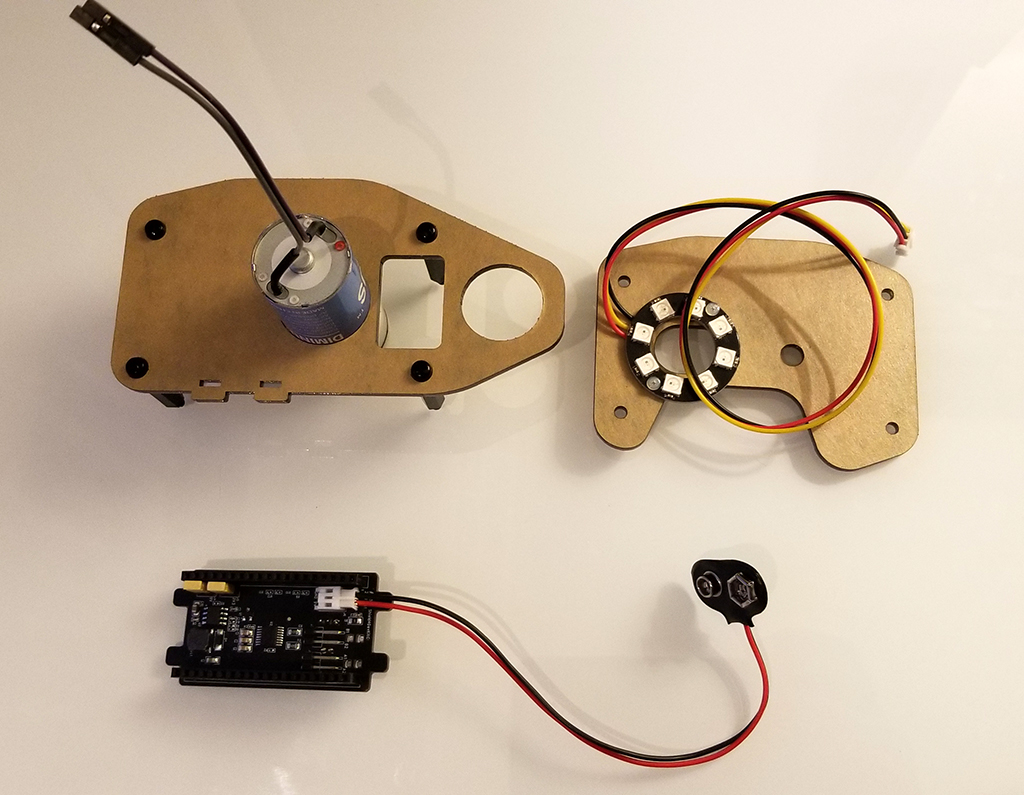
Verify that you have all the necessary parts. Some parts may already be installed from the previous labs, such as the 9V battery lead and ESP32-DevKitC development board into the controller board.
- Base plate
- 1/2" PVC Cap (white)
- 1/2"x1' PVC pipe (orange)
- Top, middle (with LED ring), and bottom plates for top assembly
- 8 M3-6mm 25mm standoffs
- 9 M3 Cap nylon nuts
- 4 M3-6mm nylon screws
- 4 M3-8mm nylon screws
- 2 M3-12mm stainless steel screws
- 1 M3 hex nut
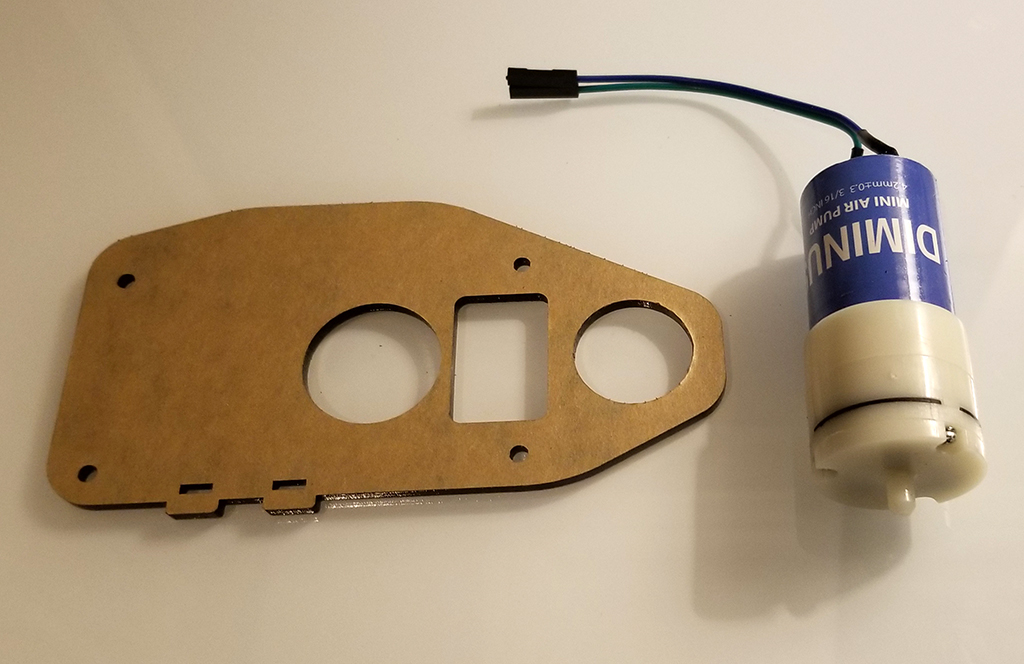
- Pump motor
- 9V battery
- 9v battery clip with JST-2 connector
- Electronics controller board
- ESP32-DevKitC development board
Consult with image below for the material list:

Base Plate Build
-
Build base plate:

-
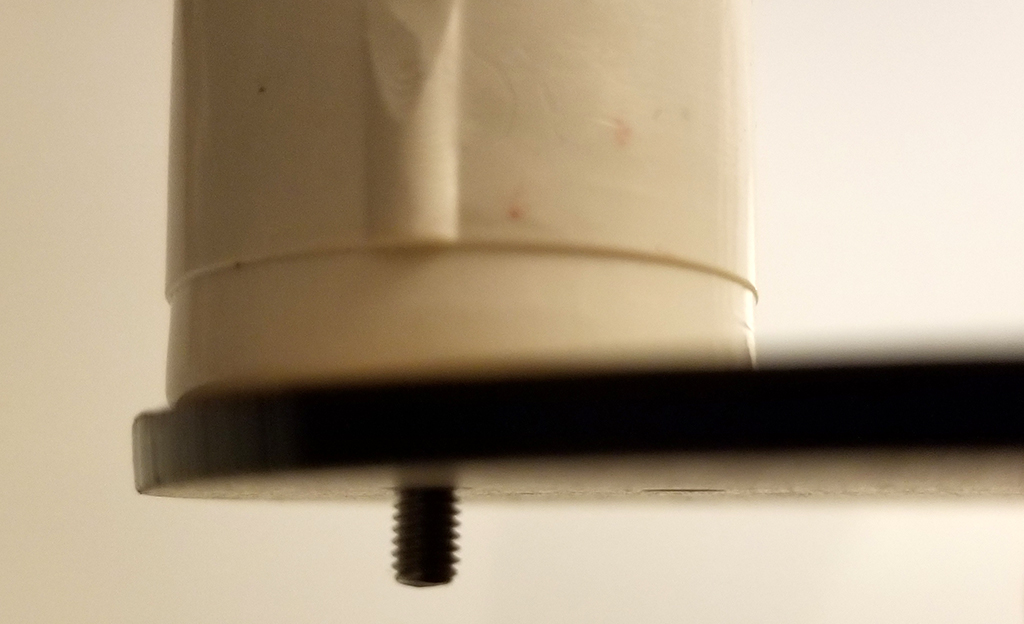
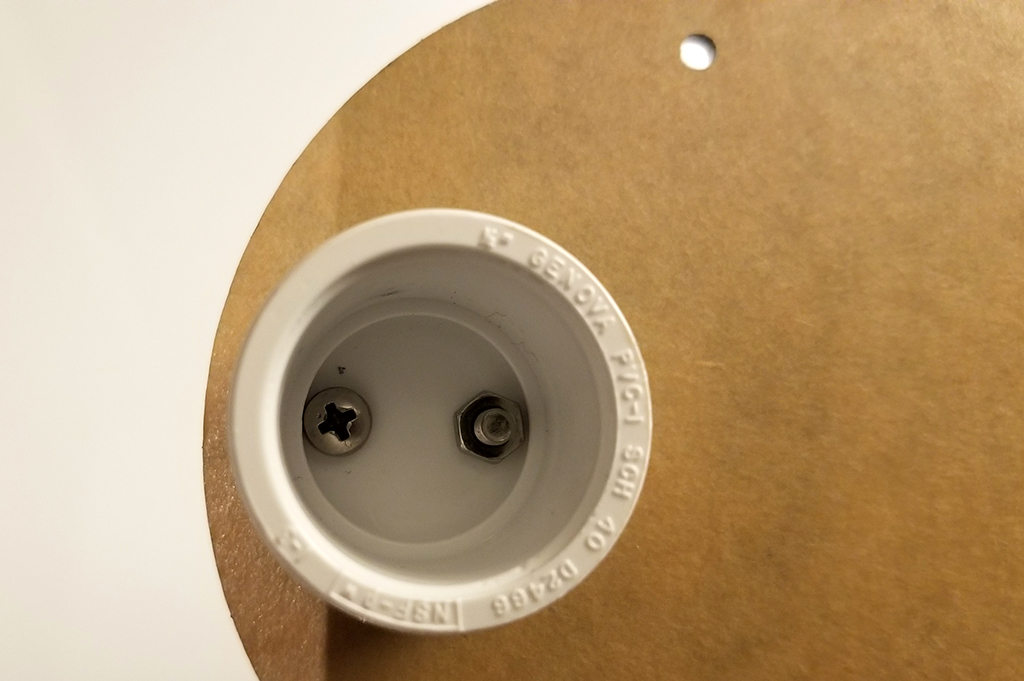
Place M3x12mm stainless steel screw from inside of PVC cap as shown on the pictures below:

-
Thread it through the base plate hole closest to the edge and tighten with nylon cap nut from the bottom:

-
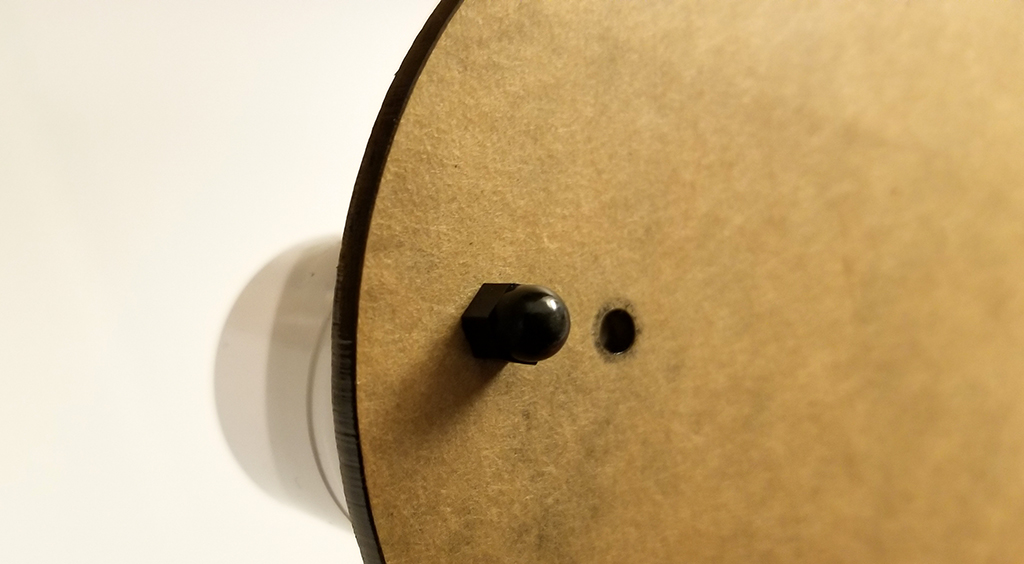
Place the hex nut inside PVC cap and align to the both holes (PVC and base plate):
-
Thread the M3x12mm stainless steel screw from the bottom and tighten (ask for help as this is the only step you will need a screwdriver):
-
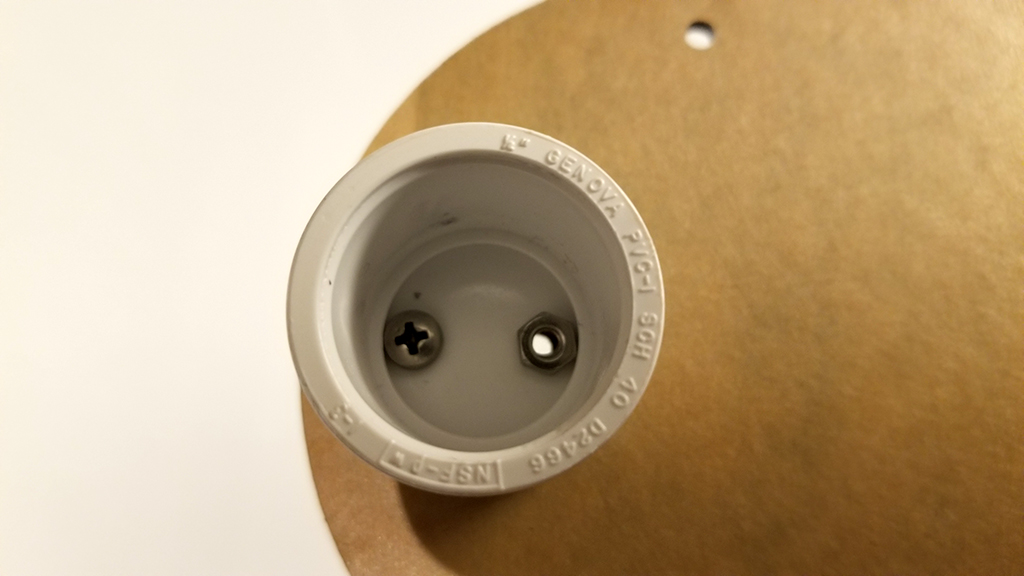
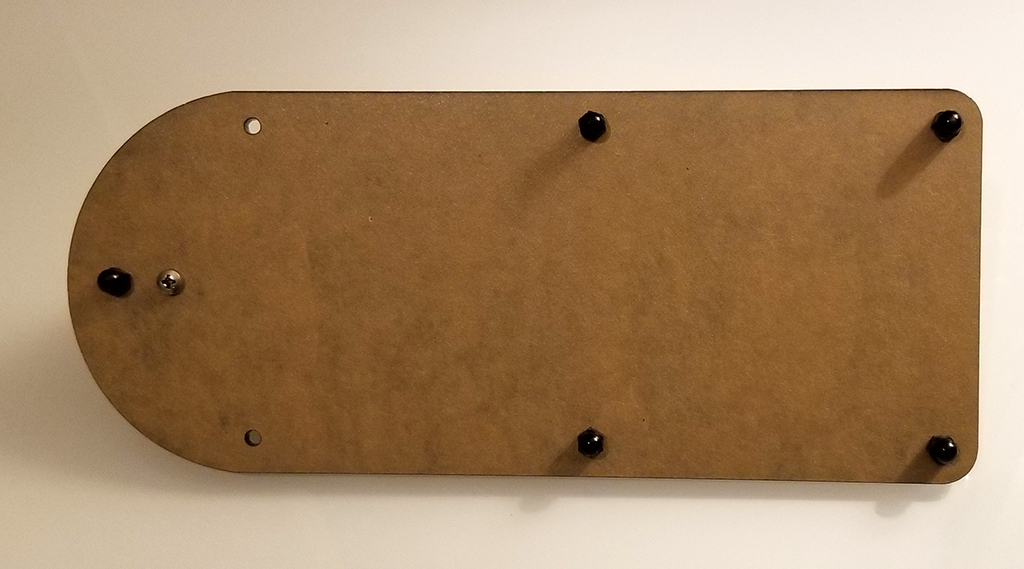
It should look like this:
-
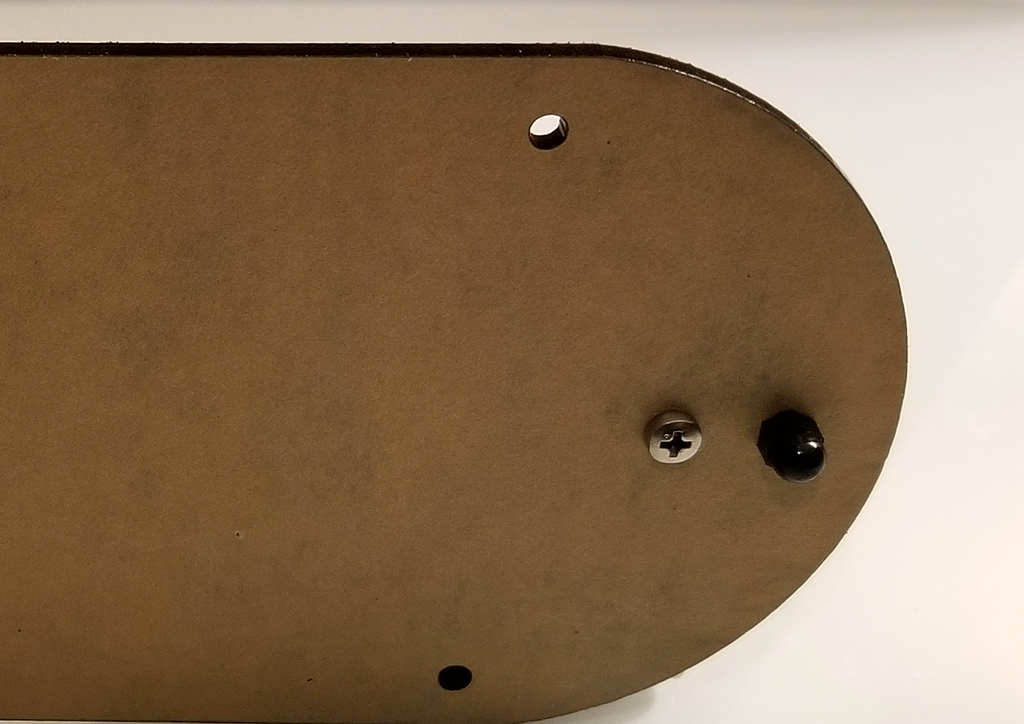
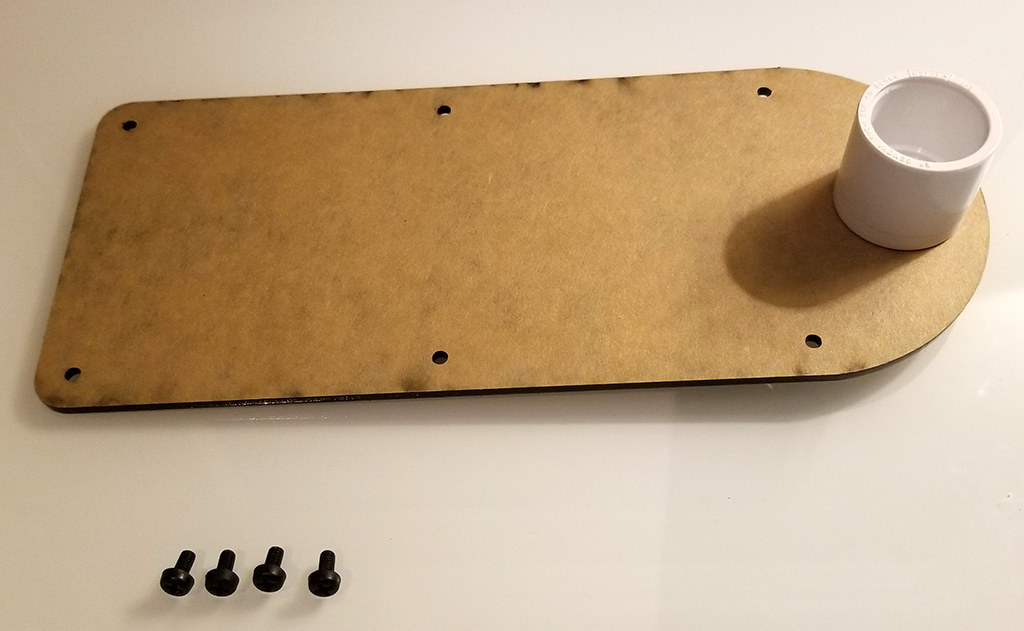
Take M3x6mm screws(the shorter ones):
-
Place them as show on the picture:
-
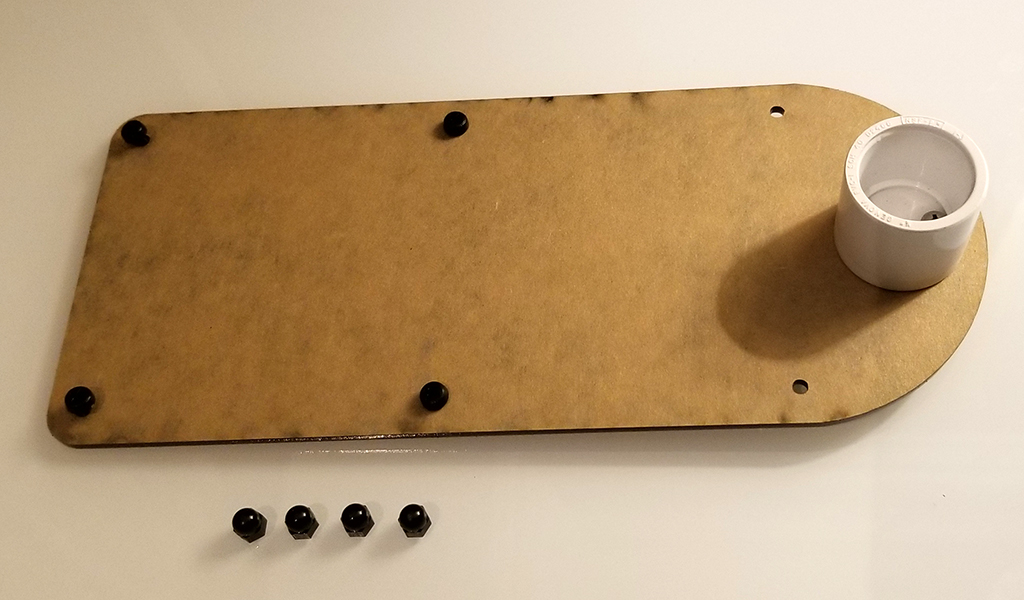
Tighten them by hand using M3 cap nuts from the bottom:
That completes the base assembly, now to build the top assembly.
Top Assembly Build
-
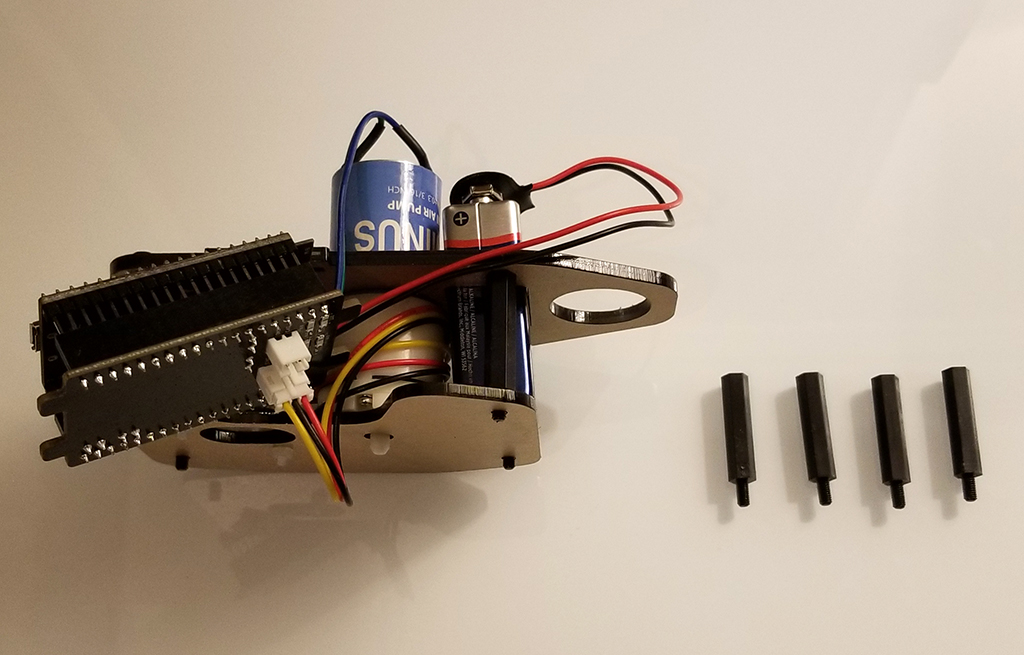
Build top assembly stating with the motor:
-
Insert the motor as shown on the picture (make sure of mounting slots!)
-
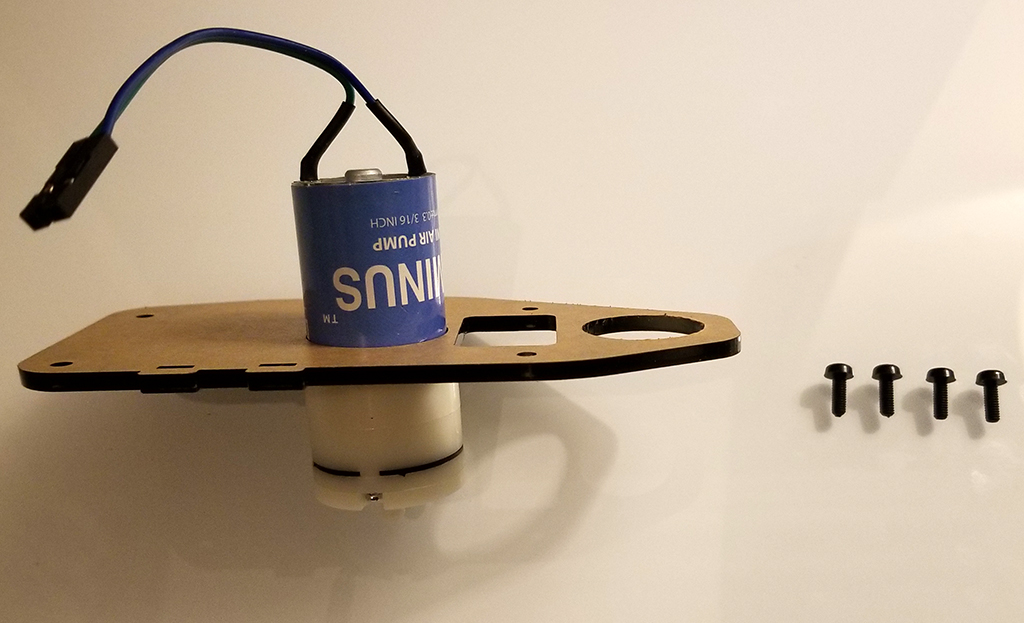
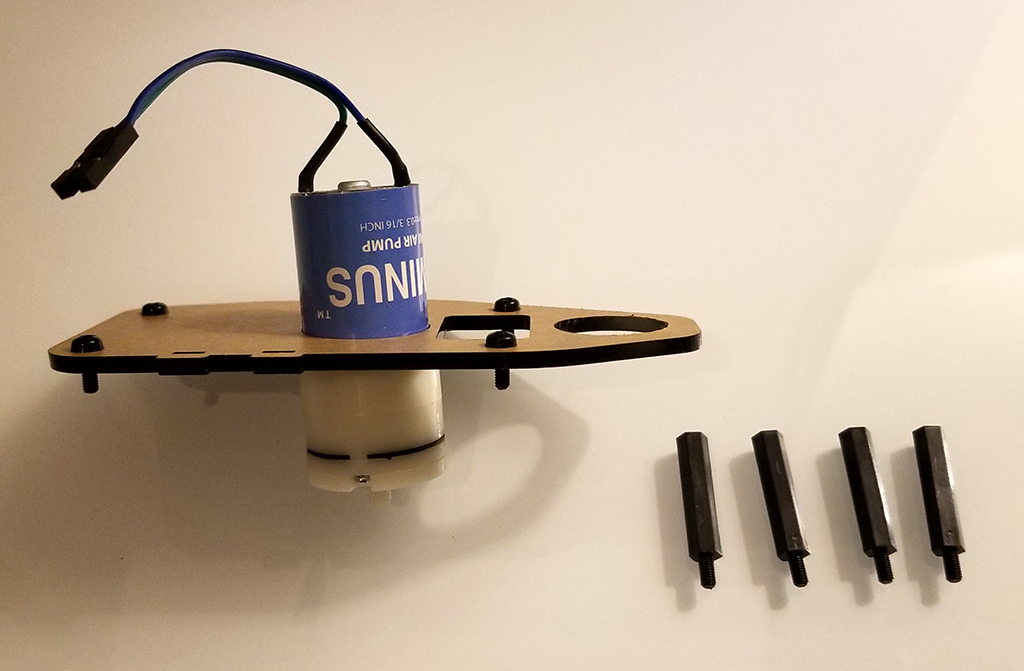
Insert the M3x8mm hex standoff screws (longer ones) as show on the picture:
-
Tighten the M3x6mm-25mm standoffs from the bottom (do not over tighten it):
-
Take the middle plate with mounted LED ring and make sure that orientation is correct:

-
If not already attached, connect the 9 Volt batter cable’s JST-2 connector (the small white connector at the end of the cable) to the JST-2 socket marked GND 9V. (Make sure you are not using LiPo socket!!!):

-
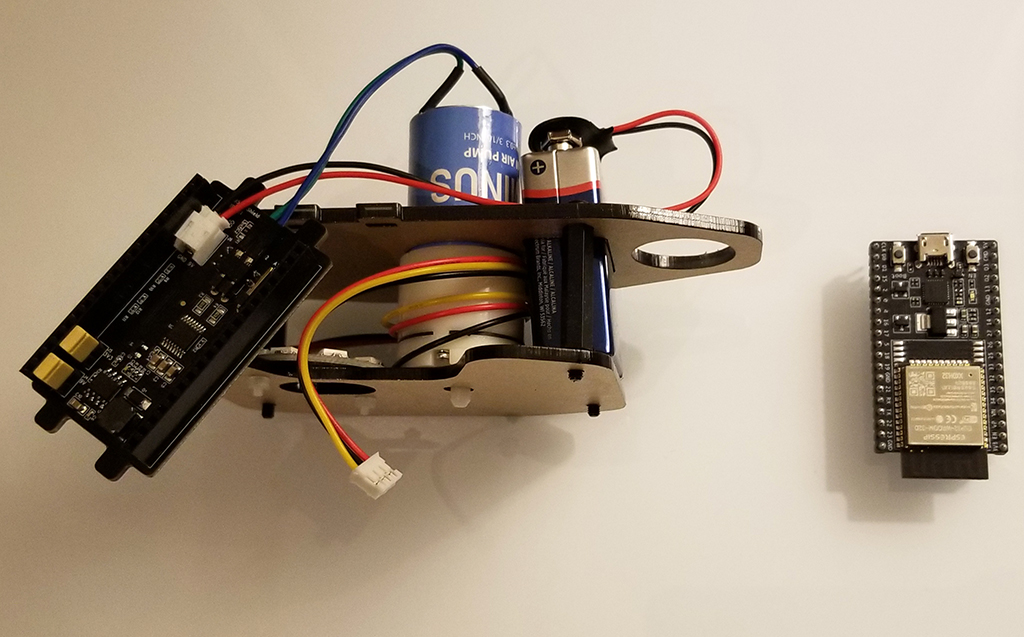
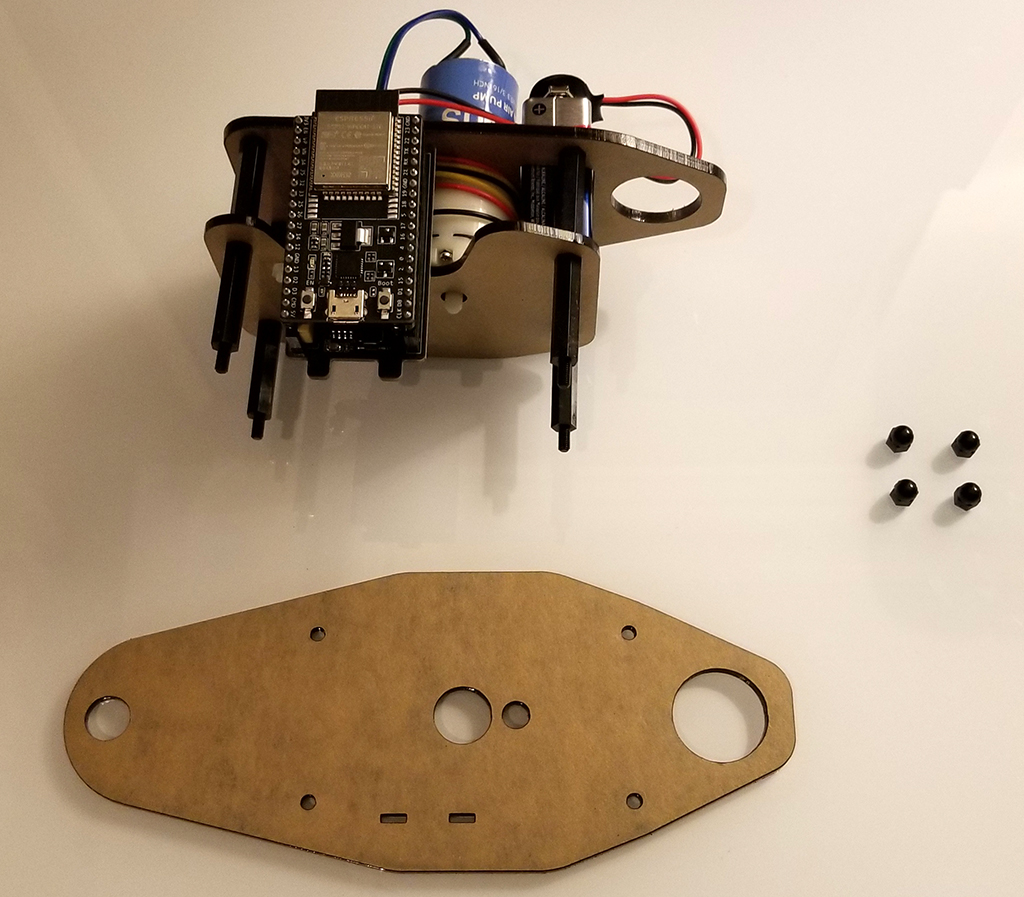
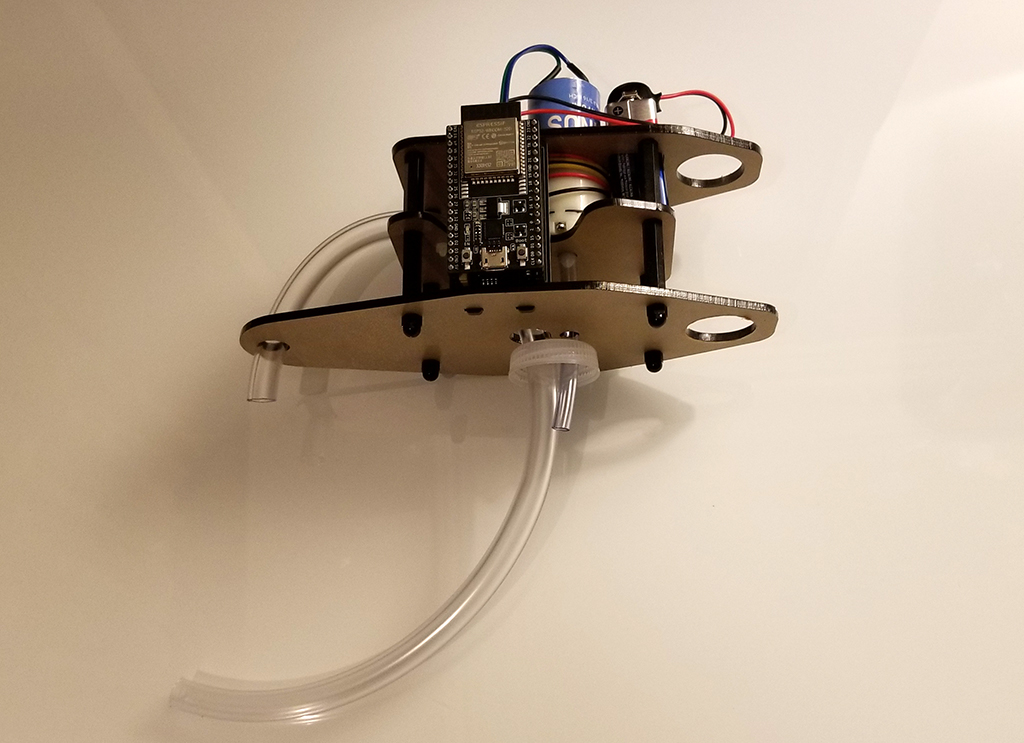
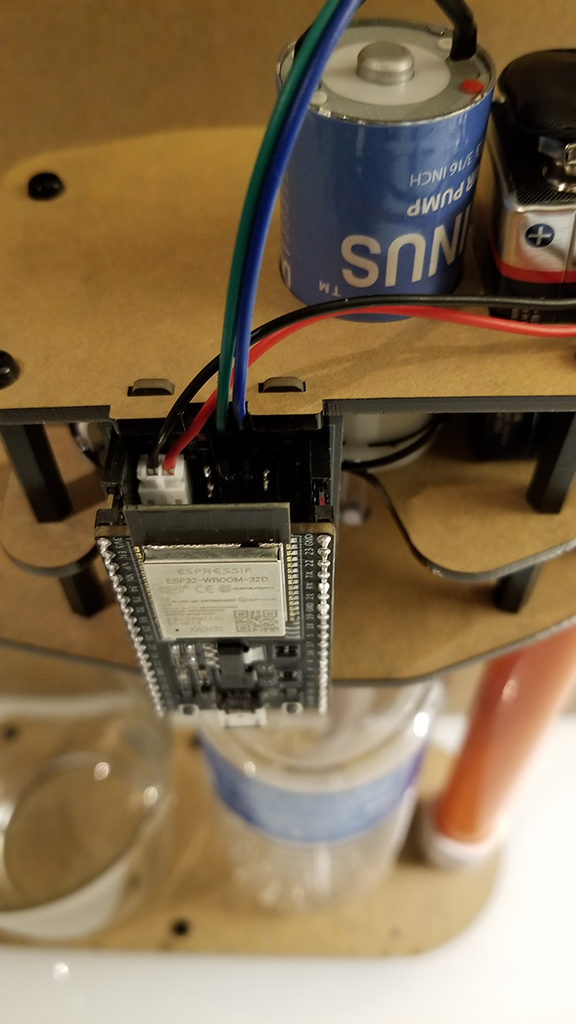
Assemble controller board, middle plate and top plate with motor as shown:

-
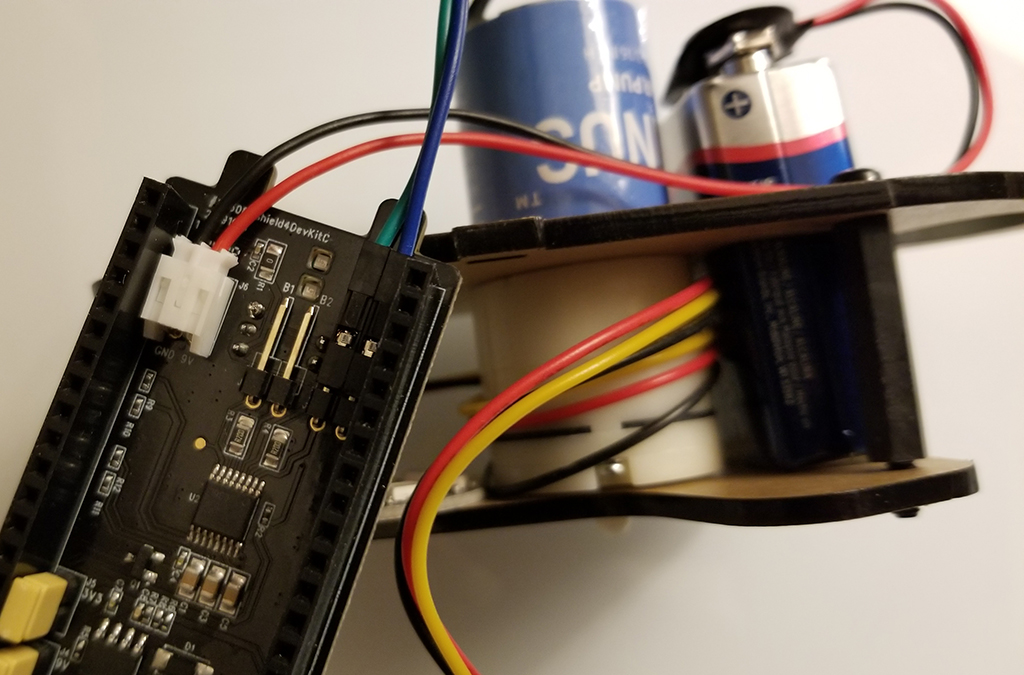
Attach pump motor cable to the right pins on the controller board (furthest from the 9V connector):
-
Place ESP32-DevKitC back on the controller board as in the earlier labs:
-
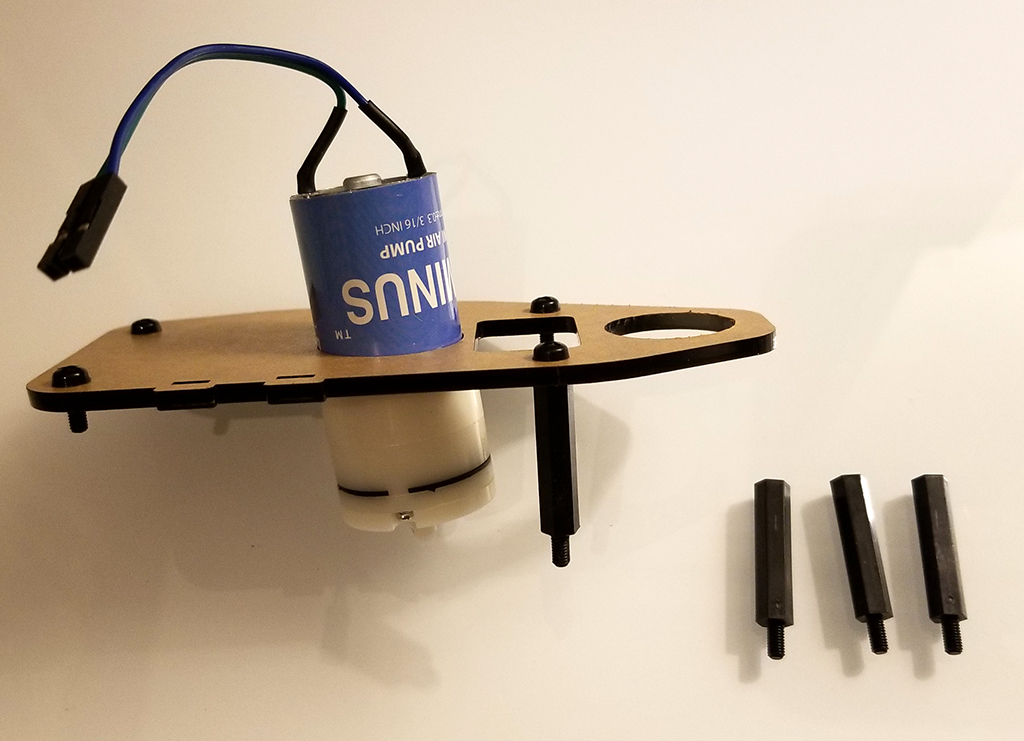
Attach the other M3x6mm-25mm standoffs to secure motor and middle plate:
-
Align controller board in the slots on the top and bottom plate, attach bottom plate, and secure with nylon M3 cap nuts
-
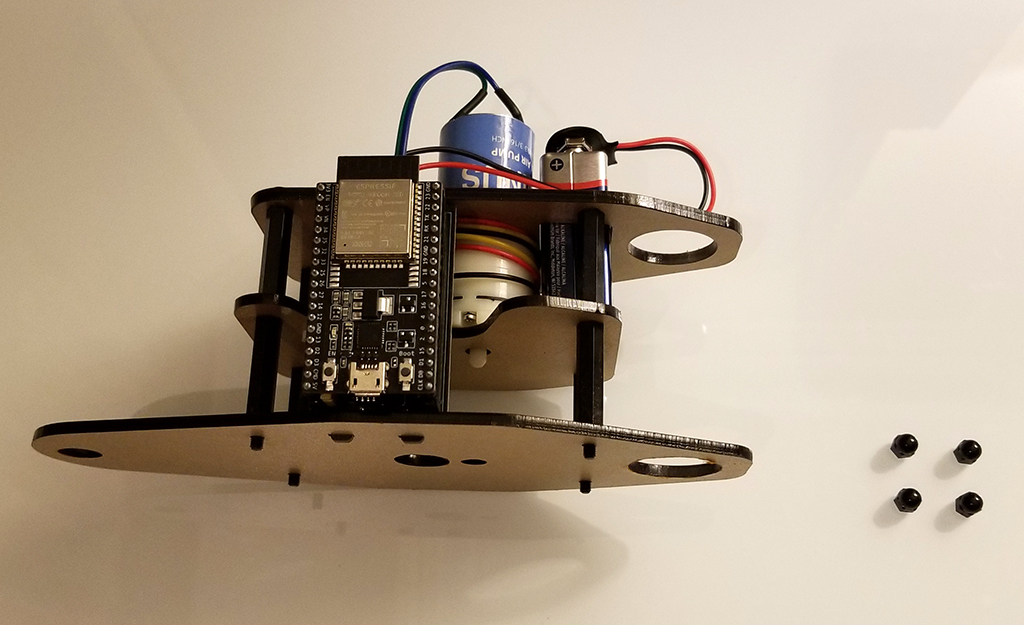
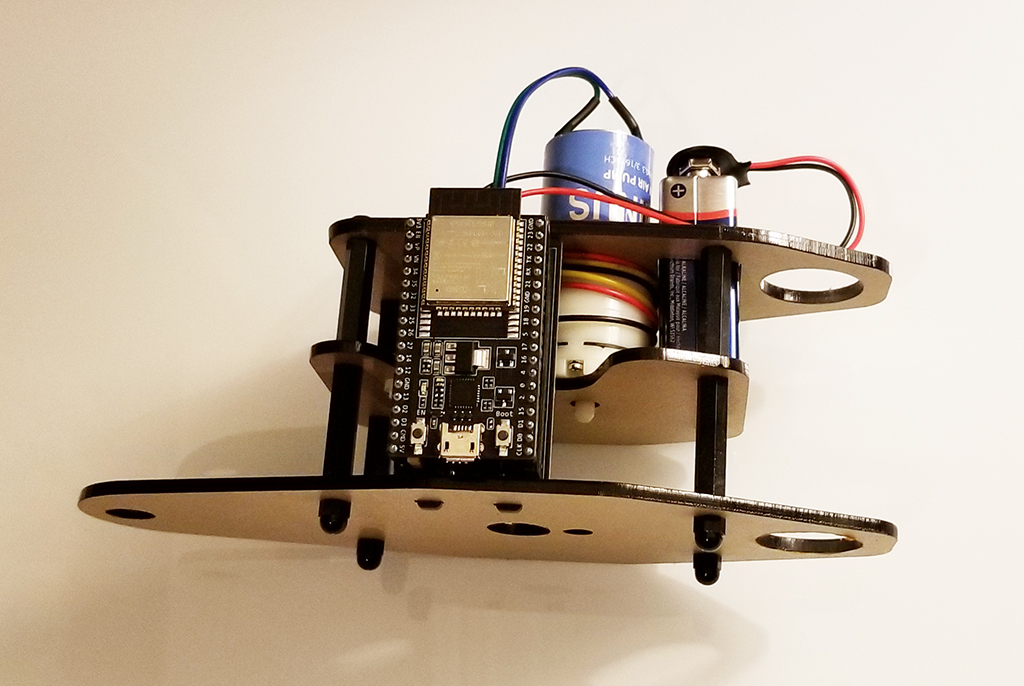
Final result should look like this:
-
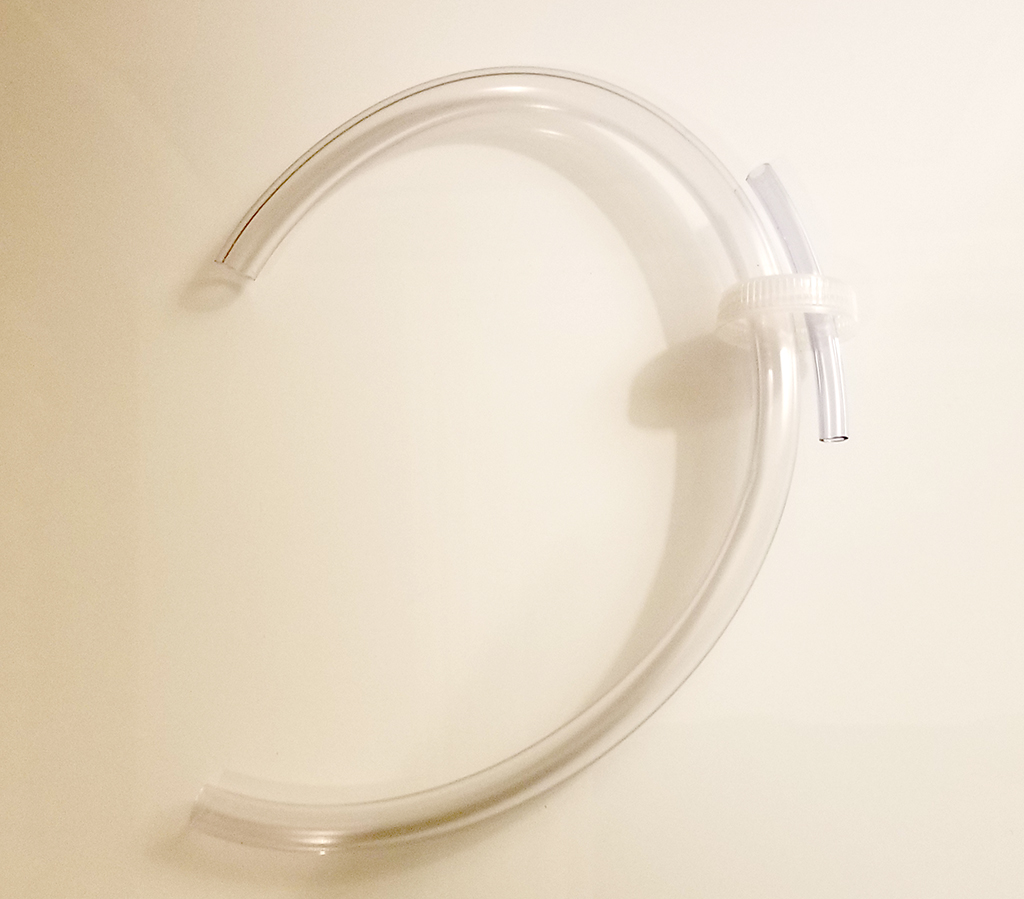
Thread vinyl tubes through bottle cap as shown. You might need to fold and squeeze the end of the tube to push it through:
-
Thread the larger vinyl tube from the bottom, middle plates to form a spigot and attach the smaller tube to the pump motor:
-
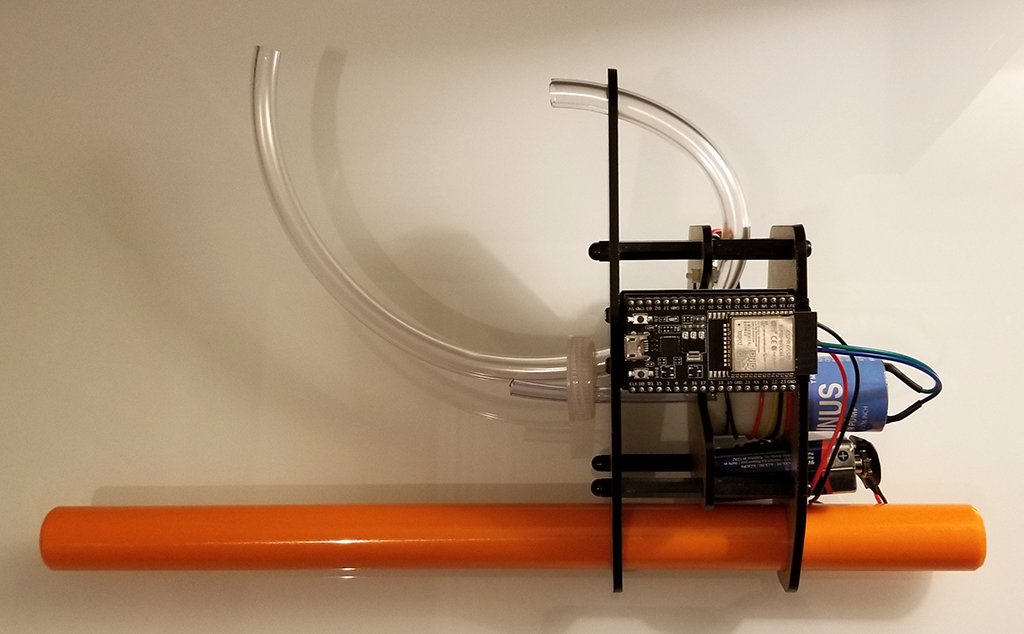
Very carefully insert 1/2” PVC pipe through top assembly (It is very tight to hold the top assembly by friction - ask for help if needed):
-
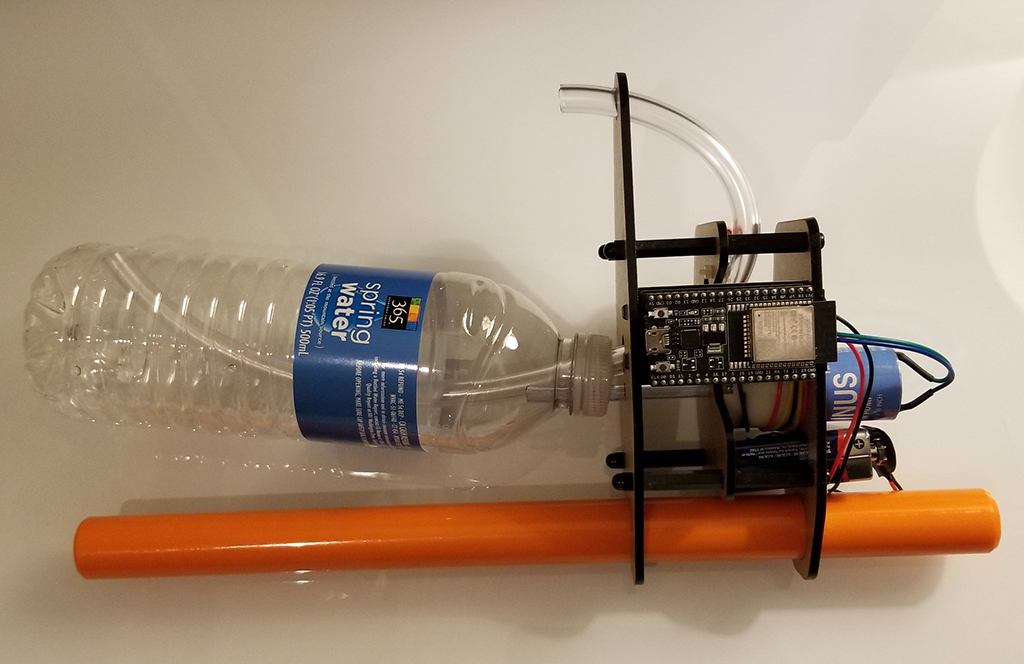
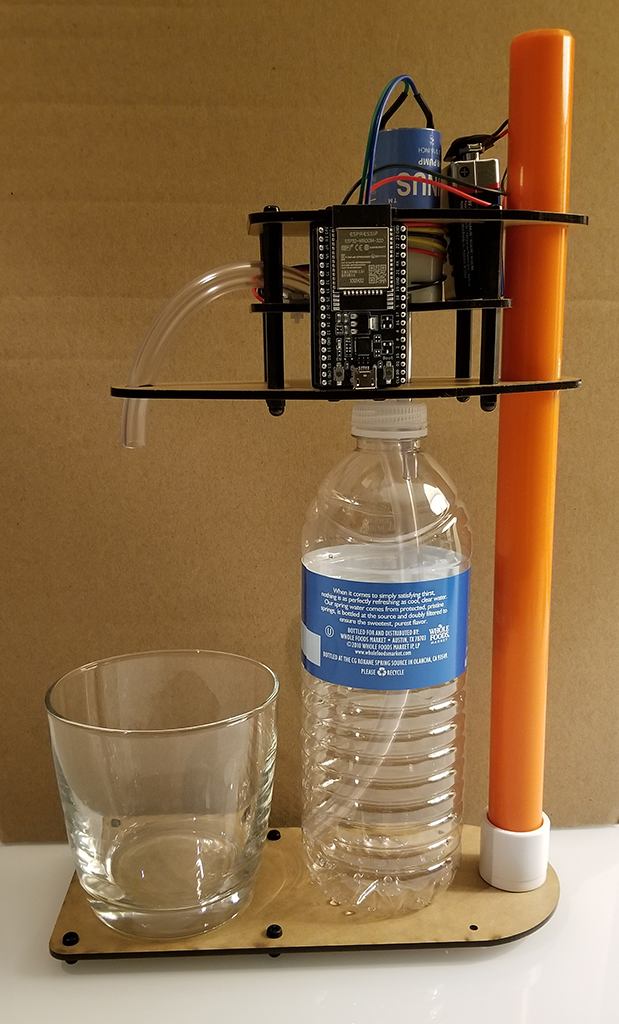
Fill the water bottle to approximately 50-75% full. Then attach the bottle to the assembly (vertical so as not to spill water) and adjust height as needed (again, there will be a lot of resistance when moving, be careful!):
-
Your drink dispenser is ready and should look similar to this:
Checkpoints
Please ensure the following checkpoints are validated before moving on to the next module:
- Both vinyl tubes are airtight on the bottle cap
- The orientation of your microcontroller
- 9V cable connected to socket marked GND 9V